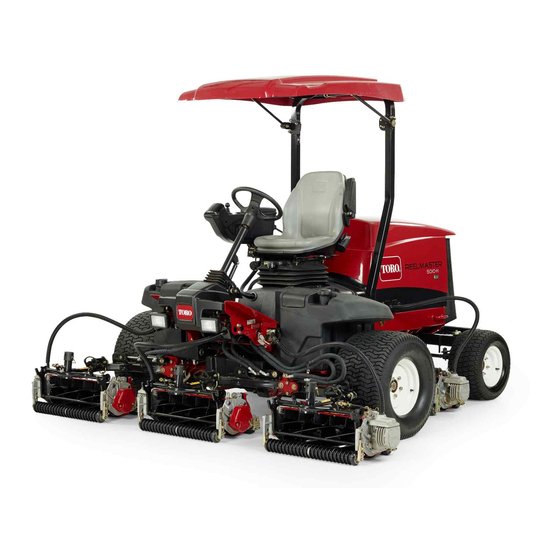
Toro Reelmaster 5010- H Manuals
Manuals and User Guides for Toro Reelmaster 5010- H. We have 15 Toro Reelmaster 5010- H manuals available for free PDF download: Diagnostic Manual, Service Manual, Operator's Manual, Installation Instructions Manual, Installation Instructions

Advertisement
Toro Reelmaster 5010- H Service Manual (335 pages)
Brand: Toro
|
Category: Lawn Mower
|
Size: 26.1 MB
Table of Contents

Toro Reelmaster 5010- H Operator's Manual (128 pages)
Traction Unit
Brand: Toro
|
Category: Lawn Mower
|
Size: 8.75 MB
Table of Contents
Advertisement

Toro Reelmaster 5010- H Operator's Manual (84 pages)
Traction Unit
Brand: Toro
|
Category: Lawn Mower
|
Size: 9.47 MB
Table of Contents

Toro Reelmaster 5010- H Operator's Manual (76 pages)
Traction Unit
Brand: Toro
|
Category: Lawn and Garden Equipment
|
Size: 9.05 MB
Table of Contents

Toro Reelmaster 5010- H Operator's Manual (60 pages)
Traction Unit
Brand: Toro
|
Category: Lawn Mower
|
Size: 4.85 MB
Table of Contents

Toro Reelmaster 5010- H Operator's Manual (56 pages)
Traction Unit
Brand: Toro
|
Category: Lawn Mower
|
Size: 4.34 MB
Table of Contents

Toro Reelmaster 5010- H Operator's Manual (56 pages)
traction unit
Brand: Toro
|
Category: Lawn Mower
|
Size: 5.16 MB
Table of Contents

Toro Reelmaster 5010- H Operator's Manual (28 pages)
8-Blade Radial Reel, 8-Blade Forward Swept Reel, or 11-Blade Forward Swept Reel DPA Cutting Unit with 7in Reel
Brand: Toro
|
Category: Lawn Mower
|
Size: 1.6 MB
Table of Contents

Toro Reelmaster 5010- H Operator's Manual (20 pages)
Verticutter, Cutting Unit with 5–inch or 7–inch Reel
Table of Contents
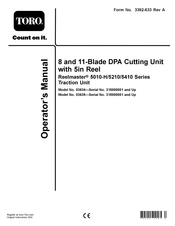
Toro Reelmaster 5010- H Operator's Manual (24 pages)
8 and 11-blade dpa cutting unit with 5in reel
Brand: Toro
|
Category: Lawn Mower
|
Size: 1.73 MB
Table of Contents
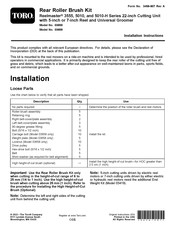
Toro Reelmaster 5010- H Installation Instructions Manual (16 pages)
Rear Roller Brush Kit 22-inch Cutting Unit with 5-inch or 7-inch Reel and Universal Groomer
Brand: Toro
|
Category: Lawn Mower
|
Size: 1.41 MB

Toro Reelmaster 5010- H Installation Instructions Manual (16 pages)
Rear Roller Brush MVP Kit, 22-inch Cutting Unit with 5-inch or 7-inch Reel and Universal Groomer
Brand: Toro
|
Category: Lawn Mower Accessories
|
Size: 1.58 MB
Toro Reelmaster 5010- H Installation Instructions Manual (12 pages)
Rear Roller Brush Kit, Cutting Unit with 5in or 7in Reel
Brand: Toro
|
Category: Lawn Mower Accessories
|
Size: 1.41 MB

Toro Reelmaster 5010- H Installation Instructions (2 pages)
End-Weight Kit for 8-Blade or 11-Blade DPA Cutting Unit with 5in or 7in Reel
Brand: Toro
|
Category: Lawn Mower Accessories
|
Size: 0.33 MB
Advertisement