Panasonic PT-DW7000 Manuals
Manuals and User Guides for Panasonic PT-DW7000. We have 7 Panasonic PT-DW7000 manuals available for free PDF download: Operating Instructions Manual, Setup And Operation Manual, Adjustment Manual, Specifications, Brochure & Specs
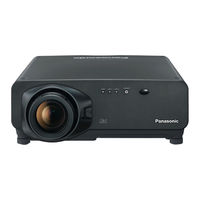
Panasonic PT-DW7000 Operating Instructions Manual (116 pages)
DLP Based Projector for Commercial use
Table of Contents
Advertisement

Panasonic PT-DW7000 Setup And Operation Manual (37 pages)
Multi Projector Monitoring and Control Software
Table of Contents
Advertisement

Panasonic PT-DW7000 Adjustment Manual (17 pages)
Panasonic PT-D10000: User Guide
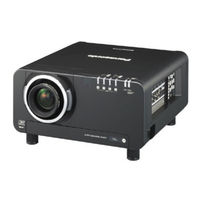
Panasonic PT-DW7000 Specifications (12 pages)
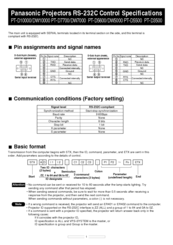
RS-232C Control

Panasonic PT-DW7000 Specifications (6 pages)
DLP-Based Projector

Panasonic PT-DW7000 Brochure & Specs (6 pages)
DLP Based WXGA Projector