
User Manuals: Daikin RYYQ14U7Y1B Heat Pump System
Manuals and User Guides for Daikin RYYQ14U7Y1B Heat Pump System. We have 6 Daikin RYYQ14U7Y1B Heat Pump System manuals available for free PDF download: Service Manual, Installer And User Manual, Installation And Operation Manual
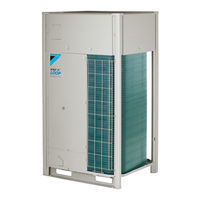
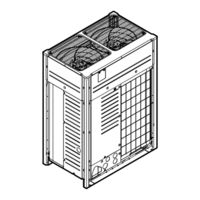
Daikin RYYQ14U7Y1B Service Manual (200 pages)
Table of Contents
-
A3P27
-
A6P27
-
Pcb A6P51
-
Components77
-
4-Way Valve77
-
Compressor82
-
Inverter PCB99
-
Main PCB106
-
Noise Filter PCB110
-
Oil Return Valve112
-
Plate Work118
-
Reactor123
-
Thermistors128
-
External Factors138
-
Maintenance140
-
Technical Data145
Advertisement
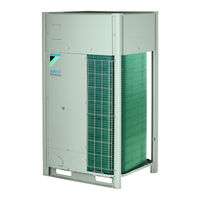
Daikin RYYQ14U7Y1B Installer And User Manual (176 pages)
Table of Contents
-
General8
-
Electrical11
-
For the User17
-
General18
-
Operation25
-
Relocation46
-
Disposal47
-
Configuration121
-
To Use Mode 1125
-
To Use Mode 2125
-
Commissioning145

Daikin RYYQ14U7Y1B Installer And User Manual (176 pages)
Table of Contents
-
General8
-
Electrical11
-
For the User17
-
General18
-
Operation26
-
Relocation47
-
Disposal48
-
Configuration122
-
To Use Mode 1126
-
To Use Mode 2126
-
Commissioning146
Advertisement
Daikin RYYQ14U7Y1B Installer And User Manual (72 pages)
Table of Contents
-
General4
-
Brine6
-
Water6
-
Preparation11
-
Installation20
-
Disposal53
-
For the User60
-
Operation61


Advertisement