Daikin Altherma ERRA10E W1 Series Manuals
Manuals and User Guides for Daikin Altherma ERRA10E W1 Series. We have 5 Daikin Altherma ERRA10E W1 Series manuals available for free PDF download: Installer's Reference Manual, Installation Manual

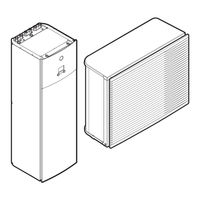
Daikin Altherma ERRA10E W1 Series Installer's Reference Manual (348 pages)
Brand: Daikin
|
Category: Air Conditioner
|
Size: 27 MB
Table of Contents
-
General10
-
Water13
-
Electrical13
-
Outdoor Unit23
-
Indoor Unit26
-
Single Room37
-
In this Chapter130
-
Running Current148
-
Switch Box150
-
Top Cover150
-
Switch Box166
-
Configuration169
-
Possible Screens174
-
Home Screen174
-
Main Menu Screen177
-
Additional Zone177
-
Menu Screen178
-
Setpoint Screen178
-
Select Edit181
-
2-Points Curve194
-
Settings Menu198
-
Malfunctioning198
-
Room198
-
Main Zone203
-
Additional Zone212
-
Heating off225
-
Tank226
-
User Settings232
-
Information237
-
Backup Heater244
-
Averaging Time255
-
Auto Restart259
-
Commissioning266
-
User Profile266
-
Operation267
-
Wlan267
-
Commissioning272
-
In this Chapter272
-
Troubleshooting288
Advertisement
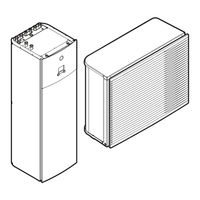
Daikin Altherma ERRA10E W1 Series Installer's Reference Manual (324 pages)
Table of Contents
-
General10
-
Water13
-
Electrical13
-
Outdoor Unit23
-
Indoor Unit26
-
Single Room35
-
Configuration155
-
Possible Screens160
-
Home Screen161
-
Main Menu Screen163
-
Menu Screen164
-
Setpoint Screen165
-
2-Points Curve177
-
Settings Menu181
-
Malfunctioning181
-
Room182
-
Main Zone186
-
Additional Zone197
-
Tank212
-
User Settings220
-
Information225
-
Commissioning249
-
User Profile249
-
Operation249
-
Wlan250
-
Commissioning256
-
Troubleshooting274
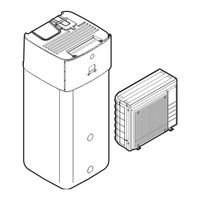
Daikin Altherma ERRA10E W1 Series Installer's Reference Manual (308 pages)
Table of Contents
-
General10
-
Water13
-
Electrical13
-
Outdoor Unit23
-
Indoor Unit26
-
Configuration142
-
Possible Screens147
-
Home Screen148
-
Main Menu Screen150
-
Menu Screen151
-
Setpoint Screen152
-
2-Points Curve164
-
Settings Menu168
-
Malfunctioning168
-
Room169
-
Main Zone173
-
Additional Zone184
-
Tank198
-
User Settings207
-
Information212
-
Commissioning231
-
User Profile231
-
Operation231
-
Wlan232
-
Commissioning237
-
Troubleshooting258
Advertisement
Daikin Altherma ERRA10E W1 Series Installer's Reference Manual (300 pages)
Table of Contents
-
General10
-
Water13
-
Electrical13
-
Outdoor Unit22
-
Indoor Unit24
-
Single Room34
-
Configuration149
-
Possible Screens154
-
Home Screen155
-
Main Menu Screen157
-
Menu Screen158
-
Setpoint Screen158
-
2-Points Curve164
-
Settings Menu169
-
Malfunctioning169
-
Room169
-
Main Zone173
-
Additional Zone183
-
Tank197
-
User Settings202
-
Information207
-
Commissioning236
-
User Profile236
-
Operation236
-
Wlan237
-
Commissioning242
Advertisement