Table of Contents
Advertisement
Quick Links
Advertisement
Table of Contents

Subscribe to Our Youtube Channel
Related Manuals for Prolux Stealth


Summary of Contents for Prolux Stealth
-
Page 1: Owners Manual
Owners Manual Prolux Stealth Owners Manual We Know Vacuums! -
Page 2: Table Of Contents
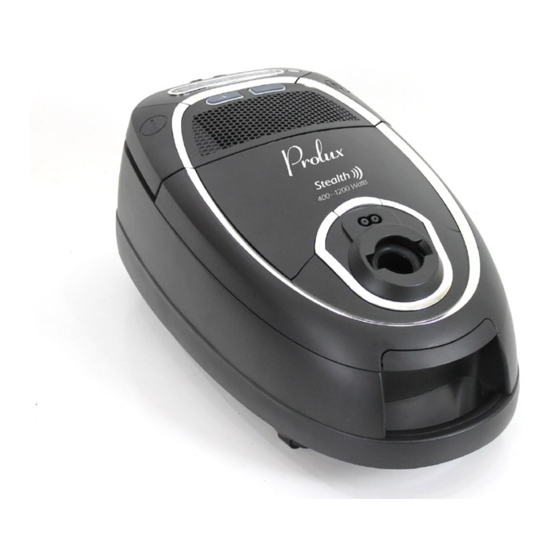
7.1 Conditions of warranty....................35 7.2 In case of a warranty claim..................35 Congratulations on the purchase of your new Prolux Stealth Vacuum Cleaner! The Proloux Stealth is attractive, powerful and quiet. Powerful deep cleaner – 12 amps of power produces an amazing 107 CFM of air. -
Page 3: Safety Notes
Violations of the operating instructions can lead to severe injuries as well as damages to the appliance. Prolux takes no responsibility for damages due to violations of these operating instructions. -
Page 4: Re: Mains Connection
1.5 Re: Mains connection The appliance runs on electricity, which means there is always danger of electric shock. So please especially observe the following: - Never touch the plug with wet hands. - Always pull directly at the plug if you want to disconnect the appliance from the mains. Never pull the mains lead as it might break. -
Page 5: Using Further Nozzles (Accessories)
Your vacuum cleaner is now ready for use. WARNING: Only assemble the appliance if it is not connected to the electrical outlet. The appliance could be switched on by accident. NOTE: It might be necessary to push a bit harder as needed. 2 Unpacking and assembling 2.3 Using further nozzles (accessories) Besides the floor nozzle you just attached, you may extend... -
Page 6: Operation
3 Operation 3.1 Vacuum cleaning 1. Attach the desired nozzle or pull out the Chapter 2.2, "Assembly" power Chapter 2.3, "Using further nozzles (accessories).” 2. Pull the cord until the yellow marking is visible (Fig. 10/1). 3. Switch on the vacuum cleaner with the on/off switch (Fig. -
Page 7: Switching Off And Retracting Power Cord
increases suction power. The - button (Fig. 14/3) reduces suction power NOTE: With the bypass vent (Fig. 13/1) you can quickly reduce the suction power if less power is needed, or to release objects accidentally sucked in. 3.3 Switching off and retracting power cord 1. -
Page 8: Changing Filters
retracting power cord.” In this way you avoid dust destroying the appliance. NOTE: Be careful when removing the dust filter bag so that no dust escapes. NOTE: You can dispose of the dust filter bag with your regular domestic trash if it contains no prohibited waste materials. NOTE: The dust compartment cover can only be closed with a dust filter bag in place. -
Page 9: Changing The Motor Protection Filter
Do not use cleaning or scouring agents or alcohol, as these might damage the appliance. 5 Troubleshooting Before sending the appliance to the Prolux authorized service center, check if you might be able to correct the malfunction yourself following the list below: WARNING: Never use a defective appliance. - Page 10 Canister- Electric Power Nozzle – Problem – electric power nozzle does not power up (motor does not turn on in power nozzle) Solution – Please follow all the steps below and try again Unplug cord from power nozzle on hose, count 20 seconds, then plug back in Make sure hose is firmly “snapped”...
-
Page 11: Warranty
This warranty is limited solely to the cost of the repair or replacement of the unit at Prolux’s option. This warranty does not cover normal wear of parts and does not apply to any unit that has been tampered (by unauthorized user) with or used for commercial purposes. - Page 12 PROLUX retailer you bought the unit from first. Unauthorized warranty claims may be sent back. Authorized Warranty claims: PROLUX shall be responsible for all parts and labor and the customer shall be responsible for all shipping charges to and from the PROLUX service center.
Need help?
Do you have a question about the Stealth and is the answer not in the manual?
Questions and answers