Do you have a question about the D1503-M-DI and is the answer not in the manual?
Questions and answers
Akio
April 2, 2025
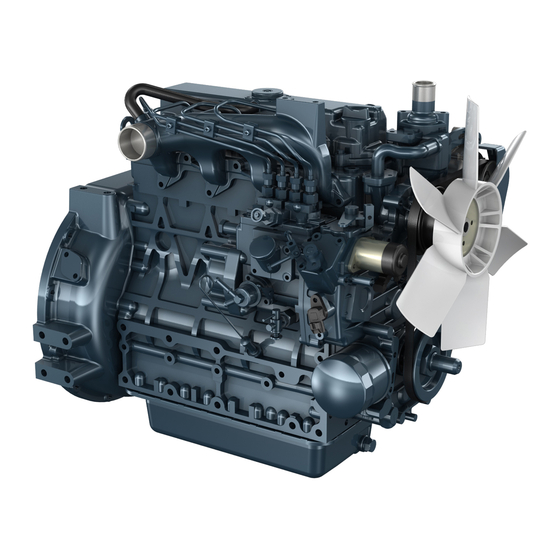
How do i remove the crankshaft pulley?
1 comments:
Mr. Anderson
April 2, 2025
To remove the crankshaft pulley on a Kubota D1503-M-DI:
1. Prevent the flywheel from turning using a flywheel stopper. 2. Use a 46 mm deep socket wrench to remove the fan drive pulley mounting nut. 3. Remove the fan drive pulley using a gear puller. 4. Remove the feather key.
Note: When reassembling, apply grease to the splines of the coupling. Tighten the fan drive pulley mounting nut to 137.3 to 156.9 N·m (101.3 to 115.7 ft-lbs).


Need help?
Do you have a question about the D1503-M-DI and is the answer not in the manual?
Questions and answers
How do i remove the crankshaft pulley?
To remove the crankshaft pulley on a Kubota D1503-M-DI:
1. Prevent the flywheel from turning using a flywheel stopper.
2. Use a 46 mm deep socket wrench to remove the fan drive pulley mounting nut.
3. Remove the fan drive pulley using a gear puller.
4. Remove the feather key.
Note: When reassembling, apply grease to the splines of the coupling. Tighten the fan drive pulley mounting nut to 137.3 to 156.9 N·m (101.3 to 115.7 ft-lbs).
This answer is automatically generated