Table of Contents
Advertisement
Advertisement
Table of Contents

Related Manuals for Ayra TDC 444


Summary of Contents for Ayra TDC 444
- Page 1 DMX LED light effect with 4 scan mirrors User manual...
-
Page 2: Safety Precautions
WARNING: Do not look directly into the beam from a short distance. This may cause serious injury to the eyes. Ayra is not responsible for any injuries caused by incorrect use of this device. Installation requirements: - Always check the power supply to which you want to connect the device. If the voltage requirements do not meet, do not connect the device as this may cause serious damage. -
Page 3: Box Contents
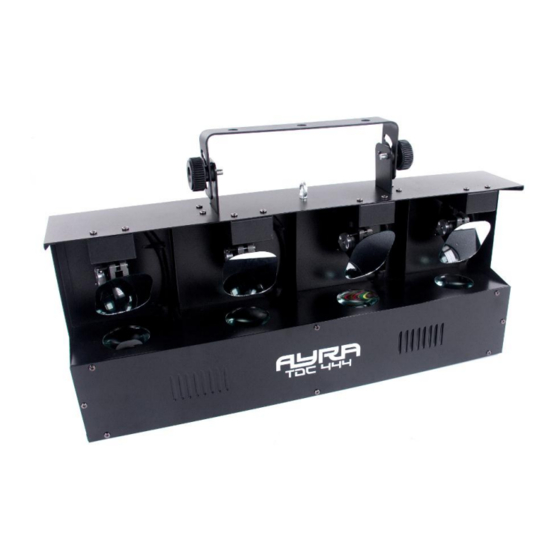
Box contents Box contents 1x TDC 444 fixture 1x power cable Unit and accessory inspection - Always use the supplied power cable to connect the unit to a power supply. If the cable appears broken or has visible damage, do not use it. - Page 4 Device overview 1. Moving mirror 2. Beam output 3. Adjustable bracket 4. Ventilation slots 5. Fan 6. IEC Power inlet with integrated fuse holder 7. Control panel display with MENU, UP and DOWN buttons 8. Sound sensitivity potentiometer 9. Safety eye, for optional safety cable 10.
-
Page 5: Setting Up The Unit
Setting up the unit To activate the unit, connect the included power supply with the unit and a suitable 230V, 50 Hz power outlet. The unit will activate directly after it is plugged in to a wall outlet or other power source. Give the scanner time to calibrate the stepping motors, which are used to determine the position of the mirror. - Page 6 Set the correct address on the digital display, you are able to choose a value between 001 and 255. When a DMX-signal is received, a blinking red dot on the display is active. Working time: hour: It is possible to see the total working time of this fixture, by activating this feature. Test mode: test: The unit will test all its internal programs.
- Page 7 Gobo 0 Gobo 11 Gobo 12 Channel 2: Horizontal movement (Pan) for Mirror 1 Channel 3: Vertical movement (Tilt) for Mirror 1 Channel 4: Select gobo for Mirror 2 Start value End value Function No function Gobo 1 Gobo 2 Gobo 3 Gobo 4 Gobo 5...
- Page 8 Gobo 0 Gobo 11 Gobo 12 Channel 11: Horizontal movement (Pan) for Mirror 4 Channel 12: Vertical movement (Tilt) for Mirror 4 17 channel DMX mode Channel 1: Dimmer intensity Start value End value Function No function Dimmer 0-100% Channel 2: Strobe slow/fast (only works when CH1 is set to 128-255) Channel 3: Select gobo (channel 4 must be set to off) Channel 4: Select rotating gobo (channel 3 must be set to off) Channel 5: Gobo rotation...
-
Page 9: Installation And Maintenance
Installation and maintenance Mounting the bracket A pre-mounted hanging bracket is provided, with screwknobs at both sides of the scanner. This bracket can be used to install the unit to a fixed structure, such as a T-bar or truss. Installing the scanner in a hanging position When you wish to hang the scanner against a wall, ceiling or beam, make sure to use proper installation tools and let a skilled technician install the scanner for you. - Page 10 The mirror and lens can be cleaned with a non-aggressive glass cleaning solution, but is not recommended. Ayra recommends to clean the mirror and lens with a fine brush, while removing dust and/or dirt with a vacuum cleaner. Do not touch the mirror and lens with your fingers, as this may cause fingerprints which are harder to remove.
-
Page 11: Technical Specifications
Technical specifications LED light effect with four moving mirrors Light source: 60x 5mm LEDs (16x red, 20x green, 20x blue, 4x amber) 8, 12 or 17 DMX-channels 3-pin XLR in- and output Music controlled mode with internal microphone Microphone sensitivity adjustable Working modes: music controlled, DMX, test, master/slave Power consumption: 132W continuous, 246W max.
Need help?
Do you have a question about the TDC 444 and is the answer not in the manual?
Questions and answers