Table of Contents
Advertisement
Advertisement
Table of Contents

Related Manuals for Kirisun PT4200


Summary of Contents for Kirisun PT4200
-
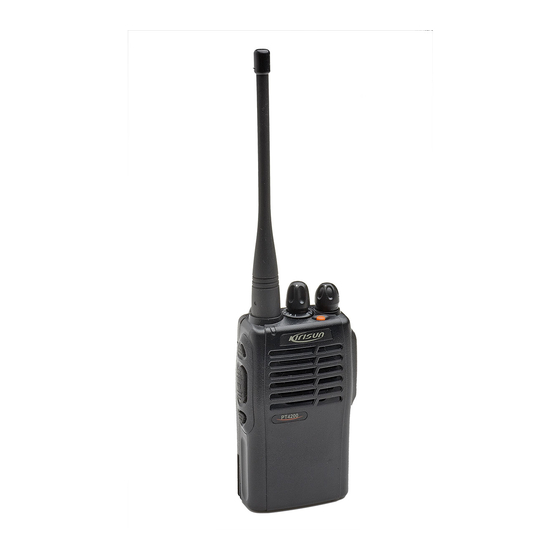
Page 1: Instruction Manual
INSTRUCTION MANUAL PT4200 FM HANDHELD TRANSCEIVER... - Page 2 INSTRUCTION MANUAL PT4200 FM HANDHELD TRANSCEIVER We are very grateful for your purchasing brand two- way radios produced by Kirisun Electronics (Shenzhen) Co., Ltd. We believe two-way radio, which always incorporates the latest technology, can bring great convenience to your life and work;...
- Page 3 areas or on unstable surfaces. Do not modify this radio for any reason. Refer service to qualified licensed or certificated technicians only. Notice to the User: Government laws prohibit radio communication without permission in government districts. Illegal operation is subject to punishment by fine and/or imprisonment.
-
Page 4: Table Of Contents
If the radio emits smoke or strange odors, turn it off and remove INSTALLING THE ANTENNA ............4 the battery from the radio and promptly contact your local authorized INSTALLING THE OPTIONAL SPEAKER/MICROPHONE ...4 Kirisun dealer. INSTALLING/REMOVING THE BELT CLIP ........4 RADIO OVERVIEW ................5 BASIC OPERATION ..............6 SCAN FUNCTION ................7... -
Page 5: Unpacking And Checking Equipment
The battery is not fully charged in the factory, and probably the new battery is falsely indicated as full charge. Before the initial use, please charge the new battery. Kirisun KB-58L Li-ion battery is supplied. When charge the battery for the first time after purchase or long- Charger... -
Page 6: Installing/Removing The Battery Pack
INSTALLING THE ANTENNA resume the battery normal capacity. Do not charge the battery again if it has been fully charged or it is not in the low battery warning state, otherwise, its life will be Screw the antenna into the connector at shortened or it will be damaged. -
Page 7: Radio Overview
RADIO OVERVIEW channel number will be changed. Emergency Button Press and hold this button for over 2 seconds to activate warning tone. Press it again to exit the emergency alert state. Note: When warning tone sounds, all of the buttons are disabled. Microphone/Speaker Jacks For connecting external Microphone/Speaker. -
Page 8: Scan Function
receiving signals. The pausing time can be preset from 0.5 to 5 Make a Call seconds. To make a call, select the desired channel, Carrier wave control press and hold the PTT button, and speak in The radio will pause scanning after receiving signals and will normal voice. -
Page 9: Auxiliary Functions
AUXILIARY FUNCTIONS the scanning pause, the radio will transmit from the currently working channel. TIME-OUT TIMER Time-out timer can prevent the user from continuously talking Note: overlong and prevent the radio body heating due to continuous Currently working channel means the channel in which the radio longtime transmitting. -
Page 10: Ctcss/Dcs
Monitor Lock: Press the monitor button once to deactivate the Wired Clone signaling, and squelch un-mutes. Press it again to return to normal If wire clone function has been activated, after entering wire clone operation and squelch mutes. mode, the radio will not exit the wire clone mode automatically. You SQ Off: When there is no signal received, the squelch circuit of the have to turn on the radio again to enter the user mode. -
Page 11: Emergency Alert
TROUBLE SHOOTING GUIDE Emergency Alert Press the emergency button for more than 2 seconds, and then the radio enters the state of emergency alert: red light flashes, and loud NO. PROBLEM SOLUTION warming tone sounds. Press the emergency button again to exit the emergency state. The radio cannot Battery power may be insufficient. - Page 12 SETTINGS (set by the dealer) Selected channel Selected channel or currently working channel Priority channel Model: ____________ Serial No.: ___________ Priority channel or currently working channel Channels List 4) Squelch monitor: Open TRANSMITTING RECEIVING CHANNEL CTCSS/DCS Close FREQUENCY FREQUENCY 5) Time-out timer: Open Close 6) Automatic scan:...
Need help?
Do you have a question about the PT4200 and is the answer not in the manual?
Questions and answers