Bellini BR603AX Installation And User Manual
Black fascia
&
auto slide-out
canopy range hood
Hide thumbs
Also See for BR603AX:
- Installation & operation instructions (16 pages) ,
- Installation & operation instructions (16 pages)
Advertisement
啊哈
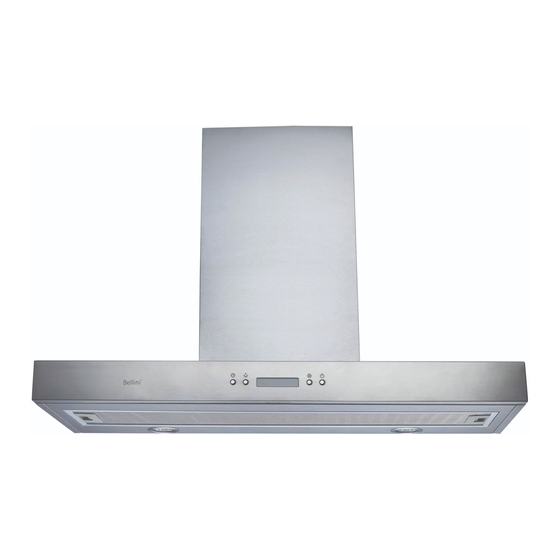
Black Fascia
Auto Slide-Out
Canopy Range Hood
Installation and User manual
Content
Safety instructions---------------------------------- 1
Product description--------------------------------- 3
Operation mode-------------------------------------- 4
Installation--------------------------------------------- 5
Start using the range hood------------------------ 9
Maintenance and cleaning-------------------------10
Warranty------------------------------------------------ 11
20100610 issue 3
&
BR603AX
BR903AX
BR603TBX
BR903TBX
Advertisement

Subscribe to Our Youtube Channel
Related Manuals for Bellini BR603AX


Summary of Contents for Bellini BR603AX
-
Page 1: Table Of Contents
Black Fascia 啊哈 & Auto Slide-Out Canopy Range Hood Installation and User manual Content Safety instructions---------------------------------- 1 Product description--------------------------------- 3 Operation mode-------------------------------------- 4 Installation--------------------------------------------- 5 Start using the range hood------------------------ 9 Maintenance and cleaning-------------------------10 Warranty------------------------------------------------ 11 BR603AX BR903AX BR603TBX BR903TBX... -
Page 2: Safety Instructions
Safety instructions This manual explains the proper installation and use of your range hood, please read it carefully before using even if you are familiar with the product. The manual should be kept in a safe place for future reference. Never to do: Always to do: This appliance is not intended for use by persons... - Page 3 Safety instructions Never to do: Always to do: This range hood cannot be installed for outdoor use. Attention should be given to ensure that any It is prohibited to fit the range hood over a solid fuel applicable regulations concerning discharge stove of exhaust air are fulfilled.
-
Page 4: Product Description
Product description Accessories bag Description Picture User Manual 1:1 installation guide template Upper chimney retaining bracket Lower chimney retaining bracket Hood mount bracket Outlet ( diameter 150mm) Dry wall anchors plugs Screw (ST4x8mm) Screw (ST4x40mm) Screw (ST4x30mm) Component list: Technical data: 1. -
Page 5: Operation Mode
Operation Mode Your range hood can be operated in two modes, choose the mode suitable for your kitchen before installation. Air Extraction For air extraction mode, a ducting kit is required, the air To outside is drawn in and cleaned by the grease filters and via the ducting must be directed to the outside atmosphere. -
Page 6: Installation
Installation Dimensions: BR603TBX/BR903TBX BR603AX/BR903AX *Width of BR603TBX and BR603AX is 600mm, width of BR903TBX and BR903AX is 900mm Installation: Warning: Check that the installation complies with the standards of local building, gas and electrical authorities. Before connecting to the mains supply ensure the mains voltage corresponds to the voltage on the appliance rating plate inside the range hood. - Page 7 1. Using a spirit level, mark a vertical line on the wall (Central to the cook top installed below) to indicate the centre location of the hood and a horizontal line where the hood base will be positioned. NOTE: The distance from the horizontal line to an electrical cooktop underneath must be minimum of 600mm &...
- Page 8 5. Fit the flexible exhaust duct onto outlet. ( Air Extraction mode only ) Note : For the Air Circulation Mode option , skip step 5 and proceed with step 6. 6. Place Upper Decorative Chimney inside the Lower Decorative Chimney. Connect the Lower Chimney retaining bracket to the Lower Decorative Chimney with 2 x ST4x8mm screws, do not fully tighten, allowing for sufficient clearance to telescopically adjust the Upper Decorative Chimney to the desired position when installation is completed.
- Page 9 * Total maximum extension height of BR603TBX and BR903TBX is 780mm, each chimney height is 400mm. Total maximum extension height of BR603AX and BR903AX is 980mm, each chimney height is 500mm. 14. Extend the Upper decorative chimney to the desired height and secure it with 2 x ST4 x 8mm screws to the...
- Page 10 15. Remove all blue protective film on chimney and cooker hood, the installation is now finished.
- Page 11 Start using your range hood Timer – Clock time setting, auto off Clock time setting Depress “Timer” for 2 to 5 second, hour digit segment will flash, depress “Speed” to increase and “Lamp” to decrease hour digit until current clock hour time appears. Depress “Timer”...
-
Page 12: Maintenance And Cleaning
Maintenance and cleaning Caution: the dishwasher. After cleaning ensure that the filters • Before maintenance or cleaning is carried out, the are completely dry before refitting. range hood should be disconnected from the main - By hand: Soak in warm water and a neutral power supply. -
Page 13: Warranty
State and Territory Laws. damage or connected to incorrect power supply. The original purchaser of this Bellini product is 6. The Company (and any company related to the provided with the following warranty, subject to the Company) will not be liable for any special, following warranty conditions. - Page 14 NOTES:...
Need help?
Do you have a question about the BR603AX and is the answer not in the manual?
Questions and answers