Bellini BR903AX Installation & Operation Instructions
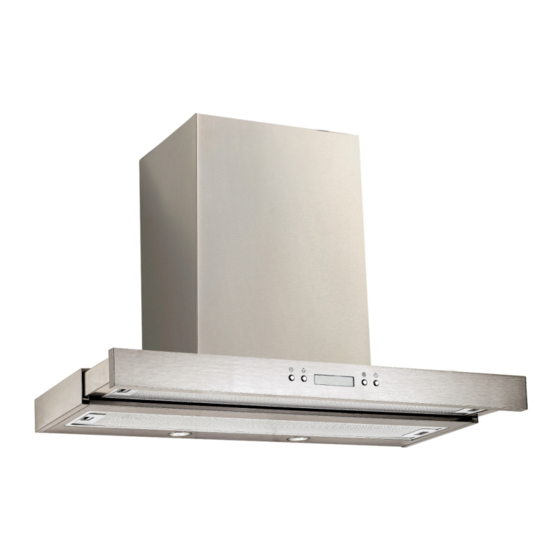
60cm/90cm automatic slide out range hood
Hide thumbs
Also See for BR903AX:
- Installation and user manual (14 pages) ,
- Installation & operation instructions (16 pages)
Advertisement
Quick Links
GSM Retail Australia Pty Ltd ABN: 53 007 582 475
For Warranty and technical queries: 1300 373 199 Aust OR 0800 764 912 NZ www.belliniappliances.com.au
Model: BR603AX FINELINE: 5102305 AUS ONLY BR903AX FINELINE:5102306 60cm/90cm Auto Slide out Range hood
INSTALLATION & OPERATION
INSTRUCTIONS
60cm/90cm Automatic Slide
Out Range hood
Model No
BR603AX
FINELINE: 5102305 AUS ONLY
BR603AX-F
BR903AX
FINELINE: 5102306 AUS ONLY
BR903AX-F
V14 Sep20
Advertisement

Subscribe to Our Youtube Channel
Related Manuals for Bellini BR903AX


Summary of Contents for Bellini BR903AX
- Page 1 V14 Sep20 GSM Retail Australia Pty Ltd ABN: 53 007 582 475 For Warranty and technical queries: 1300 373 199 Aust OR 0800 764 912 NZ www.belliniappliances.com.au Model: BR603AX FINELINE: 5102305 AUS ONLY BR903AX FINELINE:5102306 60cm/90cm Auto Slide out Range hood...
- Page 2 1300 373 199 GSM Retail Australia Pty Ltd ABN: 53 007 582 475 For Warranty and technical queries: 1300 373 199 Aust OR 0800 764 912 NZ www.belliniappliances.com.au Model: BR603AX FINELINE: 5102305 AUS ONLY BR903AX FINELINE:5102306 60cm/90cm Auto Slide out Range hood...
-
Page 3: Table Of Contents
Warranty------------------------------------------ 13 GSM Retail Australia Pty Ltd ABN: 53 007 582 475 For Warranty and technical queries: 1300 373 199 Aust OR 0800 764 912 NZ www.belliniappliances.com.au Model: BR603AX FINELINE: 5102305 AUS ONLY BR903AX FINELINE:5102306 60cm/90cm Auto Slide out Range hood... -
Page 4: Safety Instructions
The manual should be kept in a safe place for future reference. In case of failure, only the Authorised Technical Service may repair this range hood. Otherwise the guarantee will be null and void. All Bellini Appliances are for domestic use only. - Page 5 Safety instructions Never to do: Always to do: This range hood cannot be installed for outdoor use. Attention should be given to ensure that any It is prohibited to fit the range hood over a solid fuel applicable regulations concerning discharge stove of exhaust air are fulfilled.
-
Page 6: Product Description
Product description Accessories bag Description Picture User Manual 1:1 installation guide template Upper chimney retaining bracket Lower chimney retaining bracket Hood mount bracket Outlet ( diameter 150mm) Dry wall anchors plugs Screw (ST4x8mm) Screw (ST4x40mm) Screw (ST4x30mm) Component list: Technical data: 1. -
Page 7: Operation Mode
Operation Mode Your range hood can be operated in two modes, choose the mode suitable for your kitchen before installation. Air Extraction For air extraction mode, a ducting kit is required, the air To outside is drawn in and cleaned by the grease filters and via the ducting must be directed to the outside atmosphere. -
Page 8: Installation
Installation Dimensions: BR603AX(-F)/BR903AX(-F) *Width of BR603AX(-F) is 600mm, width of BR903AX(-F) is 900mm Installation: Warning: Check that the installation complies with the standards of local building, gas and electrical authorities. Before connecting to the mains supply ensure the mains voltage corresponds to the voltage on the appliance rating plate inside the range hood. - Page 9 1. Using a spirit level, mark a vertical line on the wall (Central to the cook top installed below) to indicate the centre location of the hood and a horizontal line where the hood base will be positioned. NOTE: The distance from the horizontal line to an electrical cooktop underneath must be minimum of 600mm &...
- Page 10 5. Fit the flexible exhaust duct onto outlet. ( Air Extraction mode only ) Note : For the Air Circulation Mode option , skip step 5 and proceed with step 6. 6. Place Upper Decorative Chimney inside the Lower Decorative Chimney. Connect the Lower Chimney retaining bracket to the Lower Decorative Chimney with 2 x ST4x8mm screws, do not fully tighten, allowing for sufficient clearance to telescopically adjust the Upper Decorative Chimney to the desired position when installation is completed.
- Page 11 3) Once the motor access panel is removed, you will be able to see the motor. 4) Hook the carbon filter over the pins that are located at the end of the motor. 5) Turn the carbon filter anticlockwise, until you feel it click into place. o Repeat this process for the second carbon filter.
- Page 12 2 x ST4x40mm screws. * Total maximum extension height of BR603AX and BR903AX is 980mm, each chimney height is 500mm. 14. Extend the Upper decorative chimney to the desired height and secure it with 2 x ST4 x 8mm screws to the chimney retaining bracket.
-
Page 13: Start Using Your Range Hood
Start using your range hood Timer – Clock time setting, auto off Clock time setting Depress “Timer” for 2 to 5 second, hour digit segment will flash, depress “Speed” to increase and “Lamp” to decrease hour digit until current clock hour time appears. Depress “Timer”... -
Page 14: Maintenance And Cleaning
Maintenance and cleaning Caution: the dishwasher. After cleaning ensure that the filters • Before maintenance or cleaning is carried out, the are completely dry before refitting. range hood should be disconnected from the main - By hand: Soak in warm water and a neutral power supply. -
Page 15: Warranty
Consumer until the expiry of three (3) year (Warranty Period). If within the Warranty Period a manufacturing defect is discovered in the Bellini product or it fails to perform to the Company’s specifications as a result of some defect in materials, components or workmanship (Defect) then the Company will, at its option, repair the Bellini product or supply a replacement Bellini product free of charge. - Page 16 1.10 If you are required to transport the Bellini product to the Company or its service agent, you must ensure it is safely disconnected by a qualified tradesman and securely packed and insured. The Company does not accept any responsibility for loss or damage of the Bellini product prior to it being received by the Company or its service agent.
Need help?
Do you have a question about the BR903AX and is the answer not in the manual?
Questions and answers