Advertisement
啊哈
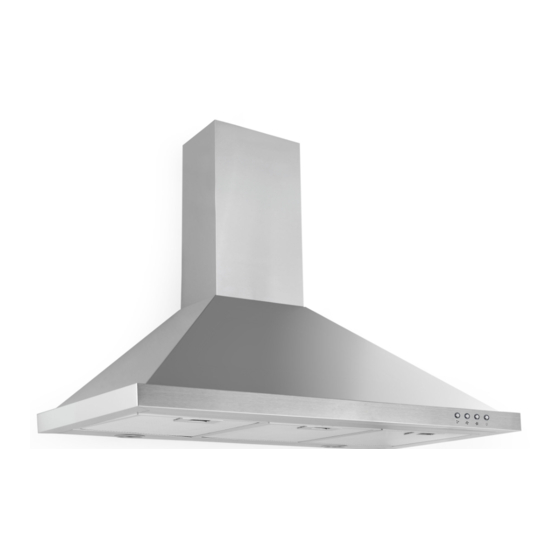
Slim Line Range Hood
Installation and User manual
Content
Safety instructions---------------------------------- 2
Product description--------------------------------- 4
Operation mode-------------------------------------- 5
Installation--------------------------------------------- 6
Start using the range hood------------------------ 10
Maintenance and cleaning-------------------------11
Warranty------------------------------------------------ 12
For warranty service call 1300 373 199(Australia)
or 0508 123108(New Zealand) to connect you to
the nearest authorised service centre
20130902 issue 1
BR6/903SPX(1)
BR6/903SPX(1)-F
1
BR6/903SPW(1)
BR6/903SPW(1)-F
Advertisement

Related Manuals for Bellini BR603SPX-F


Summary of Contents for Bellini BR603SPX-F
-
Page 1: Table Of Contents
20130902 issue 1 啊哈 Slim Line Range Hood Installation and User manual Content Safety instructions---------------------------------- 2 Product description--------------------------------- 4 Operation mode-------------------------------------- 5 Installation--------------------------------------------- 6 Start using the range hood------------------------ 10 Maintenance and cleaning-------------------------11 Warranty------------------------------------------------ 12 For warranty service call 1300 373 199(Australia) BR6/903SPX(1) or 0508 123108(New Zealand) to connect you to BR6/903SPX(1)-F... -
Page 2: Safety Instructions
Safety Instructions This manual explains the proper installation and use of your range hood, please read it carefully before using even if you are familiar with the product. The manual should be kept in a safe place for future reference. Never to do: Always to do: This appliance is not intended for use by persons... - Page 3 Safety Instructions Never to do: Always to do: This range hood cannot be installed for outdoor use. Attention should be given to ensure that any It is prohibited to fit the range hood over a solid fuel applicable regulations concerning discharge stove of exhaust air are fulfilled.
-
Page 4: Product Description
3. Grease mesh filters Technical data: Model Description Motor Width Others BR603SPX 60cm slim line stainless steel range hood BR603SPX-F 2x100W BR603SPW 60cm slim line painted white range hood BR603SPW-F 600mm BR603SPX1 60cm slim line stainless steel range hood BR603SPX1-F 1x100W Power supply: 220 –... -
Page 5: Operation Mode
Operation Mode Your range hood can be operated in two optional modes, choose the mode suitable for your kitchen before installation. Air Exaction Air Recirculation For air recirculation mode, For air exaction mode, a charcoal filter is a must to ducting kit is required, the eliminate cooking smells. -
Page 6: Installation
Installation Dimensions: *Width data please refer to page 4 Installation: Warning: Check that the installation complies with the standards of local building, gas and electrical authorities. Before connecting to the mains supply ensure the mains voltage corresponds to the voltage on the appliance rating plate inside the range hood. - Page 7 We provide two options to install your range hood, against wall (method A) or into cabinet (method B), choose what kind of method you want and then follow up corresponding instruction. A: Install against wall 1. Using a spirit level mark a vertical centre line on the wall where the hood is to be positioned, and a horizontal line where the hood base will be.
- Page 8 electrical hazards Fit the outlet and flexible exhaust pipe* on top of range hood body. *Flexible exhaust pipe is not included in this packaging Warning: Failure to install the screws or fixing device in accordance with these instructions may result in electrical hazards For 60cm range hood, dimension A=510mm For 90cm range hood, dimension A=810mm...
- Page 9 B: Install into cabinet 1. According to below drawing to determine where want to place the range hood, and drill 4 holes with 4mm diameter at the hanging board of your cabinet. 545mm(60cm hood), 845mm(90cm hood) 35.5mm 75.75mm 215mm 2. Fit the outlet on top of range hood body. 3.
-
Page 10: Start Using The Range Hood
Start Using Your Range Hood Push button 0 Off button It’s used for turning off the fan. Low Speed button It’s used for Ventilation on the kitchen. It is suitable for simmering and cooking which do not make much steam. Medium Speed button Airflow speed is ideally for ventilation in standard cooking operation. -
Page 11: Maintenance And Cleaning
Maintenance and cleaning Caution: The mesh filters can be cleaned either by hand or in • Before maintenance or cleaning is carried out, the the dishwasher. After cleaning ensure that the filters range hood should be disconnected from the main are completely dry before refitting. -
Page 12: Warranty
Consumer until the expiry of one (1) years (Warranty Period). If within the Warranty Period a manufacturing defect is discovered in the Bellini product or it fails to perform to the Company’s specifications as a result of some defect in materials, components or workmanship (Defect) then the Company will, at its option, repair the Bellini product or supply a replacement Bellini product free of charge. - Page 13 1.10 If you are required to transport the Bellini product to the Company or its service agent, you must ensure it is safely disconnected by a qualified tradesman and securely packed and insured. The Company does not accept any responsibility for loss or damage of the Bellini product prior to it being received by the Company or its service agent.
Need help?
Do you have a question about the BR603SPX-F and is the answer not in the manual?
Questions and answers