Table of Contents
Advertisement
Quick Links
Advertisement
Table of Contents

Related Manuals for Kramer Cobra TS2


Summary of Contents for Kramer Cobra TS2
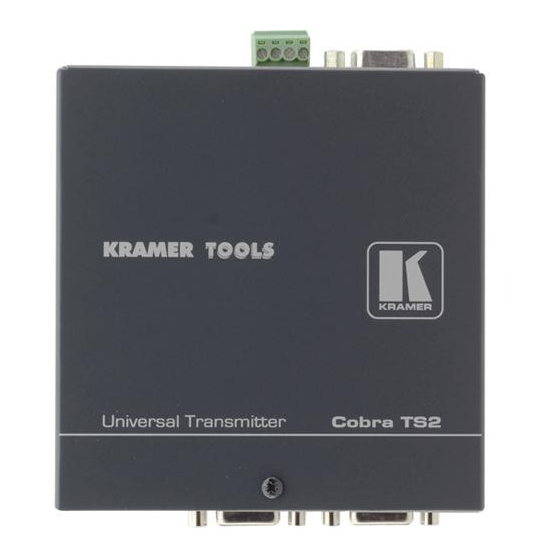
- Page 1 Kramer Electronics, Ltd. USER MANUAL Model: Cobra TS2 Universal Transmitter...
-
Page 2: Table Of Contents
Connections on the Single-Port VGA/RS-232 Solutions to Common Problems Technical Specifications Figures Figure 1: Connecting the Cobra TS2 with Audio Figure 2: Setting Sync Signal Output Termination Figure 3: DC Restore / AC Coupling Options Figure 4: Cobra TS2 Jumper Locations and Settings... -
Page 3: Introduction
GROUP 6: Accessories and Rack Adapters; GROUP 7: Scan Converters and Scalers; and GROUP 8: Cables and Connectors 2 Download up-to-date Kramer user manuals from the Internet at this URL: http://www.kramerelectronics.com 3 The complete list of Kramer cables is on our Web site at http://www.kramerelectronics.com... -
Page 4: Overview
(often associated with low quality cables) Avoiding interference from neighboring electrical appliances that may adversely influence signal quality and positioning your Cobra TS2 in a location free from moisture and away from excessive sunlight and dust Caution –... -
Page 5: Setup And Installation
4th pair options will not. At the transmitter end: 1. Connect the source video to the Cobra TS2 Series transmitter video input port, which is an HD15 connector labeled VIDEO IN. 2. If desired, attach a local monitor via the local monitor port to LOOP OUT. -
Page 6: Connections On The Single-Port Vga/Rs-232
4.2 Connections on the Single-Port VGA/RS-232 The Single-Port Cobra TS2 CAT5 Video System with RS-232 supports video and full-modem serial (RS-232) signals over CAT5 cable. You can also use the transmitters and receivers to make video-only connections without serial communications. -
Page 7: Solutions To Common Problems
Solutions to Common Problems Solutions to Common Problems In most cases, nearly every issue with the Cobra TS2 CAT5 Video System can be resolved by checking the CAT5 termination and making sure that it’s pinned to the TIA/EIA 568B wiring specification. However, there may be other problems that cause the system to not perform as it is designed. - Page 8 This is a result of the sync clamping on the red and blue channels of the video/serial model. For five-component (RGB/H&V) AC coupled video, the Cobra CAT5 Video System TS2 Universal transmitter has been designed with full DC restoration capability. KRAMER: SIMPLE CREATIVE TECHNOLOGY...
-
Page 9: Table 1: Hd15 Video Connector Pinout
Solutions to Common Problems Appendix A Cabling Pinouts Table 1: HD15 Video Connector PINOUT Pin RGBHV RGBS RGsB Composite SVHS (VGA) (Y/C) Red + Red + Red + Green+ Green+ Green+ Blue+ Blue+ Blue+ — — — Red- Red- Red- Green- Green- Green-... -
Page 10: Table 3: Db9 Female Serial Connector
Solutions to Common Problems Appendix A Cabling Pinouts Table 3: DB9 Female Serial connector Full Duplex 3 wire (S2) Simplex Ground Ground Ground Table 4: T568B CAT5 PINOUT KRAMER: SIMPLE CREATIVE TECHNOLOGY... -
Page 11: Figure 2: Setting Sync Signal Output Termination
Conversely, changing a receiver affects the output port of the receiver, not the transmitter. The following illustrations show the jumper locations for the Cobra TS2 unit. 75-ohm sync termination: To enable: Both jumpers OUT (Default) -
Page 12: Figure 3: Dc Restore / Ac Coupling Options
The following diagrams show the switch location and settings for the Cobra Universal Transmitter assembly. Note: Switch settings other than shown below may result in unpredictable performance and are not supported by Kramer. DC restore / AC coupling options: Disable:... -
Page 13: Figure 4: Cobra Ts2 Jumper Locations And Settings
The factory configuration may be changed or checked by using the following jumper location diagram as well as Table 5 for jumper settings. Figure 4: Cobra TS2 Jumper Locations and Settings... -
Page 14: Table 5: Cobra Ts2 Configuration Jumper Settings
Solutions to Common Problems Table 5: Cobra TS2 Configuration Jumper Settings Configuration Option (all options utilize 4th pair, except special configurations): RGBHV Computer Video 1 Off 1 ON 1 Off 1 ON 2 ON 2 ON 2 Off 2 ON... -
Page 15: Figure 5: Receiver Mounting Bracket
Solutions to Common Problems Appendix F Rackmounting Units The Rackmount Kits include brackets for mounting a single transmitter, single receiver, or a single dual daisychainable receiver. Figure 5 shows the 1-Unit Rackmount Bracket , which can be used to mount a single unit on a wall. - Page 16 Solutions to Common Problems Appendix G Setting Sync Mode The Cobra TS2 has the capability for fixed and agile sync. The default sync mode setting is for agile sync which replicates the source sync polarity signals. However some displays require a fixed sync polarity that is not possible to change at the video source.
-
Page 17: Technical Specifications
Technical Specifications Technical Specifications Table 6: Technical Specifications of the Cobra TS2 CABLE REQUIRED: Category 5, 5e, 6 shielded or unshielded twisted pair COMPLIANCE: CE; FCC Class A, IC Class/class A VIDEO SUPPORT: VGA, SVGA, XGA, XGA-2, RGBHV, RGB, Composite,... - Page 18 KRAMER: SIMPLE CREATIVE TECHNOLOGY...
- Page 19 For the latest information on our products and a list of Kramer distributors, visit our Web site: www.kramerelectronics.com, where updates to this user manual may be found. We welcome your questions, comments and feedback. Safety Warning: Disconnect the unit from the power supply before opening/servicing.