Table of Contents
Advertisement
Quick Links
I N S T R U C T I O N M A N U A L
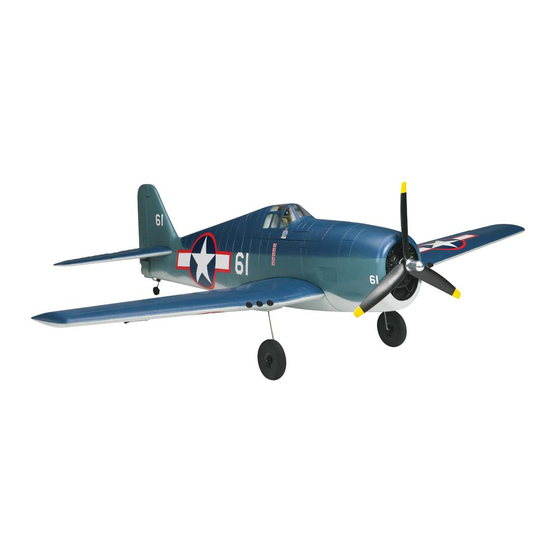
WINGSPAN
LENGTH
WING LOADING
To w e r
®
39 in [990mm]
31.5 in [800mm]
14.8 – 16.7 oz/ft
2
[45 – 51 g/dm
2
]
Hobbies
guarantees
this kit to be
WING AREA
RADIO
free from defects
272 sq in [17.5 dm
2
]
4-Channel
in both material and
workmanship
at
the
date of purchase. This
WEIGHT
MOTOR
warranty does not cover any
component parts damaged by
28 – 31.6 oz [795 – 895 g]
1000kV outrunner, 30A ESC,
use or modification. In no case
10 x 6 3-blade propeller
shall Tower Hobbies' liability exceed
the original cost of the purchased kit.
Further, Tower Hobbies reserves the right to
change or modify this warranty without notice.
READ THROUGH THIS MANUAL
In that Tower Hobbies has no control over the final
BEFORE STARTING CONSTRUCTION.
assembly or material used for final assembly, no
IT CONTAINS IMPORTANT INSTRUCTIONS
liability shall be assumed nor accepted for any damage
AND WARNINGS CONCERNING THE
resulting from the use by the user of the final
user-assembled
product.
By
the
act
of
using
the
ASSEMBLY AND USE OF THIS MODEL.
user-assembled product, the user accepts all resulting liability.
If the buyer is not prepared to accept the liability associated with the
use of this product, the buyer is advised to return this kit immediately in
TOWER HOBBIES
new and unused condition to the place of purchase.
To make a warranty claim send the defective part or item to Hobby Services at
the address below:
airsupport@hobbico.com
Include a letter stating your name, return shipping address, as much contact information
as possible (daytime telephone number, fax number, e-mail address), a detailed description
Entire Contents
problem will be evaluated as quickly as possible.
© 2012 Tower Hobbies
TOWA2004
Advertisement
Table of Contents

Related Manuals for Tower Hobbies F6F Hellcat


Summary of Contents for Tower Hobbies F6F Hellcat
-
Page 1: Tower Hobbies
Further, Tower Hobbies reserves the right to change or modify this warranty without notice. READ THROUGH THIS MANUAL In that Tower Hobbies has no control over the final BEFORE STARTING CONSTRUCTION. assembly or material used for final assembly, no IT CONTAINS IMPORTANT INSTRUCTIONS... - Page 2 But hey, what to say about the high stress points and/or substituting hardware more suitable this Tower Hobbies Hellcat? There’s not really much to it other for the increased stress. than an economical, durable and simple model with considerable surface and scale detail and it fl...
-
Page 3: Replacement Parts List
T O W G 2 0 0 0 1000kV Outrunner Motor Replacement parts for the Tower Hobbies EP Hellcat are available using the order numbers in the Replacement Parts List that follows. The fastest, most economical service can be provided by your hobby dealer or mail-order company. - Page 4 MAIN ASSEMBLY –––––––––––––––––––––– NOTE: If you haven’t yet fi gured it out yet, the canopy hatch is held to the fuselage with magnets at the rear and a tab at the front. To remove the hatch, simply lift up on the aft end of the hatch to disengage the magnets.
-
Page 5: Final Assembly
❏ 6. Bolt the wing to the fuselage with the M6 x 50mm nylon ❏ 2. Use the included double-sided foam mounting strip to wing bolt—don’t over tighten the bolt—just enough to securely mount the receiver in the fuselage out of the way where it will “snug”... -
Page 6: Check The Control Throws
Check the Control Throws Check the C.G. The C.G. (center of gravity) has a great effect on the way the Hellcat fl ies. If the C.G. is not correct the Hellcat could be too stable (reacting too slowly to control inputs) or too instable (reacting too quickly to control inputs) possibly causing a crash. -
Page 7: Motor Safety Precautions
❏ 4. Lift the model upside-down with your fi ngertips on the recommended C.G. location you marked. ❏ 2. If you haven’t done so already, install the battery—as ❏ 5. If necessary, shift the battery forward or aft or add stick-on previously suggested, start with the battery positioned as far lead ballast where required to get the model to balance. - Page 8 MOTOR/ESC OPERATION ––––––––––––– much you have available. Compare the capacity used to 80% of your battery’s capacity and adjust your fl ight time accordingly. Turning on the transmitter and operating the motor are intuitive for most pilots who already have experience with electric motors, FOR EXAMPLE: If using the recommended 2100mAh battery, but for those who may have little or no experience with electric your target capacity available is 1680mAh (2100mAh x .8).
Need help?
Do you have a question about the F6F Hellcat and is the answer not in the manual?
Questions and answers