Table of Contents
Advertisement
Quick Links
Assembly and Operating Instructions for
Outback® Omega Charcoal 100 and Omega Charcoal 200 Barbecues
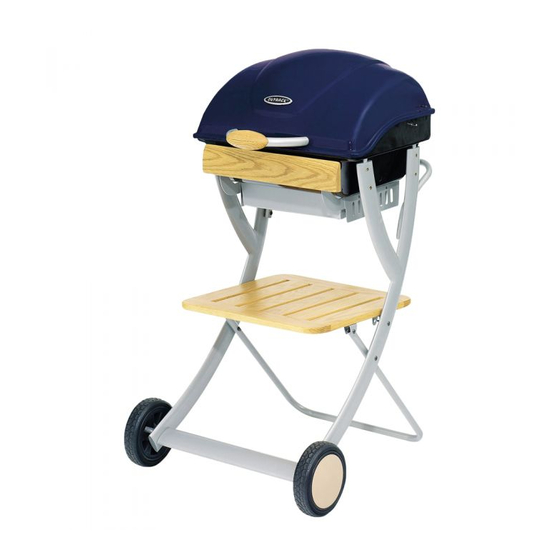
Omega Charcoal 100
Photographs are not to scale.
Specifications subject to change
without prior notice.
WARNING
For outdoor use only. Not for commercial use.
Read instructions before using the appliance. Failure to follow instructions could
result in death, serious bodily injury, and/or property loss.
Warning: accessible parts may be very hot. Keep young children and pets away.
CAUTION: Do not use spirit or petrol for lighting or re-lighting! Use only
firelighters complying to EN1860-3!
Do not move the appliance during use.
Any modification of the appliance, misuse, or failure to follow the instructions
may be dangerous and will invalidate your warranty. This does not affect your
statutory rights.
Retain these instructions for future reference.
For Flare-up control please refer to the 'OPERATION' section of this manual.
Omega Charcoal 200
EN (Europe)
Advertisement
Table of Contents

Related Manuals for Outback Omega Charcoal 100


Summary of Contents for Outback Omega Charcoal 100
- Page 1 Assembly and Operating Instructions for Outback® Omega Charcoal 100 and Omega Charcoal 200 Barbecues EN (Europe) Omega Charcoal 100 Omega Charcoal 200 Photographs are not to scale. Specifications subject to change without prior notice. For outdoor use only. Not for commercial use.
-
Page 2: Parts List
1. Parts List Quantity varies according to model purchased. Specifications subject to change without prior notice. For more details on hardware, please see the corresponding ‘Hardware Reference Diagram’. Outback® Omega Outback® Omega CODE PART Charcoal 100 Charcoal 200 Hood ... -
Page 3: Parts Diagram
2. Parts Diagram Quantity varies according to model purchased. Specifications subject to change without prior notice. For more details on hardware, please see the corresponding ‘Hardware Reference Diagram’. - Page 4 3.1. Hardware Reference Diagram: Omega Charcoal 100 Specifications subject to change without prior notice. D1, D3 D7, D10 D6, D10 D5, D8, D9...
- Page 5 3.2. Hardware Reference Diagram: Omega Charcoal 200 Specifications subject to change without prior notice. D6, D10 D5, D8, D9 D7, D10 D1, D3...
- Page 6 4. Assembly IMPORTANT! TOOLS NEEDED FOR ASSEMBLY: Medium size flat blade or Phillips/Crosspoint screwdriver, adjustable spanner or metric spanner set. The assembly of this barbecue requires 2 people. Whilst every care is taken in the manufacture of this product, care must be taken during assembly in case sharp edges are present.
- Page 7 Attach the Support Leg (C7) to the left and right Connect the support leg to the table using the legs using the M6x50 Bolts (D7) and M6 Nuts M6x30 Bolts (D6) and M6 Nuts (D10). (D10). D1 D3 Insert the pre-installed bolts on the underside of Carefully turn the completed trolley over, right the Barbecue Body (B1) into the keyhole slots in side up.
- Page 8 Remove the hood handle bolts from the Hood Handle (A2). Secure the barbecue body to the tops of the left and right legs by threading the M6x20 Bolts (D5) Attach the hood handle to the Hood (A1) by through Washers (D8), the Barbecue Body (B1), threading the hood handle bolts through the Ø6 Spacers (D9), and screwing into the tops of hood and screwing them into the hood handle.
- Page 9 Place the Charcoal Grill (B3) into the barbecue Place the Cooking Grill (B2) into the barbecue body. Ensure the charcoal grill lies level within body. Ensure the cooking grill lies level within the the ash tray. body. FOR OMEGA CHARCOAL 200 USERS ONLY: Attach the Side Shelves (C2, C3) to the left and Attach the Warming Rack (A3) to the hood and right legs using the M6x15 Bolts (D4).
-
Page 10: Installation
5. Important Information not the ash tray. Ensure the ash tray is in place before use. Please read these instructions carefully Never remove the ash tray whilst the before assembly and use of your barbecue. barbecue is in use. Wait until the barbecue is completely cooled before removing it. - Page 11 7.2. Preparation Before Cooking Do not close the hood or lid whilst the charcoal To prevent foods from sticking to the cooking is still flaming. Wait until it has ashed over. surface, please use a long handled brush to apply a light coat of cooking or vegetable oil 7.6.
-
Page 12: Care And Maintenance
Outback® seriously damage the barbecue. barbecue covers and other accessories are available from your local Outback® stockist. In the event of a fat fire: Keep everyone at a safe distance from the Even when your barbecue is covered for its... - Page 13 wooden scraper if necessary. periods storage follow cleaning procedures. Discard the ash and foil, and wash any remaining ash or fat from the tray. Failure to keep it clean, and excessive build up Specifications subject to change without prior notice can result in a fat fire.
- Page 14 Notes: For reference and correspondence, record your serial number here. (See sticker on side of barbecue body.) Serial No. __________________ This number may be required when ordering spare parts or accessories. A part reference number may also be required where applicable. Published September 2012...
Need help?
Do you have a question about the Omega Charcoal 100 and is the answer not in the manual?
Questions and answers