Table of Contents
Advertisement
Quick Links
MS:130
ASSEMBLY MANUAL
"Graphics and specifications may change without notice".
Specifications:
Wing span ------------------------------78.7in (200cm).
Wing area -------------------488.3sq.in (31.5sq dm).
Weight ---------------------------------------2.2lbs (1kg).
Length -------------------------------------37in (94.1cm).
Engine motor ----------------------------------400-480.
Radio------------------------------------------4 channels.
Servo-----------------3 mini servos (23x12x24mm).
Propeller----------------------------------------------9 x 5.
Speed control----------------------------------------30A.
Parts listing required (not included)
Advertisement
Table of Contents

Subscribe to Our Youtube Channel
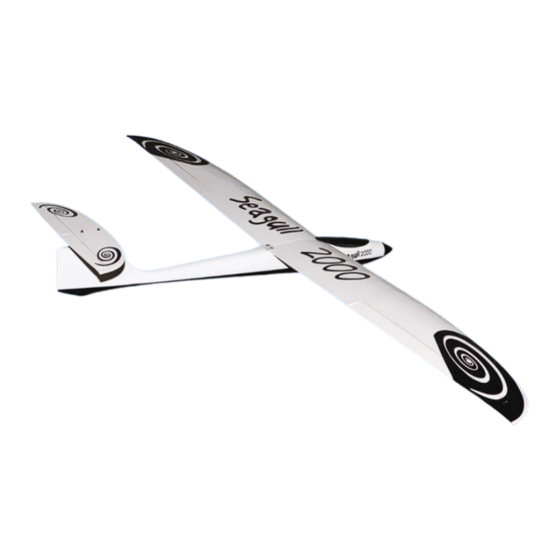
Summary of Contents for Seagull Models Seagull 2000
- Page 1 MS:130 ASSEMBLY MANUAL “Graphics and specifications may change without notice”. Specifications: Wing span ------------------------------78.7in (200cm). Wing area -------------------488.3sq.in (31.5sq dm). Weight ---------------------------------------2.2lbs (1kg). Length -------------------------------------37in (94.1cm). Engine motor ----------------------------------400-480. Radio------------------------------------------4 channels. Servo-----------------3 mini servos (23x12x24mm). Propeller----------------------------------------------9 x 5. Speed control----------------------------------------30A. Parts listing required (not included)
-
Page 2: Parts Listing
Flying the SEAGULL 2000 is simply a joy. This instruction manual is designed to help you build a great flying aeroplane. Please read this manual throughly before starting assembly of your SEAGULL 2000. Use the parts listing below to identify all parts. - Page 3 Instruction Manual. ELECTRIC POWER CONVERSION. 3.2mm. 1) Locate the items neccessary to install the electric power conversion included with your model. 3.2mm.
-
Page 4: Elevator Servo
Instruction Manual. SEAGULL. ELEVATOR SERVO. INSTALLING THE SPINNER. Install the spinner backplate, propeller and spinner cone. The propeller should not touch any part of the spinner cone. If it does, use a sharp modeling knife and carefully trim away the spinner cone where the propeller comes in contact with it. -
Page 5: Aileron Servo Installation
Instruction Manual. AILERON SERVO INSTALLATION. Micro control connector. Servos. Because the size of servos differ, you may need to adjust the size of the precut open- ing in the mount. The notch in the sides of the mount allow the servo lead to pass through. 1) Using a small weight ( Weighted fuel pick-up ) and string, feed the string through... - Page 6 Instruction Manual. SEAGULL. 2) A string has been provided in the wing to pull the aileron lead through to the wing root. Remove the string from the wing at the servo location and use the tape to attach it to the servo extension lead.
- Page 7 Instruction Manual. Cut. M2x10mm. Repeat the procedure for the other aileron servo. WING ASSEMBLY.
-
Page 8: Vertical Stabilizer Installation
Instruction Manual. SEAGULL. 12mm. VERTICAL STABILIZER INSTALLATION. AILERON PUSHROD INSTALLATION. M3x15mm. - Page 9 Instruction Manual. M3x15mm. Cut.
-
Page 10: Installing The Receiver
Instruction Manual. SEAGULL. Battery. Cut. Speed control. C/A glue. INSTALLING THE RECEIVER . Receiver. INSTALLING THE BATTERY. 1) Plug the five servo leads and the switch lead into the receiver. Plug the battery pack lead into the switch also. 2) Wrap the receiver and battery pack in the protective foam rubber to protect them from vibration. -
Page 11: Control Throws
Instruction Manual. Accurately mark the balance point on the top of the wing on both sides of the fuselage. The balance point is located 60 mm back from the leading edge of the wing at the wing root. This is the balance point at which your model should balance for your first flights. -
Page 12: Flight Preparation
B) Plug in your radio system per the 2) Check every bolt and every glue joint manufacture’s instructions and turn every thing in the SEAGULL 2000 to ensure that every- thing is tight and well bonded. C) Check the elevator first. Pull back on the elevator stick.


Need help?
Do you have a question about the Seagull 2000 and is the answer not in the manual?
Questions and answers