Advertisement
Quick Links
INSTALLATION AND INSTRUCTION MANUAL
The
The
Starburst Phantom
Starburst Phantom
®
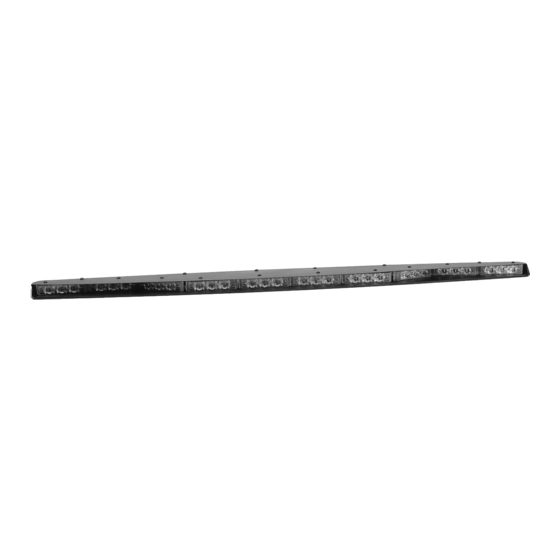
Undercover Interior Generation-4 LED Lightbar
Model
ULB44
IMPORTANT:
Please read all of the following instructions before installing your new warning light.
PLITSTR379 REV. B
4/27/11
Advertisement

Summary of Contents for Star Headlight & Lantern The Starburst Phantom ULB44
- Page 1 INSTALLATION AND INSTRUCTION MANUAL Starburst Phantom Starburst Phantom ® Undercover Interior Generation-4 LED Lightbar Model ULB44 IMPORTANT: Please read all of the following instructions before installing your new warning light. PLITSTR379 REV. B 4/27/11...
- Page 2 Star Headlight & Lantern Co., Inc. assumes no responsibility for the integrity of the installation for this or any of its products. The Starburst Phantom ® uses state-of-the-art Light Emitting Diode (LED) technology. This warning light is comprised of ultra-high intensity LEDs that are operated by a micro-controller to efficiently produce light output with lifetimes up to 100,000 hours.
-
Page 3: Mounting Instructions
The installer assumes all responsibility for the integrity of the installation. It is the sole responsibility of the owner to ensure the light is secure. Starburst Phantom ® is designed to be mounted on the inside of your vehicle. - Page 4 Mounting (CONT'D) Starburst Phantom The mounting hardware enclosed with your should ® include the following: PART# DESCRIPTION P30150-220LP LEFT ATTACHING BRACKET P30150-220RP RIGHT ATTACHING BRACKET P30150-79P FORKED "L" BRACKET (Style 1) P30150-189P FORKED "L" BRACKET (Style 2) P30054-27 #10-32 x 1/2" CARRIAGE BOLT...
- Page 5 Mounting (CONT'D) 1. Slide the enclosed rubber channel over the front edge of the baffle . 2. Insert one of the carriage bolts through one of the washers. Please note that washer is used as a spacer on the square neck of the carriage bolt.
- Page 6 Mounting (CONT'D) 5. Repeat steps 1-3 for the right attaching bracket . 6. Standard mounting uses the factory installed visor clips already located on the vehicle. If you do not have any, use the Alternate Mounting section page 7. Locate the two visor clips on the vehicle. The style may vary from vehicle to vehicle.
- Page 7 Mounting (CONT'D) 11. Loosen the five Baffle Adjusting Screws located on the bottom of the ® Starburst Phantom 12. Slide the baffle forward until it satisfactorily blocks any reflected light. 13 Tighten the Baffle Adjusting Screws to secure the baffle in place .
- Page 8 Mounting (CONT'D) Alternate Mounting If you are not using the visor clip installation described on the previous page, continue below. 1. Some vehicles may not have visor clips appropriate for the previously described installation, or may completely lack any visor clips.
-
Page 9: Operating Instructions
Testing the light before this fuse is properly installed will void the warranty on the light. ® The Starburst Phantom is designed for simple operation using three switches. This unit has a 3-Way Mode Switch, a Map Light Button, and a Pattern Select/Burst Mode Button. - Page 10 Indicator LED: Pressing and holding the pattern select button until the LED’s flash four times • (approx. 12 seconds) will disable or enable the indicator LED. ® Starburst Phantom will remember the pattern it was in when turned off and • display the same pattern when re-activated.
- Page 11 These lights use state-of-the-art Light Emitting Diode (LED) technology. These warning lights are comprised of ultra-high intensity LEDs that are controlled by a solid state flasher unit to efficiently produce light output with lifetimes up to 100,000 hours. Under normal circumstances, you will not need to replace any LEDs in this light.
- Page 12 -11-...


Need help?
Do you have a question about the The Starburst Phantom ULB44 and is the answer not in the manual?
Questions and answers