Table of Contents
Advertisement
Quick Links
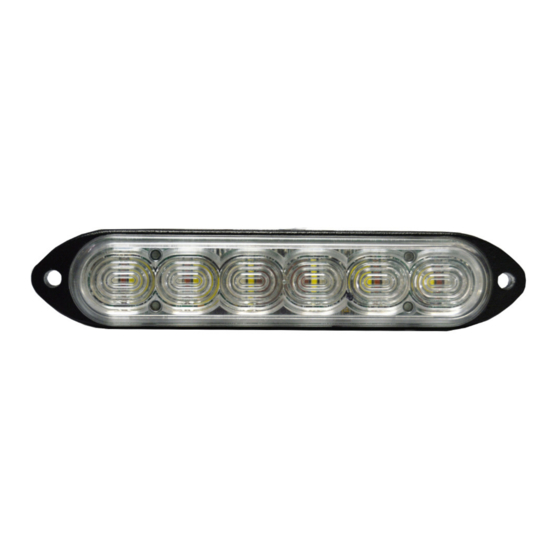
Low Profile Multi-Color LED Auxiliary Light
IMPORTANT: Please read all of the following instructions before installing your new
light. Failure to follow these safety precautions may result in damage to your light or
vehicle and may result in serious injury or death to you and your passengers.
Installer must have firm knowledge of vehicle electrical systems & emergency equipment.
It is the sole responsibility of the installer to ensure the warning light is secure. The
manufacturer assumes no responsibility for the secure mounting of this light.
If you need to drill any holes when installing this light, please take care to check that
BOTH SIDES of your drilling surface are clear from obstructions.
Choose a mounting location away from any air bag deployment areas.
Controls should be placed within convenient reach of the driver.
Use only soap and water when cleaning product. Use of other chemicals may discolor
lens and/or housing, diminishing light output.
When wiring your lights, it is recommended that you take the following
precautions to reduce any Electromagnetic Interference (EMI).
Keep LED modules and any radios as far away from each other as possible.
Separate the radio wires and the LED wires.
Any excess wires should be cut short.
The Ground wire, Power wire, and Synchronization wire should be bound tightly
together as they run from light to light, through your switchbox, and to the battery.
Do not ground each unit independently to the chassis. Run the ground for each
unit in a "bus" like structure, to the negative terminal on the battery.
Note: The total wire length between the two farthest units should be no more than 40 feet.
DLITMC Series
Installation Notes
Wiring Notes
WHITE: Connect to White wires from other S-LINK lights
for synchronization (Cut short if not using)
YELLOW/BLACK: Highest Priority
YELLOW/GREEN: Medium Priority
YELLOW/RED: Low Priority
Function/Color/Enable 1
GREEN: Touch and release to Ground for
programming.
(Cap off after programming)
BLACK: Connect to Negative terminal
of battery
Function/Color/Enable 3
(Programmed for Steady
Burn mode by default)
Function/Color/Enable 2
PLIT582 REV. A
BATTERY
(9-32 VDC)
5/15/19
Advertisement
Table of Contents

Related Manuals for Star Headlight & Lantern S-Link 2.0 System DLITMC Series


Summary of Contents for Star Headlight & Lantern S-Link 2.0 System DLITMC Series
- Page 1 DLITMC Series Low Profile Multi-Color LED Auxiliary Light IMPORTANT: Please read all of the following instructions before installing your new light. Failure to follow these safety precautions may result in damage to your light or vehicle and may result in serious injury or death to you and your passengers. Installation Notes ...
- Page 2 Mounting Instructions MUST DRILL HOLES THE SPECIFIED SIZES!!! DO NOT OVER TIGHTEN SCREWS!! TORQUE TO 10 IN.-LBS.!! This light must be mounted on a perfectly flat surface!! Failure to do so will result in damage to the housing and will void the warranty! Once the wires are run, the use of a small amount of silicone or other similar sealant (not included) is recommended to seal the wire hole and prevent your wires from becoming damaged.
- Page 3 ACTIVATING MULTIPLE ENABLES When more than one Enable line is activated at the same time, the following rules will apply: Enable 3 > Enable 2 > Enable 1 FACTORY DEFAULT ENABLE WIRE LEGEND If multiple Enables are activated and a the YELLOW w/BLACK - Enable 3 : Color/Function 3 highest priority Enable is programmed for YELLOW w/GREEN - Enable 2 : Color/Function 2...
- Page 4 SYNCHRONIZATION You can synchronize up to ten lights with compatibility. DO NOT CONNECT WHITE WIRES UNTIL PROGRAMMING HAS BEEN COMPLETED FOR ALL LIGHTS!! 1. Power up the first unit and select a pattern. Touch and release the green wire to ground to change patterns.
- Page 5 Advanced Programming STOP !! This section is OPTIONAL. Most applications will not require any Advanced Programming. You should only need to reference this section if you require specialized programming. CHANGING COLOR ASSIGNMENTS FOR EACH ENABLE (applies only to Patterns 1-10, Steady Burn, and Cruise) When shipped, each Enable wire has one color assigned to it.
- Page 6 CHANGING COLOR ORDER FOR EACH ENABLE (applies only to Patterns 11-18 / 3-Phase Patterns) When programmed for Patterns 11-18, each Enable wire has a default “Color Order” assigned to it (the order the colors are rotated through). By default, each Enable Wire has only one color assigned to it.
- Page 7 WIRELESS PROGRAMMING (OPTIONAL) Optionally, instead of using the wires to program this light, it can be done using most Android based phones or tablets that have a flash. See the app store for a list of approved devices. 1. Download the application from the play store. 2.
- Page 8 NOTICE Due to continuous product improvements, we must reserve the right to change any specifications and information, contained in this manual at any time without notice. Star Headlight & Lantern Co., Inc. makes no warranty of any kind with regard to this manual, including, but not limited to, the implied warranties of merchantability and fitness for a particular purpose.
Need help?
Do you have a question about the S-Link 2.0 System DLITMC Series and is the answer not in the manual?
Questions and answers