Advertisement
Quick Links
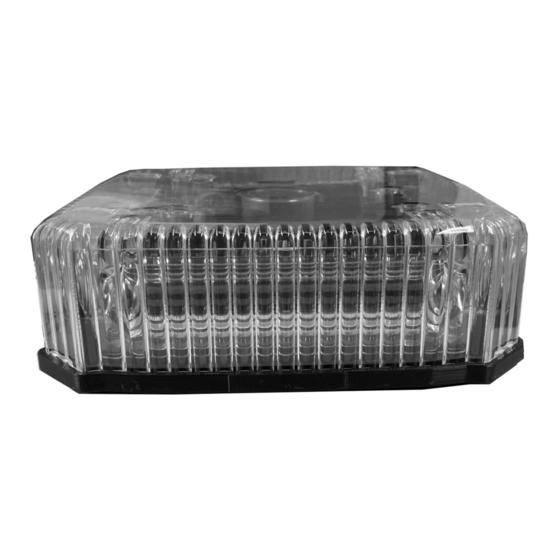
MODEL 9901LED MINIBAR
w/Worklight Mounting Option
(Worklight not included)
Please Note: These instructions are provided as a general guideline only. Specific
mounting, wiring, and/or weather-sealing may be necessary and are the sole
responsibility of the installer.
Star Headlight & Lantern Co., Inc. assumes no
responsibility for the integrity of the installation for this or any of its products.
PLIT608 REV. B
12/30/22
IMPORTANT: Please read all of the following instructions before installing your new light.
Mounting Instructions
(when used with optional Worklight)
The model you received has been designed to be compatible with a Go Light™ GT, Radio
Ray, Stryker, Stryker Hardwire, Stryker ST Series (or most other worklights with identical
mounting patterns). For proper installation, first mount the worklight to the minibar, then
mount the minibar/worklight assembly to the vehicle.
Mount The Worklight To The Minibar
1. Use an 11/64" bit to carefully drill out the 3 or 4
holes in the dome that correspond with the
mounting pattern of your worklight. Ensure that your
bit is perpendicular to the surface of the dome.
2. Use an 1/2" drill to drill out the center post hole of
the dome to allow for wire access.
3. Following the
manufacturer's instructions
for the worklight, remove
the base from the worklight.
4. Place the worklight base on the top of the minibar dome and
align the corresponding holes.
5. Use the #8-32 X 1-1/4" 18-8 pan head mounting screws
and washers provided with the
minibar to attach the worklight
base to the minibar (4-screw
version shown).
6. Route the wire harness from the worklight through the center
hole in the worklight base and the minibar dome and follow the
manufacturer's instructions included with your worklight to
reassemble it to the base.
Mount The Minibar/Worklight Assembly To The Vehicle
1. Using the gasket as a template, mark the three or four
mounting holes and the center wire hole (if you will be
needing one).
2. Use an 11/64" bit to drill out the 3 or 4 holes that you
marked on the vehicle mounting surface.
3. Use a 1/2" drill to drill out the center wire hole (if needed).
4. Route your wires through the center hole of the gasket
and mounting surface (if applicable)
5. Attach the Minibar/Worklight assembly using the enclosed
#8-32 X 3/4" 18-8 hex head screws
(for mounting surfaces 3/16"-3/8"
thick), flat washers, and tooth
washers as shown to the left.
Insert the bolts from below, fastening them into the same
threaded inserts used to attach the worklight inside the
minibar. Tighten until snug.
(Note: Use longer bolts if your mounting surface is thicker than 3/8")
4-Hole Layout
3-Hole Layout
-1-
Advertisement

Related Manuals for Star Headlight & Lantern 9900LED


Summary of Contents for Star Headlight & Lantern 9900LED
- Page 1 IMPORTANT: Please read all of the following instructions before installing your new light. Mounting Instructions (when used with optional Worklight) The model you received has been designed to be compatible with a Go Light™ GT, Radio MODEL 9901LED MINIBAR Ray, Stryker, Stryker Hardwire, Stryker ST Series (or most other worklights with identical mounting patterns).
- Page 2 Synchronization of Multiple Lights Hard Wire Instructions (Perm Mount Models) You can synchronize up to six lights with compatibility. CAUTION: All wires connected to the positive terminal of the battery should be fused at the battery for their rated load. Testing the light before this fuse is properly installed will DO NOT CONNECT WHITE WIRES UNTIL PROGRAMMING HAS BEEN COMPLETED void the warranty on the light.
Need help?
Do you have a question about the 9900LED and is the answer not in the manual?
Questions and answers