Table of Contents
Advertisement
Quick Links
INSTALLATION AND INSTRUCTION MANUAL
The
The
Star Phantom
Star Phantom
®
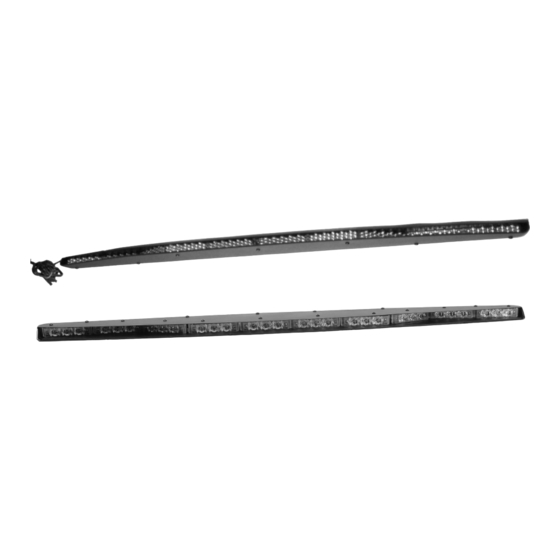
Rear Window Undercover Interior LED Lightbar
Models
ULB42-1 ULB42V-1
ULB44-1
(Discrete)
(Discrete Value)
(Gen 4 Starburst)
IMPORTANT:
Please read all of the following instructions before installing your new warning light.
PLITSTR317 REV. E
3/19/10
Advertisement
Table of Contents

Related Manuals for Star Headlight & Lantern The Star Phantom ULB42-1


Summary of Contents for Star Headlight & Lantern The Star Phantom ULB42-1
- Page 1 INSTALLATION AND INSTRUCTION MANUAL Star Phantom Star Phantom ® Rear Window Undercover Interior LED Lightbar Models ULB42-1 ULB42V-1 ULB44-1 (Discrete) (Discrete Value) (Gen 4 Starburst) IMPORTANT: Please read all of the following instructions before installing your new warning light. PLITSTR317 REV. E...
- Page 2 Star Headlight & Lantern Co., Inc. assumes no responsibility for the integrity of the installation for this or any of its products. The Star Phantom ® uses state-of-the-art Light Emitting Diode (LED) technology.
- Page 3 Parts Star Phantom The mounting hardware enclosed with your should ® include the following: P30150-79P Forked "L" Bracket P30150-189P Alternate Forked "L" Bracket P30150-79-1P Single-Slotted "L" Bracket P30150-97P Double-Slotted "L" Bracket P30150-97-2P Slotted Straight Bracket P30073-4 #8 Flat Washer P30053-24 #8 x 3/8 Self-Tapping Phillip’s Head Screw...
-
Page 4: Mounting Instructions
Failure to use a center support bracket will void the warranty. If your vehicle is not compatible with these brackets you must custom design mounting brackets to support the center of ® the Star Phantom... - Page 5 Forked Bracket Installation (CONT'D) 2. Connect one of the slotted "L" brackets to one of the forked "L" brackets using one of the screws, a flat washer, a tooth washer, and a nut. 3. Repeat this using the other slotted "L" bracket and forked bracket.
- Page 6 Forked Bracket Installation (CONT'D) 6. Once you have determined the exact location you will mount the brackets, determine an appropriate size screw to penetrate the headliner and securely mount the bracket to the roof brace. 7. Carefully drill the appropriate holes in your roof brace. CAUTION: Take care to ensure when selecting a screw and drilling the hole that it is capable of supporting the weight of the light and that it does not penetrate the roof of the vehicle.
- Page 7 11. Once the brackets are set in the desired position, mark the two screw holes for each bracket in the bottom of The Star Phantom®.. Use a 1/8" drill to make a pilot hole in the bottom of The Star Phantom® for your self- tapping screws.
- Page 8 Repeat this using the other double-slotted "L" bracket and slotted straight bracket. You should now have two adjustable "L" mounting brackets Connect one bracket to each end of your Star Phantom using the ® screws provided. Loosen both screws slightly to allow for adjustability when...
- Page 9 Corner Post Bracket Installation (CONT'D) 5. Adjust the mounting brackets so that they rest flat against the corner post on each side of the vehicle. 6. Once the brackets are adjusted to the desired position, tighten all the screws on the brackets.
-
Page 10: Electrical Connections
This unit has only a Pattern Select Button. This is a momentary switch. Each time this switch-button is depressed while The Star Phantom® is activated, it will cycle to the next pattern. The Star Phantom® is designed with thirty-five different patterns, listed on the following page. -
Page 11: Pattern List
® will remember the pattern it was in when turned off and display the same pattern when re-activated. Once your Star Phantom ® is installed, please test all the patterns and options to familiarize yourself with the various patterns and the operation of the buttons. - Page 12 These lights use state-of-the-art Light Emitting Diode (LED) technology. These warning lights are comprised of ultra-high intensity LEDs that are controlled by a solid state flasher unit to efficiently produce light output with lifetimes up to 100,000 hours. Under normal circumstances, you will not need to replace any LEDs in this light.
Need help?
Do you have a question about the The Star Phantom ULB42-1 and is the answer not in the manual?
Questions and answers