Advertisement
Quick Links
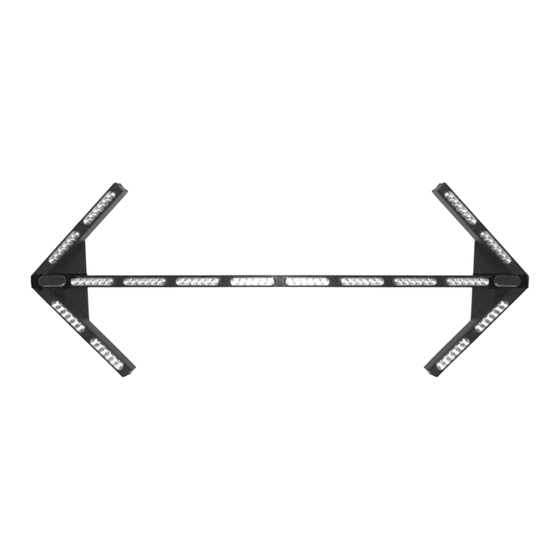
Quick Stick Arrow Board
DLQS-ARO
DLQS-ARO2
Important
: This product is used to direct traffic. Improper use may result in vehicular
collision, personal injury and/or death. Star Headlight & Lantern Co., Inc., and its
subsidiaries shall not be held responsible for damages directly or indirectly caused by
improper use of this product. Always carefully consider the effect on traffic that the
selected light pattern will have before engaging the lights.
Please Note: These instructions are provided as a general guideline only. Specific
mounting and/or wiring, may be necessary and are the sole responsibility of the
installer. Star Headlight & Lantern Co., Inc. assumes no responsibility for the
integrity of the installation for this or any of its products.
Due to continuous product improvements, we must reserve the right to change any specifications and information,
contained in this manual at any time without notice. Star Headlight & Lantern Co., Inc. makes no warranty of
any kind with regard to this manual, including, but not limited to, the implied warranties of merchantability and
fitness for a particular purpose. Star Headlight & Lantern Co., Inc. shall not be liable for errors contained herein
or for incidental or consequential damages in connection with the furnishing, performance, or use of this manual.
NOTICE
PLIT618 REV. A
Prior to mounting the light, determine
the path your cable will take. The cable
should exit the left side when you are
facing the lights on the arrowstick
mounted on the rear of the vehicle.
1. There is a slot along the length of the back of the
arrowstick that should be used to facilitate mounting.
Insert the heads of the two enclosed #10 carriage bolts
into the hole in the slot.
2. Slide them along the channel to the desired location and
mark the locations for your mounting holes on the
mounting surface.
3. Drill your holes and mount the light using the enclosed
washers and nuts.
We also include two L-Brackets to facilitate mounting.
These are optional and do not need to be used.
Using your user supplied switches, supply +12VDC to the wires indicated in the wiring
diagram on the next page to activate the desired function.
Please note the following:
• The Red wire MUST have +12VDC applied to it for any of the functions to work.
• Activating the Left Arrow and Right Arrow together will produce a Center-Out
display in the pattern programmed for Left.
• Activating the Left Arrow or Right Arrow will override either Warn pattern.
• Warn 1 (Full Arrowstick) will override Warn 2 (Arrow Tips Flash).
• Dim will dim all of the heads by 85%, which may be desirable in night time
conditions.
1/21/22
Mounting Instructions
Operation
-2-
Advertisement

Related Manuals for Star Headlight & Lantern DLQS-ARO


Summary of Contents for Star Headlight & Lantern DLQS-ARO
- Page 1 The cable should exit the left side when you are facing the lights on the arrowstick DLQS-ARO mounted on the rear of the vehicle. DLQS-ARO2 1. There is a slot along the length of the back of the arrowstick that should be used to facilitate mounting.
- Page 2 Electrical Connections Optional Advanced Programming Programming is optional. If the default settings are acceptable, skip this section. This wiring diagram below applies to the default programming of this light. There Programmable features include the following: are several additional advanced features that, if programmed, may affect the wire functions shown.
- Page 3 The location of the Head Groups referenced in the charts above are shown to the right. Note: Head Groups 1 and 12 are not present and the light for the DLQS-ARO2 Pictured DLQS-ARO, but they are still found in the programming options.
- Page 4 (Programming CONT’D) Optional Control Box Cruise Mode / Steady Burn (disabled by default) When Cruise Mode is enabled it will replace the Dim function. Applying power to the PINK Typical On/Off switches can be used for standard installation. If you would like a wire will illuminate all of the programmed lights in a dim steady burn pattern (all heads by preconfigured control box with feedback LEDs, please order the optional SB44-5 (activates default).
Need help?
Do you have a question about the DLQS-ARO and is the answer not in the manual?
Questions and answers