
Subscribe to Our Youtube Channel
Related Manuals for ROBINHOOD HIA905TFG


Summary of Contents for ROBINHOOD HIA905TFG
- Page 1 Issue 1 Description: Robinhood Ceramic Induction Touch Control Cooktop 90cm Model Numbers: HIA905TFG...
-
Page 2: Warning And Safety Information
Warning and safety information This appliance is not intended for use by persons (including children) with reduced physical, sensory or mental capabilities, or lack of experience and knowledge, unless they have been given supervision or instruction concerning use of the appliance by a person responsible for their safety. Children should be supervised to ensure that they do not play with the appliance. - Page 3 Installation - continued Built in induction cooktop cutout dimensions. HIA905TFG A (mm) B (mm) C (mm) D (mm) E (mm) F (mm) G (mm) H (mm) Installing the foam gasket Before inserting the appliance into the opening in the kitchen benchtop, the supplied foam gasket must be attached to the lower side of the glass ceramic (glass) cooktop between the benchtop and cooktop.
- Page 4 Installation - continued Installation procedure. Worktop must be placed absolutely horizontal. • Suitably protect the edges of the cut aperture. • Connect the cooktop to the mains power supply (see instructions for the connection of the cooktop to the mains power supply).
- Page 5 Installation - continued Technical information Type HIA905TFG Width 900mm Rated voltage 220-240 V~ or 380-415 V 3N~, 50/60 Hz Type of switch Electronic sensors Cooking zones ( Ø, mm/W ) Forward left 260, 2,6 (P= 3,7) Rear Central 180, 1,85 (P=3,0)
- Page 6 Installation - continued Appropriate cookware for induction hotplates Induction hotplate will function perfectly only if appropriate cookware is used. Dish should be in the middle of the hotplate during cooking. The appropriate cookware is the one which enables induction, for example steel, enamel or steel alloy cookware. Pots made from steel alloy with copper or aluminium bottom, or glass pots are inappropriate.
- Page 7 Installation - continued Power regulation Heating power of the hotplates may be set at nine different levels. The following chart indicates illustrative use of each power setting. Power Purpose Setting Off, using remaining heat Maintaining warm food, slow simmer of smaller quantities Slow simmer (continuation of cooking after a powerful start-up) Slow cooking (continuation) of larger quantities, roasting larger chunks Roasting, browning...
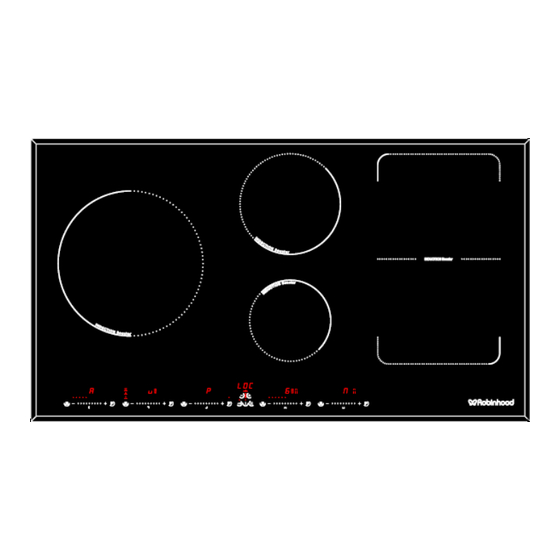
- Page 8 Instructions for use and maintenance Ceramic Glass Cooktop Induction hotplate forward left Induction hotplate rear central Induction hotplate front central Induction hotplate rear right Induction hotplate front right Cooktop control panel Cooktop control elements ON/OFF sensor Safety lock on/off and child lock sensor Pause and recall function sensor Sensor (-) for timer Sensor (+) for timer...
- Page 9 Instructions for use and maintenance Turning hotplates on After turning the hob on using the ON/OFF sensor (A), within the next 10 seconds start one of the hotplates. Set the power level 1-9 by touching the slider (F). At the first touch, the level is set according to the part of the slider that you touch.
- Page 10 Instructions for use and maintenance Pause Function The Execution of this function is only possible if at least one zone is on. The pause condition may also be activated with cooking zone specific errors, but here the error display is hidden. The pause display has priority over residual heat indication, specific error messages such as A, P or No Pan, and are these messages are hidden due to this.
- Page 11 Instructions for use and maintenance Extra powerful setting (hotplates marked with a “P”) Extra powerful setting may be additionally switched on for fast cooking on indicated hotplates. This extra hotplate power is used for heating large quantities of food. • After switching on, the extra power is activated for: 10 minutes then automatically switches back on to the maximum normal level 9.
- Page 12 Instructions for use and maintenance Activating Bridge Function • Regardless of whether the two zones are working at different levels, or are both at level zero, Simultaneously press anywhere on the slider (F) of zones 5 and 6 • Both areas will now work together. One of the displays of either activated areas will illuminate and the other will not. Control of both areas is by use of the single illuminated control.
- Page 13 Instructions for use and maintenance Protection form overheating Induction hotplate is also fitted with safety device against overheating which protects electronic parts from damage. This device operates on several levels. When temperature of the hotplate excessively rises, it switches on a two-stage fan. If this is not enough, extra powerful heating is deactivated, and finally the safety device either reduces the heating power of certain hotplates or turns them off completely.
- Page 14 Instructions for use and maintenance Turning time off When preset time elapses, a beep signals the end, and the hotplate is switched off. Switch off the alarm by pressing the sensor (D) or (E), otherwise the alarm switches of automatically after 2 minutes. If you want to switch the timer prior to preset time •...
- Page 15 Instructions for use and maintenance Switching the alarm off When the preset time expires a beep is heard which you can either turn off by touching the (D) or (E) sensor or leave it to turn off automatically after 2 minutes. If you want to switch the alarm off prior expiry of preset time: •...
-
Page 16: Safety Functions And Error Display
Safety functions and error display Safety functions and error display... -
Page 17: Cleaning And Maintenance
Cleaning & maintenance Cleaning and maintenance of ceramic glass cooktop Ceramic glass hob should be cleaned only when completely cooled down, preferably after each use, otherwise even the slightest stains remaining after cooking may burn into the hob surface with each following use. For regular maintenance of ceramic-glass hob use special cleansing agents, produced in such way to create protective film upon the surface. - Page 18 Important information The appliance may be built-in and connected to the power supply only by a qualified technician. Particular areas of the cooktop surface (adjacent to the hotplates) are hot during operation. Hot oil ignites readily, so be sure have the preparation of such food (fries) under constant control. Hotplates may not be left in operation empty, without any dishes on top.
- Page 19 The product was used outdoors. 2. All Robinhood rangehoods are suitable for indoor use only and not suitable over BBQs or charcoal cookers designed for outdoor use. 3. In addition, this warranty does not extend to damage or defects which in our opinion, directly or indirectly arise from or are due to: exposing the product to acidic or corrosive materials or chemicals such as dyes, solvents, denture cleaner or acetone;...
- Page 20 The product was not used, cleaned or cared for in accordance with our instructions. The product was used outdoors. All Robinhood rangehoods are suitable for indoor use only, and not suitable over BBQs or charcoal cookers designed for outdoor use.
Need help?
Do you have a question about the HIA905TFG and is the answer not in the manual?
Questions and answers