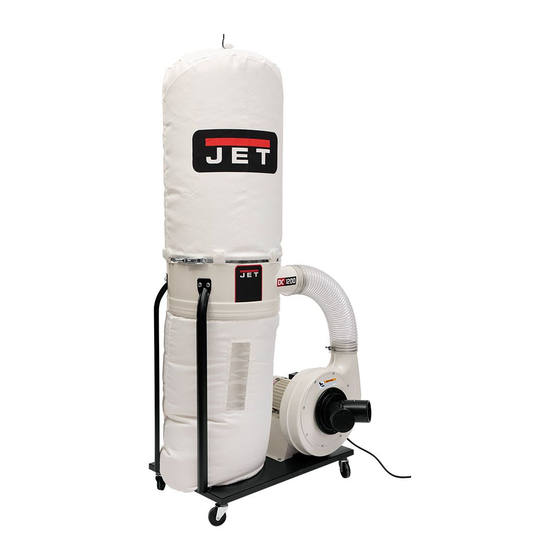
Summary of Contents for Jet DC-1200A
- Page 1 OWNER'S MANUAL DC-1200A Dust Collector JET EQUIPMENT & TOOLS, INC. A WMH Company www.jettools.com P.O. BOX 1349 Auburn, WA 98071-1349 e-mail jet@jettools.com Phone:253-351-6000 Fax: 1-800-274-6840 M-708634 02/02...
-
Page 2: Warranty
This manual has been prepared for the owner and operators of JET’S DC-1200A. Its purpose, aside from machine operation, is to promote safety through the use of accepted correct operating and maintenance procedures. Completely read the safety and maintenance instructions before operating or servicing the machine. - Page 3 Use only as described in this manual. Use only manufacturer’s recommended attachments. Do not use with damaged cord or plug. If Dust Collector is not working as it should, has been dropped, damaged, left outdoor, or dropped in water, return it to a service center.
-
Page 4: Table Of Contents
Table of Contents Warranty ... 2 Warnings... 3 Specifications ... 4 Table of Contents ... 4 Unpacking DC-1200A ... 5 Contents of Shipping Carton ... 5 Tools Required for Assembly ... 5 Assembly...6-8 Electrical Connections ... 8 Turning the Machine On & Off ... 8 Maintenance... -
Page 5: Warnings
Finish removing all contents from the shipping carton. Report any damage to your distributor. Do not discard any shipping material until after the dust collector has been assembled and is running properly. Contents of the Shipping Carton Bag Hanger Base... -
Page 6: Assembly
2) to the base using four M8 x 16 hex cap bolts, four M8 flat washers (B, Fig. 2), and a 1/2" or 13mm wrench. WARNING The dust collector must be disconnected from the power source during assembly. Failure to comply may result in serious injury! 3. - Page 7 4. Attach three support brackets (A, Fig. 4) to the base using six M8 x 16 hex cap bolts and six M8 flat washers (B, Fig. 4). Hand tighten only at this time. 5. Install the housing (A, Fig. 5) to two support brackets using four M8 x 16 hex cap bolts, eight M8 flat washers, and four M8 hex nuts (B, Fig.5).
-
Page 8: Electrical Connections
Only. The DC-1200A-3 is rated at 3 Phase 230V/460V, Prewired 230V. If you want to run the DC-1200A-3 on 460V refer to the wiring diagram found on the inside of the switch box cover. Use a plug and outlet rated at least 20 amps. -
Page 9: Maintenance
The dust collection system includes the dust collector and the hose, or duct work you use to connect the tools. The dust collector is grounded though the ground wire in the cord. The hose or duct work you use to connect the tool to the dust collector must also be grounded. -
Page 10: Parts Breakdown And Parts List
Parts Breakdown... - Page 11 ...DC1200A-NP ... Name Plate (not shown) ..1 ...DC1100-HP... Hardware Package (not shown) ..1 ...DC1200A-CS ... Centrifugal Switch (not shown)..1 ...DC1900-53... Warning Label (not shown) ..1 Parts List for the DC-1200A Size Qty..1...
-
Page 12: Wiring Diagrams
Wiring Diagram For 3 Phase 230V/460V Dust Collector Wiring Diagram For Single Phase 230V Only Dust Collector...


Need help?
Do you have a question about the DC-1200A and is the answer not in the manual?
Questions and answers