Advertisement
Quick Links
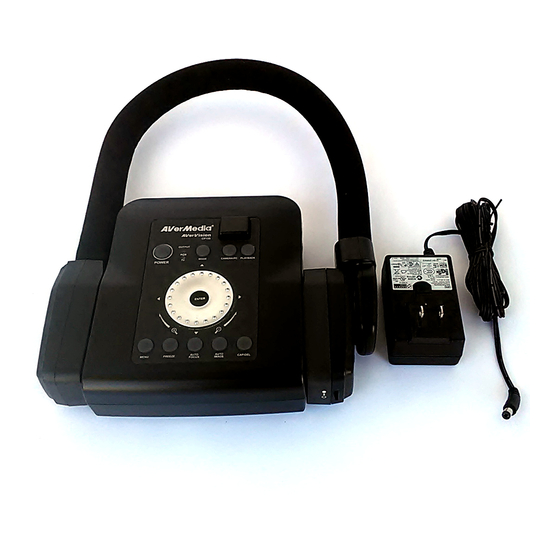
AVerVision CP155 Quick Reference Guide
Capturing an Image
• Place object in line with camera head
• Press
/
button (on remote or
CAP
DEL
on control panel)
• Image is now captured!
Transfer Captured Images to PC
• Ensure USB cable is disconnected
• Press
and select
MENU
SETTINGS
• Select
USB CONNECTION
• Select
IMG DOWNLOAD
Press
to close on-screen display
MENU
• Connect USB cable to computer
• Computer system will automatically
detect the new removable disk.
(similar to a flash/thumb drive)
Zoom Using Shuttle Wheel
• Turn shuttle wheel clockwise to zoom
in and counter-clockwise to zoom out
• Zoom max is 1600%
• Press
to return to normal view
ENTER
(100%)
Presenter
• This button allows user to access:
AVerBox and AVerVisor feature.
AVerBox overlays a frame on the
presentation screen. This can be used to
emphasize detail. AVerVisor covers part
of the presentation screen. This can be
used to "hide" a portion of the document.
computer's
•
and press
ENTER
Control Panel
Remote Control
BM 02/02/10
View Captured Images
• Press
button.
PLAYBACK
• Screen will display images as
thumbnails
• Move to desired image by using
arrow keys
• To enlarge image to full screen, press
ENTER
• To return to screen with images as
thumbnails, press
ENTER
• To return back to document camera
mode, press
/PC button.
CAMERA
Deleting Captured Images
• Press
button
PLAYBACK
• Select desired image with arrow keys
• Press C
/D
AP
EL
• Select Y
ES
Delete all images at Once
• Press
button
MENU
• Select
SETTINGS
• Select
FORMAT MEMORY
• Select
YES
• Memory reformats in ≈ 20 seconds
Other Helpful Reminders
• Zoom > 100% to use Pan Feature
• Use
function for smooth
FREEZE
transitions
• If using doc cam with S-video or
composite connection, set output
to TV
(Small black switch next to flex arm)
• When experiencing glare, try angling
LED light module or using the
included anti-glare sheet
• Turn off document camera by pressing
and holding
button for
POWER
2 seconds
• Use
function to
AUTO IMAGE
automatically adjust and set the
white balance and exposure setting
Advertisement

Subscribe to Our Youtube Channel
Related Manuals for Avermedia AVerVision CP155


Summary of Contents for Avermedia AVerVision CP155
-
Page 1: Control Panel
AVerVision CP155 Quick Reference Guide Control Panel View Captured Images Capturing an Image • Press button. • Place object in line with camera head PLAYBACK • Screen will display images as • Press button (on remote or thumbnails on control panel) •... - Page 2 AVer+ Reference Sheet for PC General Layout AVer+ Tools (877) 528-7824 www.avermedia-usa.com – Tech Support...
- Page 3 Inserting a Document Camera Image (877) 528-7824 www.avermedia-usa.com – Tech Support...
-
Page 4: Additional Notes
Additional Notes (877) 528-7824 www.avermedia-usa.com – Tech Support... - Page 5 Additional Notes continued (877) 528-7824 www.avermedia-usa.com – Tech Support...
Need help?
Do you have a question about the AVerVision CP155 and is the answer not in the manual?
Questions and answers