Sign In
Upload
Download
Table of Contents
Contents
Add to my manuals
Delete from my manuals
Share
URL of this page:
HTML Link:
Bookmark this page
Add
Manual will be automatically added to "My Manuals"
Print this page
×
Bookmark added
×
Added to my manuals
Manuals
Brands
Goodwe Manuals
Inverter
GW1500-SS
User manual
Goodwe GW1500-SS User Manual
Ss series
Hide thumbs
Also See for GW1500-SS
:
User manual
(12 pages)
1
Table Of Contents
2
3
4
5
6
7
8
9
10
11
12
13
14
15
16
17
18
19
20
21
22
23
24
25
26
27
28
29
30
31
32
33
34
35
36
37
38
39
40
41
42
43
44
45
46
47
48
49
50
51
52
53
54
55
56
57
58
59
60
61
62
page
of
62
Go
/
62
Contents
Table of Contents
Troubleshooting
Bookmarks
Table of Contents
Table of Contents
1 Symbols
2 Safety
3 Installation
Mounting Instructions
Unpacking
Equipment Installation
Electrical Connection
Wireless Communication
Wifi Communication
Troubleshooting
4 System Operation
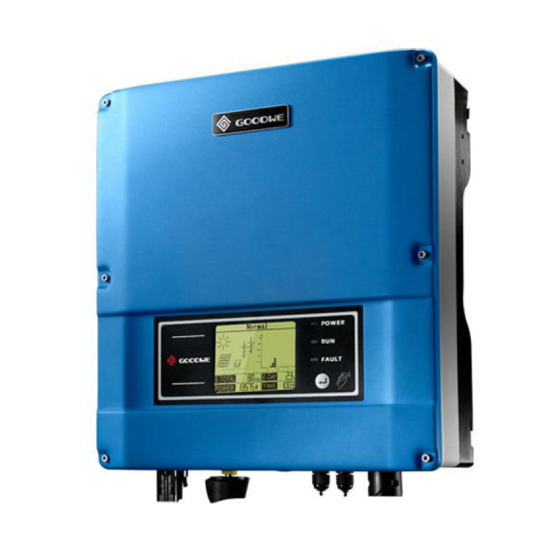
Operating Panel
Indicator Lights
LCD Display
Error Messages
ID Reset
5 Technical Parameters
Gw1500-Ss Gw2000-Ss Gw3000-Ss
Specifications
General Data
Gw4000-Ss Gw4600-Ss
Gw3600S-Uk/Dk
6 Certificates
7 Warranty
Warranty Period
Warranty Card
Warranty Conditions
Scope of Warranty
8 Contact
Advertisement
Quick Links
1
Electrical Connection
2
Wireless Communication
3
Wifi Communication
4
Operating Panel
5
Error Messages
6
Specifications
7
Gw1500-Ss Gw2000-Ss Gw3000-Ss
Download this manual
User Manual
GOODWE SS SERIES
Ver 02
Table of
Contents
Previous
Page
Next
Page
1
2
3
4
5
Advertisement
Table of Contents
Need help?
Do you have a question about the GW1500-SS and is the answer not in the manual?
Ask a question
Questions and answers
Related Manuals for Goodwe GW1500-SS
Inverter Goodwe SS SERIES User Manual
Solar inverter (12 pages)
Inverter Goodwe GW1000-NS User Manual
Ns series (10 pages)
Inverter Goodwe NS Series Manual
(83 pages)
Inverter Goodwe ET Series User Manual
Hybrid inverter 5.0-10.0kw ac-coupled inverter 5.0-10.0kw (80 pages)
Inverter Goodwe SMT Series User Manual
Solar inverter (22 pages)
Inverter Goodwe SMT Series User Manual
Grid-tied pv inverter (44 pages)
Inverter Goodwe ET Series User Manual
Hybrid inverter (20 pages)
Inverter Goodwe XS Series User Manual
Solar inverter (18 pages)
Inverter Goodwe MS Series User Manual
Grid-tied pv inverter (55 pages)
Inverter Goodwe DT Series User Manual
Solar inverter (23 pages)
Inverter Goodwe HT Series User Manual
Photovoltaic grid-tie inverter (19 pages)
Inverter Goodwe MS Series User Manual
Grid-tied pv inverter (51 pages)
Inverter Goodwe MS Series Quick Installation Manual
Grid-tied pv inverter (20 pages)
Inverter Goodwe ES Series User Manual
Hybrid inverter (75 pages)
Inverter Goodwe ET Series User Manual
Hybrid inverter 15-30kw (64 pages)
Inverter Goodwe XS Series Quick Installation Manual
Grid-tied inverter (2 pages)
This manual is also suitable for:
Gw2000-ss
Gw4600-ss
Gw3000-ss
Gw4000-ss
Gw3600s-dk
Gw3600s-uk
Table of Contents
Save PDF
Print
Rename the bookmark
Delete bookmark?
Delete from my manuals?
Login
Sign In
OR
Sign in with Facebook
Sign in with Google
Upload manual
Upload from disk
Upload from URL


Need help?
Do you have a question about the GW1500-SS and is the answer not in the manual?
Questions and answers