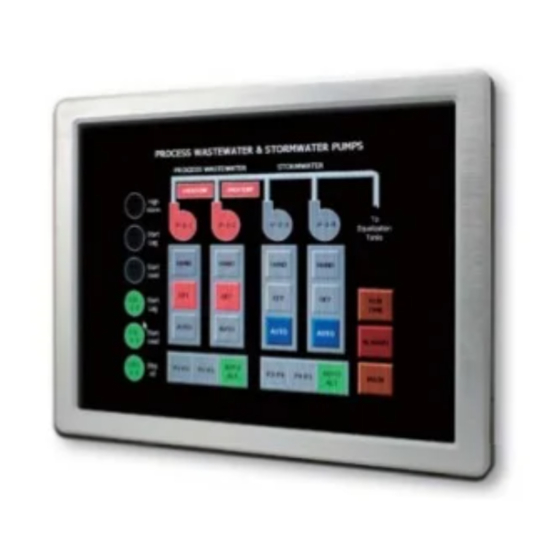
Summary of Contents for Avalue Technology LPC-1503
- Page 1 LPC 15” Series 15” Multifunctional Touch Panel PC Quick Reference Guide Ed – 9 Mar 2011 Copyright Notice Copyright 2007-2011 Avalue Technology Inc., ALL RIGHTS RESERVED. Part No. E2017L155A0R...
-
Page 2: Table Of Contents
1.5 System Dimensions ....................7 Hardware Configuration ..................8 2.1 COM port BIOS Setting ..................... 9 2.1.1 LPC-1503 RS232/422/485 setting by BIOS ................9 2.1.2 LPC-1505 RS232/422/485 setting by SW2 ................9 2.2 Installing Hard Disk & Memory ................10... -
Page 3: Getting Started
Quick Reference Guide 1. Getting Started 1.1 Safety Precautions Warning! Always completely disconnect the power cord from your chassis whenever you work with the hardware. Do not make connections while the power is on. Sensitive electronic components can be damaged by sudden power surges. -
Page 4: System Specifications
LPC 15” Series 1.3 System Specifications Panel LPC-1503 LPC-1505 Model LCD size 15”, 4:3 Display type Resolution 1024 x 768 Color 262K Pixel pitch 0.297mm(H) x 0.297mm(V) 300 cd/m² Luminance Contrast ratio Viewing angle 65(U), 60(D), 70(L), 70(R) Response time... - Page 5 Quick Reference Guide External I/O Ports 1 x RS-232/422/485 setting by BIOS*, 1 x RS-232/422/485 setting by SW2*, COM Port optional extra 1 x RS-232/422/485 optional extra 1 x RS-232/422/485 Intel® 82574L Gigabit LAN Ethernet Port Dual RTL8111C Giga LAN VGA / LCD Port 1 x DB-15 Audio Port...
-
Page 6: System Overview
Line-out audio jack 2 x USB 2.0 connector Dock USB LAN1 RJ-45 Ethernet connector 1 LPC-1505 -- PS/2 connector LAN2 (KB/MS) LPC-1503 -- LAN2 HDD indicator System power indicator CRT connector DB-15 female connector RESET Reset button DC Power-in connector DC-IN 6 LPC 15”... -
Page 7: System Dimensions
Quick Reference Guide 1.5 System Dimensions LPC 15” Series Quick Reference Guide... -
Page 8: Hardware Configuration
LPC 15” Series 2. Hardware Configuration Note: If you need more information, please visit our website: http://www.avalue.com.tw 8 LPC 15” Series Quick Reference Guide... -
Page 9: Com Port Bios Setting
COM port BIOS Setting 2.1.1 LPC-1503 RS232/422/485 setting by BIOS The COM port setting of LPC-1503, which applying EBM-945GSE M/B, can be configured by BIOS. The path is shown as below. [BIOS Menu] [Integrated Peripherals] [Super IO Device] ... -
Page 10: Installing Hard Disk & Memory
LPC 15” Series 2.2 Installing Hard Disk & Memory Step 1. Memory Installation: Unfasten 6 screws from the case to take off the top chassis. Step 2. Insert the SODIMM into the memory socket. Step 3-1. HDD Installation: Unfasten 2 screws of the HDD bracket and take it off. 10 LPC 15”... - Page 11 Quick Reference Guide Step 3-2. Insert the HDD into the bracket and fasten 4 screws. Step 3-3. Insert the cable to connect the HDD and the SATA connecter. SATA Connector IDE Connector Step 3-4. SATA HDD Installation: By default, the SATA cables had been inserted to the according connectors.
- Page 12 LPC 15” Series Step 3-5. Insert the HDD back and fasten 2 screws. Step 4. Place back the chassis with 6 screws locked. 12 LPC 15” Series Quick Reference Guide...


Need help?
Do you have a question about the LPC-1503 and is the answer not in the manual?
Questions and answers