DEVI Devireg 550 User Manual
Hide thumbs
Also See for Devireg 550:
- User manual (25 pages) ,
- Instruction manual (2 pages) ,
- User instruction (49 pages)

Related Manuals for DEVI Devireg 550


Summary of Contents for DEVI Devireg 550
- Page 1 User’s Guide - Devireg™ 550 Thermostat...
-
Page 2: Set Temperature
U s e r ’ s G u i d e - D e v i r e g ™ 5 5 0 T h e r m o s t a t About the thermostat Pages 2 - 7 Set weekday and clock Pages 8 - 9 Set temperature... - Page 3 Warning Do not cover the thermostat, for intance by DEVI has developed the Devireg 550 in order to hanging towels etc. directly in front of it. make your floor heating system and the heating of your home as economical and environmen- Please note, it is not advisable to leave certain tally friendly as possible.
- Page 4 Devireg™ 550 at of the rest. By identifying the rate of heat loss your desired comfort temperature. Devireg 550 from the room, the Devireg™ 550 knows when will then automatically adjust the heating to...
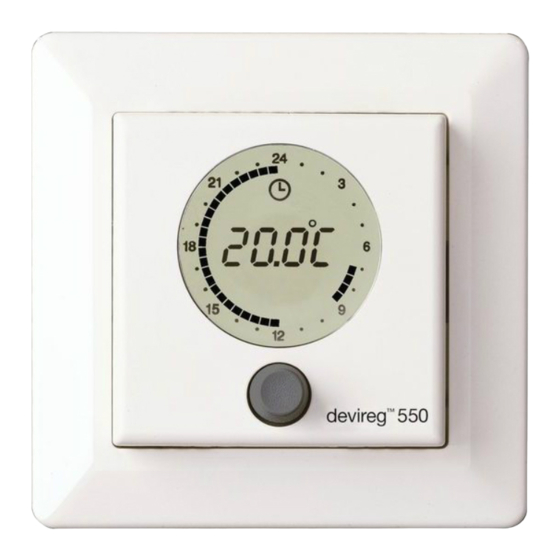
- Page 5 About the thermostat Symbol for timer On Symbol indicating that the room temperature is below the required temperature (set-point). Symbol for frost protection Symbol for degrees 00:00 Numerical display for time, temperature, text, etc. 1 2 3 4 5 6 7 Weekdays Child lock on (alt.
- Page 6 U s e r ’s G u i d e - D e v i r e g ™ 5 5 0 T h e r m o s t a t Thermostat button You can use the button on the thermostat in three different ways: - You can turn it.
- Page 7 About the thermostat Switch thermostat on/off Before you can switch the thermostat off, the �� timer function (indicated by timer symbol on �� � the thermostat display) must be deactivated. O F F �� � Press the button to switch the timer function off. ��...
- Page 8 U s e r ’s G u i d e - D e v i r e g ™ 5 5 0 T h e r m o s t a t Switch timer function on/off The timer function is used for automatic switch- ing between periods with normal (comfort) tem- perature and periods with lowering of tempera- ture (e.g.
- Page 9 If more Devireg 550™ thermostats have been configured as Master. installed in the house, the electrician may have chosen to link them together in a network with...
- Page 10 U s e r ’s G u i d e - D e v i r e g ™ 5 5 0 T h e r m o s t a t Set weekday and clock Set weekday 3 sec. Hold the button for 3 seconds.
- Page 11 Set weekday and clock Set the clock The clock is not factory set. 3 sec. �� Hold the button for 3 seconds. Then the �� � symbol for setting of clock will be shown on 8:45 �� � the display. Set the clock by turning the button to the �...
- Page 12 U s e r ’s G u i d e - D e v i r e g ™ 5 5 0 T h e r m o s t a t Set temperature Constant temperature Read more about how to set periods with lower- By switching off the timer function you can set ing of temperature on page 12.
- Page 13 Set temperature the display shows temperature on a scale of 1-10 Switch timer function on/off rather than degrees C. Recommended settings in To switch the timer function on/off, press the this situation are 5-6, which is 25-30 degrees C. button. A timer symbol on the display indicates that the timer function is on.
- Page 14 U s e r ’s G u i d e - D e v i r e g ™ 5 5 0 T h e r m o s t a t Setting minimum floor temperature 9 seconds (This only applies if the thermostat is configured to use a room and floor sensor).
-
Page 15: Operating The Child Lock
Setting minimum floor temperature and Child lock Set temperature Operating the child lock Switching on the child lock 1. Press and hold the button. 2. While holding the button turn counter-clock- wise, until “COdE” appears on the display. 3. Turn clockwise to select “0033”. 4. - Page 16 U s e r ’s G u i d e - D e v i r e g ™ 5 5 0 T h e r m o s t a t Set periods with lowering of temperature (timer) The timer is not factory set. 6 sec.
- Page 17 Set periods with lowering of temperature Turn the button clockwise to indicate the first time that normal temperatures are required 06:00 (comfort), e.g. 06:00. The clock uses 30-mi- nutes intervals. Press the button. Turn the button clockwise to indicate the time when the temperature should be lowe- red again.
- Page 18 U s e r ’s G u i d e - D e v i r e g ™ 5 5 0 T h e r m o s t a t Turn clockwise once again to the next time Please note: If at any point a mistake is made, that you require a period with lowering tem- rotate the dial anticlockwise to the first segment...
- Page 19 Error messages Error messages A fault on the floor sensor/sensor cable or Devireg™ 550 has a built-in system that constant- thermostat overheating will result in the heating ly checks the heating system, the thermostat it- being switched off. self and a possible network for any malfunctions. If an error occurs, the display will flash together with a code for the detected fault, which will be shown as a number from 1 to 7.
-
Page 20: Your Notes
U s e r ’s G u i d e - D e v i r e g ™ 5 5 0 T h e r m o s t a t Your notes Weekday 1 has been set to: The temperature will be lowered the fol- lowing number of degrees at night: The thermostats in the house are linked... -
Page 21: Year Warranty
City: Country: DEVI provides a warranty for Deviflex™ heating cables and Devimat™ heating mats for a 10 year period and all other DEVI products for a 2 Telephone: year period against defects in material and production. The guarantee is granted on the condition that the WARRANTY... - Page 22 Varenummer: 08090680 Version: 01.03 www.devi.com...
Need help?
Do you have a question about the Devireg 550 and is the answer not in the manual?
Questions and answers