Table of Contents
Advertisement
User Manual
Color video door phone CDV-40Q
Thank you for purchasing COMMAX products.
Thank you for purchasing COMMAX products.
Please carefully read this User's Guide (in particular, precautions for safety) before using a product and follow
Please carefully read this User's Guide (in particular, precautions for safety) before using a product and follow
instructions to use a product exactly.
instructions to use a product exactly.
The company is not responsible for any safety accidents caused by abnormal operation of the product.
The company is not responsible for any safety accidents caused by abnormal operation of the product.
Advertisement
Table of Contents

Subscribe to Our Youtube Channel
Related Manuals for Commax CDV-40Q


Summary of Contents for Commax CDV-40Q
-
Page 1: User Manual
User Manual Color video door phone CDV-40Q Thank you for purchasing COMMAX products. Thank you for purchasing COMMAX products. Please carefully read this User’s Guide (in particular, precautions for safety) before using a product and follow Please carefully read this User’s Guide (in particular, precautions for safety) before using a product and follow instructions to use a product exactly. -
Page 2: Table Of Contents
Greetings Thank you for choosing COMMAX. Please read this manual carefully before you use the product. Table of contents Greetings ..........................1 Contents table..........................1 1. Safety Warning & Caution....................2 2. Part names and functions.....................4 3. Operation..........................5 4. Installation method......................9 5. Wire connection ....................... 10 6. -
Page 3: Safety Warning & Caution
1. Safety Warning & Caution Please follow the things described below in order to prevent any danger or property damage. Prohibition. Warning It may cause a serious damage or No disassembly injury if violated. No touch Must follow strictly. Caution Shows plugging out the power cord It may cause a minor damage or without an exception... - Page 4 Warning Please don’ t disassemble, If an abnormal sound, burning Please don’t insert any Please use only the designated repair or rebuild this product smell or smoke is coming out metallic or burnable materials batteries for the products of arbitrarily (please contact the of the product, please plug out into the ventilation hole.
-
Page 5: Part Names And Functions
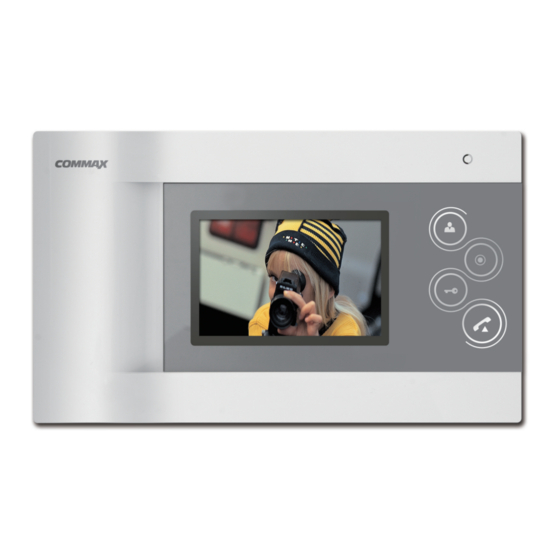
2.Part names and functions... -
Page 6: Operation
3. Operating Reception status (Monitor-on duration : 30±5sec) ① When the Call button of the door station is pressed, monitor is to be turned on within 3 seconds along with emitting ringing sound. ② Controlling the volume level of ringing tone is possible with turning the ringing-tone- control-dial upwards or downwards. - Page 7 pressing "Talk" button on the monitor. In the same way you can make three parties talk by picking up the handset of interphone during talking between monitor and door camera. By pressing "Talk" button once again you can finish the talking with door camera with both of monitor and interphone.
- Page 8 UTIL SET Move to UTIL SET from setting by using button and press SELECT to enter into menu. Then, press to move to each control mode. ① LED DIMMING : There are 3 scenarios from 1 to 3. It indicates its standby mode through LED Dimming of the touch button on the front.
- Page 9 EXIT After the setting of functions, move to EXIT by using button and press SELECT key to complete the setting and return to previous state.
-
Page 10: Installation Method
4. Installation 1. Installation Method of camera monitor Note Avoid the range of direct sunlight Recommended height is pertinent from 1450 ~ 1500mm Avoid the installation near magnetic activity, humid temperatures and gas 2. Installation Method of camera Note Do not install the camera where it is exposed to Direct sunlight Keep cleaning up its lens to capture good views. -
Page 11: Wire Connection
5. Wiring 1. polarity of camera connector ① RED : VOICE ② BLUE : GND ③ YELLOW : POWER(+12V) ④ WHITE : VIDEO 2. Wiring precautions 1) If high voltage cables are present in the vicinity, use a coaxial cable with metal outer casing 2) If any internal wires are exposed through mis-wiring, it may cause a short and become a cause of malfunction or fire. -
Page 12: Parts List
6. Parts list Monitor (CDV-40Q) Wall Bracket Manual GH1T 4 X 50 ZnY PHM 3 X 6 ZnY 4P X 300(2EA) Wall bracket Monitor fixing screw Connector mounting scre (1EA) (4EA) -
Page 13: Cautions In Use
1. Turn on the power switch. 2. Please contact your local agent for product maintenance when you have a problem in use of CDV-40Q 3. For your safety, power switch with a safety device must be used in your building. -
Page 14: Specification
9. Specification Model Spec CDV-40Q Rating Voltage 100-240V~, 50/60Hz Power consumption 10W (Max.) while operation, 3.5W on stand-by Wiring 4 wires polarity (with Door camera & interphone) Screen 4" TFT - DIGITAL LCD Transmission way Volume Switch Circuit (Hands free) - Page 15 513-11, Sangdaewon-dong, Jungwon-gu, Seongnam-si, Gyeonggi-do, Korea Int’l Business Dept. Tel. : +82-31-7393-540~550 Fax. : +82-31-745-2133 Web site : www.commax.com Printed In Korea / 2011.02.104...
Need help?
Do you have a question about the CDV-40Q and is the answer not in the manual?
Questions and answers