Advertisement
SAROS_SR4T/SR6T/SR8T
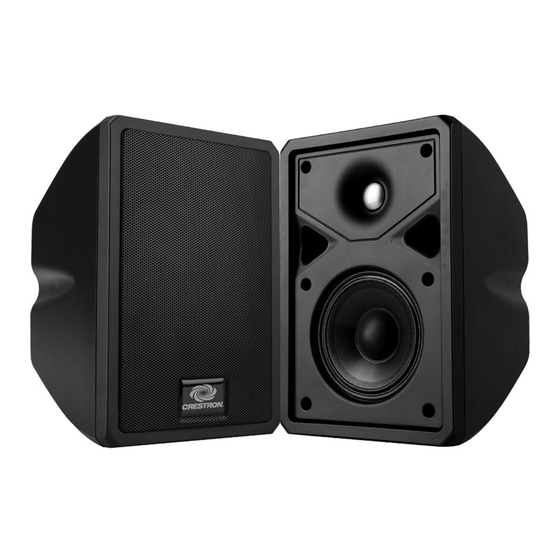
Saros
®
speakers by Crestron
®
deliver professional grade performance and
flexible installation in a range of popular sizes for demanding commercial
applications. Solid construction and high end components are hallmarks of the
complete Saros speaker line. Each Saros model is engineered to achieve a
smooth, even coverage pattern, and clear, natural sound quality through the
employment of a horn loaded titanium dome tweeter, high performance
damped cone woofer, and a finely tuned crossover.
Featuring a unique "Quick Ball" mounting system, the Saros speakers can be
mounted to any solid flat surface with the ability to orient and aim the speaker
in virtually any position. The Quick Ball bracket achieves a very clean and
stable installation using a tool-free ball-and-socket mechanism. Simply
position the speaker as desired and flip the clamp lever closed. A security
screw is included to deter theft by preventing the lever from being released.
Saros speakers, supplied in pairs, are available in black or white and can be
painted to blend with the surrounding architecture.
NOTE: Before starting installation, ensure the wall and wall material is capable of supporting the combined
weight of the speakers and the wall mount assemblies. Refer to section
1
Installation
Refer to the illustration to the right as necessary, and install the speakers as
follows:
1. Route the cables from the audio source to the intended speaker locations
following all appropriate local codes.
2. Attach the Quick Ball mounting bracket directly to the wall or to a flush mounted
1-gang US, UK, or European electrical box, allowing the cable coming through
the wall (and the electrical box, if used) to exit through the speaker cable
access hole of the mounting bracket.
NOTE: If the mounting bracket is to be attached to an electrical box, be
sure it is also attached to surrounding framing, to provide the support
needed to hold the weight of the speaker.
The Quick Ball mounting bracket can also be mounted to a light pole or post
using pole-mounting straps (not included).
3. Detach the 4-pin screw terminal block connector from the speaker. Connect the
audio source's + and - outputs to the connector's outer + and - (IN) terminals.
Maximum wire size is 12 AWG. Use the inner + and - (THRU) terminals to
connect a second speaker in parallel.
NOTE: The number of speakers that can be added is limited only by the
Specifications of the amplifier.
a. Strip the wires 1/4 in (~6 mm), twist the strands, insert them into the
terminal block, and tighten the screws to secure them.
b. Reattach the terminal block to the speaker connector.
1
QUICKSTART DOC. 7149D (2033424)
®
Saros
2-Way Surface Mount Speakers
➌
"Specifications" for weights.
4. Carefully mount the speaker on the Quick Ball mounting bracket, rotate
and set the speaker at the desired angle, and raise the ball socket clamp
lever into position against the bottom of the speaker to secure the speaker
in position. Use the supplied security screw to prevent the lever from being
accidentally pulled, releasing the speaker.
5. Attach a security cable (SPKA-ST-15, sold separately) to the security cable
attachment point. The other end of the cable must be attached to a
secondary point able to support several times the weight of the speaker.
6. The Saros speakers are equipped with a 70V/100V matching transformer
for distributed audio systems. The transformer tap selector switch on the
rear panel is used for setting the speaker power level. Use a flat blade
screwdriver to adjust the switch.
a. For SAROS_SR4T 70V distributed systems, use the left side settings
and select from 1.88, 3.75, 7.5, 15, or 30 watts.
b. For SAROS_SR4T 100V distributed systems, use the right side
settings and select from 3.75, 7.5, 15, or 30 watts. The X position
should not be used.
c. For SAROS_SR6T and SAROS_SR8T 70V distributed systems, use
the left side settings and select from 3.75, 7.5, 15, 30, or 60 watts.
d. For SAROS_SR6T and SAROS_SR8T 100V distributed systems, use
the right side settings and select from 7.5, 15, 30, or 60 watts. The X
position should not be used.
The switch may also be set to 8Ω operation, bypassing the transformer
completely. This setting should be used only for 8 Ω audio systems.
www.crestron.com
08.13
Specifications subject to
change without notice.
Physical Views (SAROS_SR8T Shown)
2
Front View
Side View
(Grill Removed)
2.16 in
(55 mm)
888.273.7876
201.767.3400
Rear View
(Mounting Bracket
Removed)
Bottom View
10.73 in
(273 mm)
13.31 in
(338 mm)
9.57 in
(244 mm)
SAROS_SR6T,
SAROS_SR4T
SAROS_SR8T
Transformer Tap
Transformer Tap
Selection Switch
Security
Selection Switch
Label
Cable
Attachment
Point
Detachable
Screw Terminal Block
Ball Socket
Security
Speaker
Clamp Lever
Screw
Cable
Access
Source
Hole
6.94 in
(177 mm)
9.05 in
(230 mm)
IN
THRU
+ + - -
Quick Ball
Mounting
Bracket
From
To
Audio
Parallel
Speaker
Advertisement
Table of Contents

Related Manuals for Crestron SAROS SR4T


Summary of Contents for Crestron SAROS SR4T
- Page 1 ® Saros 2-Way Surface Mount Speakers Saros ® speakers by Crestron ® deliver professional grade performance and Physical Views (SAROS_SR8T Shown) flexible installation in a range of popular sizes for demanding commercial applications. Solid construction and high end components are hallmarks of the...
- Page 2 United States and/or other countries. Other trademarks, registered trademarks, and trade names may be used in this document to refer to either the entities claiming the marks and names or their products. Crestron disclaims any proprietary interest in the marks and names of others. Crestron is not responsible for errors in typography or photography.
Need help?
Do you have a question about the SAROS SR4T and is the answer not in the manual?
Questions and answers