Table of Contents
Advertisement
Quick Links
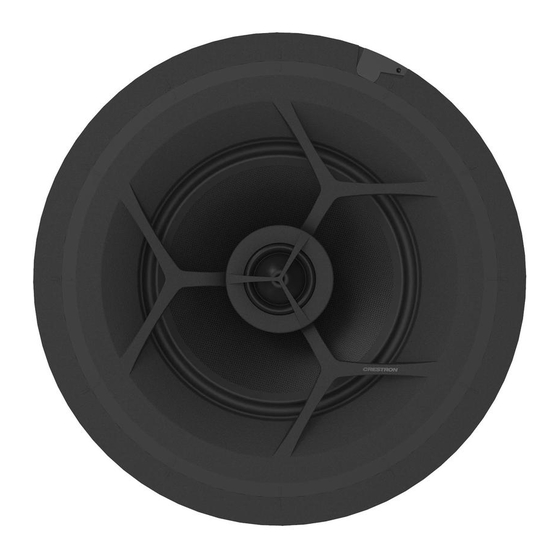
ULTIMATE IC6-AW-W-T-EACH
Ultimate 6.5 in. 2-Way All Weather In-Ceiling Speaker, White Textured, Single
The Crestron® Ultimate speaker
by Origin Acoustics delivers the pinnacle of performance for demanding
residential installations. Select materials, top shelf components and a
high-end appearance underscore the design behind each model. The
result is a complete line of in-ceiling speakers suitable for installation in
luxury residential applications, restaurants, retail spaces, universities,
and office buildings.
In the Box
ULTIMATE IC6-AW-W-T-EACH
1
Additional Items
1
Bayonet Ring
1
Cutout Template
1
Grille
ULTIMATE IC6-AW-W-T-EACH
made
Installation
Prepare the Mounting Hole
Before finalizing the speaker location, check to make sure there are no
fixtures, pipes, air ducts, joists, or other possible obstructions. If
applicable, use a good quality stud finder to locate joists. If there are no
obstructions, use the supplied template to trace an outline of the
mounting hole.
To identify obstructions, do the following:
Use a drywall saw to cut a small hole at a 45° angle. An angle cut
l
simplifies repair since the removed piece can be reinserted to help
plug the hole.
Use a piece of stiff wire, bent into an L shape, with one end long
l
enough to explore an area equal to the size of the speaker. Insert the
wire into the hole, make sure it rotates freely in a complete circle and
that there is sufficient depth.
If there are no obstructions, use the supplied template to trace outlines
of the mounting hole on the ceiling. Cut the final mounting hole at a 90°
angle to the ceiling.
Quick Start
1
Advertisement
Table of Contents

Related Manuals for Crestron ULTIMATE IC6-AW-W-T-EACH


Summary of Contents for Crestron ULTIMATE IC6-AW-W-T-EACH
- Page 1 Quick Start ULTIMATE IC6-AW-W-T-EACH Ultimate 6.5 in. 2-Way All Weather In-Ceiling Speaker, White Textured, Single The Crestron® Ultimate speaker ULTIMATE IC6-AW-W-T-EACH made by Origin Acoustics delivers the pinnacle of performance for demanding Installation residential installations. Select materials, top shelf components and a high-end appearance underscore the design behind each model.
- Page 2 Quick Start ULTIMATE IC6-AW-W-T-EACH Ultimate 6.5 in. 2-Way All Weather In-Ceiling Speaker, White Textured, Single 3. Insert the bayonet ring into the hole in the ceiling by gently bending the rails inward. NOTES: Ensure the bayonet ring rails are properly bent and inserted into the ceiling hole to avoid damaging the bayonet ring rails.
- Page 3 Quick Start ULTIMATE IC6-AW-W-T-EACH Ultimate 6.5 in. 2-Way All Weather In-Ceiling Speaker, White Textured, Single Install the Speaker Cable Mount/Remove the Speaker Run the speaker cable (not included) from the audio source to the 1. Fit the speaker into the bayonet ring. Then twist the speaker about 15 speaker location, observing all appropriate local codes.
- Page 4 Quick Start ULTIMATE IC6-AW-W-T-EACH Ultimate 6.5 in. 2-Way All Weather In-Ceiling Speaker, White Textured, Single 2. Push the metal lock tab to its locked (closed) position (see Figure A).
- Page 5 Quick Start ULTIMATE IC6-AW-W-T-EACH Ultimate 6.5 in. 2-Way All Weather In-Ceiling Speaker, White Textured, Single 3. To uninstall the speaker, pull the metal lock tab to its unlocked (open) position (see Figure B) and twist the speaker counterclockwise.
- Page 6 Development Tools License Agreement. Crestron product operating system software is licensed to Crestron dealers, CSPs, and end-users under a separate End-User License https://www.crestron.com/model/6511844 Agreement. Both of these Agreements can be found on the Crestron website at www.crestron.com/legal/software_license_agreement. The product warranty can be found at www.crestron.com/warranty.
Need help?
Do you have a question about the ULTIMATE IC6-AW-W-T-EACH and is the answer not in the manual?
Questions and answers