
Related Manuals for DAPAudio IMIX-7.1


Summary of Contents for DAPAudio IMIX-7.1
- Page 1 MANUAL ENGLISH IMIX 7.1 Ordercode: D2350 Highlite International B.V. – Vestastraat 2 – 6468 EX – Kerkrade – the Netherlands...
-
Page 2: Table Of Contents
IMIX 7.1 Table of contents Warning ....................................2 Unpacking Instructions ..............................2 Safety Instructions ................................. 2 Operating Determinations ............................4 Connection with the mains............................4 Return Procedure ................................4 Claims ....................................4 Description of the device ..............................5 Features ..................................5 Overview .................................. -
Page 3: Warning
Save the carton and all packing materials. In the event that a fixture must be returned to the factory, it is important that the fixture be returned in the original factory box and packing. Your shipment includes: DAP IMIX-7.1 Power adapter 2x18Vac 700mA ... - Page 4 IMIX 7.1 IMPORTANT: The manufacturer will not accept liability for any resulting damages caused by the non-observance of this manual or any unauthorized modification to the system. Never let the power-cord come into contact with other cables! Handle the power-cord and all connections with the mains with particular caution! ...
-
Page 5: Operating Determinations
IMIX 7.1 Operating Determinations This system is not designed for permanent operation. Consistent operation breaks will ensure that the system will serve you for a long time without defects. If this system is operated in any other way, than the one described in this manual, the product may suffer damages and the warranty becomes void. -
Page 6: Description Of The Device
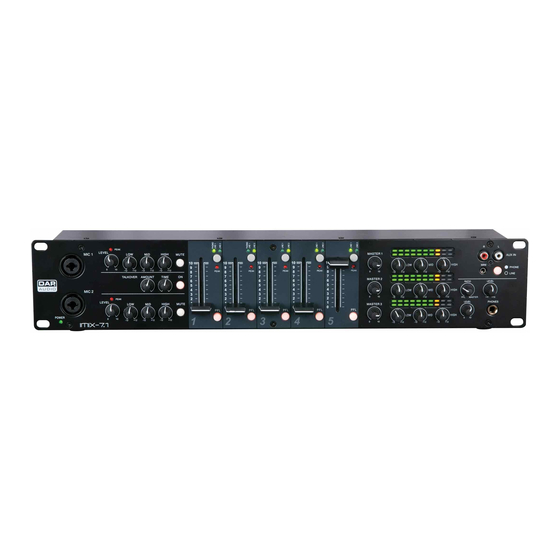
Description of the device Features The IMIX-7.1 is a compact installation mixer for many kind of applications. It has a basic design which makes it easy to control. Gain settings are at the backside which prevents wrong use by non-technical users. -
Page 7: Rear
Channel 1 line/phono switch GND screw Installation Remove all packing materials from the IMIX-7.1. Check that all foam and plastic padding is removed. Connect all cables. Always disconnect from electric mains power supply before cleaning or servicing. Damages caused by non-observance are not subject to warranty. -
Page 8: Functions
IMIX 7.1 Functions 1. Mic input connector Electronically balanced combo-type input for connecting low impedance microphones. The input has extremely low noise and low hum. When connecting a microphone make sure that the pin assignment is correct. Always make sure to read the manual of the microphone you want to connect. - Page 9 IMIX 7.1 12. Phono-line 1 LED Indicates that the phono-line 1 input is selected. 13. Phono-line 1 LED Indicates that the line 2 input is selected. 14. Input Selection button (Line 1/Line 2) With this button you can select between two sets of inputs per channel. 15.
- Page 10 It is a 6,3mm/ 1/4” TRS socket, wired as Tip=left, Ring=right and sleeve = ground. Caution: Depending on the type of headphones connected to the Headphones jack, the IMIX-7.1 is capable of producing high output levels via the phones output. Therefore, make sure to turn the control all the way to the left (minimum setting) before connecting the headphones.
- Page 11 IMIX 7.1 30. Power adapter connector This is the remote AC power supply input socket for the IMIX-7.1. It is a special three core socket. Please use the supplied DAP audio adapter only. 31. Power on/off switch Do not supply power before the whole system is set up and connected properly.
- Page 12 IMIX 7.1 40. Channel 2 line/phono switch Used to set the input level for the channel 2 phono-line (51) input for either phono or line level. 41. Channel 1 line/phono switch Used to set the input level for the channel 1 phono-line (52) input for either phono or line level. 42.
-
Page 13: Set Up And Operation
Follow the configuration examples below for your particular connection. Maintenance DAP Audio IMIX-7.1 requires almost no maintenance. However, you should keep the unit clean. Disconnect the mains power supply, and then wipe the cover with a damp cloth. Do not immerse in liquid. -
Page 14: Troubleshooting
IMIX 7.1 Troubleshooting DAP Audio IMIX-7.1 This troubleshooting guide is meant to help solve simple problems. If a problem occurs, carry out the steps below in sequence until a solution is found. Once the unit operates properly, do not carry out following steps. -
Page 15: Block Diagram
IMIX 7.1 Block diagram Ordercode: D2350... - Page 16 ©2013 DAP Audio...
Need help?
Do you have a question about the IMIX-7.1 and is the answer not in the manual?
Questions and answers