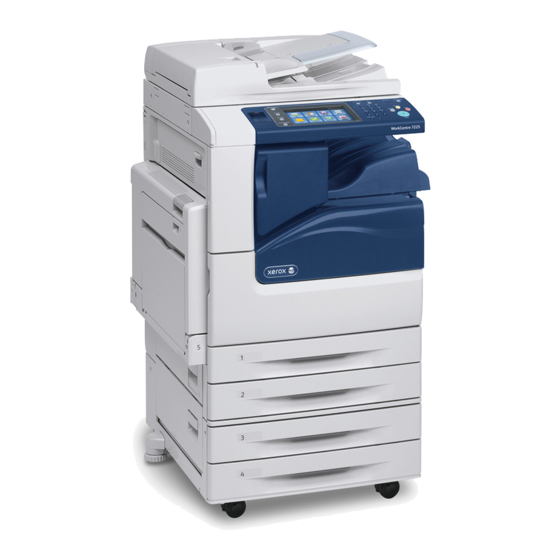
Xerox WorkCentre 7220 User Manual
Multifunction printer
Hide thumbs
Also See for WorkCentre 7220:
- User manual (302 pages) ,
- Information (61 pages) ,
- White paper (29 pages)
Table of Contents
Advertisement
Quick Links
Xerox WorkCentre 7220 / 7225
Multifunction Printer
Imprimante multifonction
Xerox
WorkCentre
®
User Guide
Guide d'utilisation
Italiano
Guida per l'utente
Deutsch
Benutzerhandbuch
Español
Guía del usuario
Português
Guia do usuário
Nederlands
Gebruikershandleiding
Svenska
Användarhandbok
Dansk
Betjeningsvejledning
Suomi
Käyttöopas
Norsk
Brukerhåndbok
7220 / 7225
®
Русский
Руководство пользователя
Čeština
Uživatelská příručka
Polski
Przewodnik użytkownika
Magyar
Felhasználói útmutató
Türkçe
Kullanıcı Kılavuzu
Ελληνικά
Εγχειρίδιο χρήστη
Română
Ghid de Utilizare
Català
Manual d 'usuari
Advertisement
Chapters
Table of Contents
Troubleshooting


Need help?
Do you have a question about the WorkCentre 7220 and is the answer not in the manual?
Questions and answers