Sign In
Upload
Download
Table of Contents
Contents
Add to my manuals
Delete from my manuals
Share
URL of this page:
HTML Link:
Bookmark this page
Add
Manual will be automatically added to "My Manuals"
Print this page
×
Bookmark added
×
Added to my manuals
Manuals
Brands
Electrolux Manuals
Grill
EGL4401X
Use & care manual
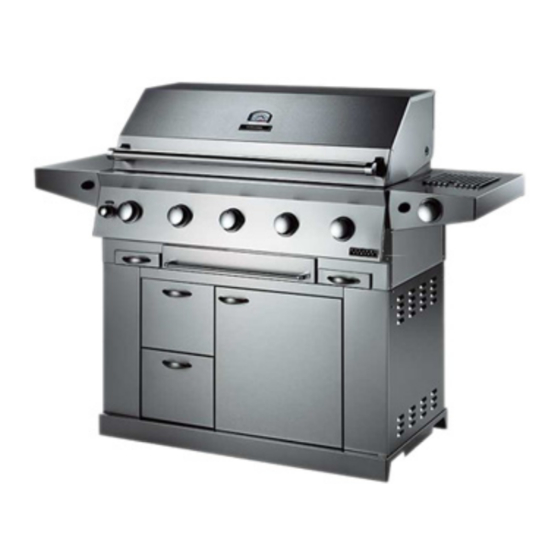
Electrolux EGL4401X Use & Care Manual
Outdoor grill with electronic ignition
Hide thumbs
1
2
Table Of Contents
3
4
5
6
7
8
9
10
11
12
13
14
15
16
17
18
19
20
21
22
23
24
25
26
27
28
29
30
page
of
30
Go
/
30
Contents
Table of Contents
Troubleshooting
Bookmarks
Table of Contents
Table of Contents
Welcome & Congratulations
General Safety Instructions
Grill Features
Grill Assembly
Side Shelf
Built-In Instructions
Gas Requirements
Leak Testing
Leak Testing
Using the Gril
Lighting the Grill
Side Burning
Using the Rotisserie
Care and Maintenance
Troubleshooting
Troubleshooting
Warranty
Service and Spare Parts
Advertisement
Quick Links
1
Table of Contents
2
Grill Features
3
Grill Assembly
4
Service and Spare Parts
Download this manual
instruzioni per l'uso
manual de instrucciones
ïäçãßåò ÷ñÞóçò
EGL4401X
EGL4400X
Table of
Contents
Previous
Page
Next
Page
1
2
3
4
5
Advertisement
Table of Contents
Troubleshooting
Troubleshooting
25
Troubleshooting
27
Need help?
Do you have a question about the EGL4401X and is the answer not in the manual?
Ask a question
Questions and answers
Related Manuals for Electrolux EGL4401X
Grill Electrolux E57LB60ESS Instructions
Electrolux e57lb60ess: installation guide (2 pages)
Grill ELECTROLUX E57NB60ESS Use & Care Manual
57" stainless steel gas grill (23 pages)
Grill Electrolux E57LK60ESS Specifications
57" outdoor kitchen designer series (2 pages)
Grill Electrolux EQBL100AS User Manual
Integrated barbecue (19 pages)
Grill electrolux EQBL100AS User Manual
Integrated barbecue (18 pages)
Grill Electrolux EQBL100AS Dimension And Installation Manual
Integrated barbecue and integrated burner (1 page)
Grill Electrolux E44LB60ESS Instructions
Electrolux e44lb60ess: installation guide (2 pages)
Grill Electrolux E44LB60ESS Use & Care Manual
44” stainless steel gas grill (20 pages)
Grill Electrolux E44LK60ESS Specifications
44" outdoor kitchen designer series (2 pages)
Grill Electrolux E51LB60ESS Instructions
Electrolux e51lb60ess: installation guide (2 pages)
Grill Electrolux E51LB60ESS Use & Care Manual
51" stainless steel gas grill (21 pages)
Grill Electrolux E51LK60ESS Specifications
51" outdoor kitchen designer series (2 pages)
Grill Electrolux EGL4400X Use & Care Manual
Outdoor grill with electronic ignition (30 pages)
Grill ELECTROLUX EGL4500X User Manual
(28 pages)
Grill Electrolux HSG Panini Service Manual
(65 pages)
Grill Electrolux EQT4520BOG User Manual
(76 pages)
This manual is also suitable for:
Egl4400x
Egl3001x
Egl3000x
Table of Contents
Print
Rename the bookmark
Delete bookmark?
Delete from my manuals?
Login
Sign In
OR
Sign in with Facebook
Sign in with Google
Upload manual
Upload from disk
Upload from URL


Need help?
Do you have a question about the EGL4401X and is the answer not in the manual?
Questions and answers