Table of Contents
Advertisement
BEDIENUNGSANLEITUNG
USER MANUAL
MODE D'EMPLOI
MANUAL DEL USUARIO
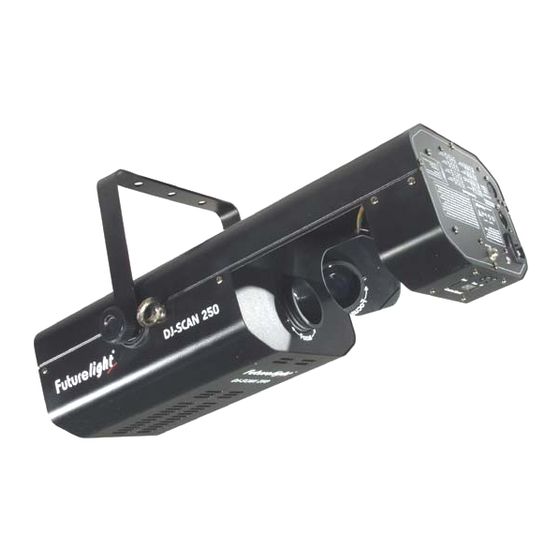
DJ-SCAN 250
DMX-Scanner
©
Für weiteren Gebrauch aufbewahren!
Copyright
Keep this manual for future needs!
Nachdruck verboten!
Gardez ce mode d'emploi pour des
Reproduction prohibited!
utilisations ultérieures!
Réproduction interdit!
Guarde este manual para posteriores usos.
Prohibida toda reproducción.
Advertisement
Table of Contents

Related Manuals for Future light DJ-SCAN 250


Summary of Contents for Future light DJ-SCAN 250
- Page 1 BEDIENUNGSANLEITUNG USER MANUAL MODE D'EMPLOI MANUAL DEL USUARIO DJ-SCAN 250 DMX-Scanner © Für weiteren Gebrauch aufbewahren! Copyright Keep this manual for future needs! Nachdruck verboten! Gardez ce mode d’emploi pour des Reproduction prohibited! utilisations ultérieures! Réproduction interdit! Guarde este manual para posteriores usos.
-
Page 2: Table Of Contents
EINFÜHRUNG...FEHLER! TEXTMARKE NICHT DEFINIERT. SICHERHEITSHINWEISE...FEHLER! TEXTMARKE NICHT DEFINIERT. BESTIMMUNGSGEMÄßE VERWENDUNG...FEHLER! TEXTMARKE NICHT DEFINIERT. GERÄTEBESCHREIBUNG ...FEHLER! TEXTMARKE NICHT DEFINIERT. Features ... Fehler! Textmarke nicht definiert. Geräteübersicht... Fehler! Textmarke nicht definiert. INSTALLATION ...FEHLER! TEXTMARKE NICHT DEFINIERT. Lampeninstallation/Lampenwechsel ... Fehler! Textmarke nicht definiert. Lampenjustierung... - Page 3 INTRODUCTION ...FEHLER! TEXTMARKE NICHT DEFINIERT. INSTRUCTIONS DE SÉCURITÉ ...FEHLER! TEXTMARKE NICHT DEFINIERT. EMPLOI SELON LES PRESCRIPTIONS ...FEHLER! TEXTMARKE NICHT DEFINIERT. DESCRIPTION DE L'APPAREIL...FEHLER! TEXTMARKE NICHT DEFINIERT. Features ... Fehler! Textmarke nicht definiert. Aperçue des parties ... Fehler! Textmarke nicht definiert. INSTALLATION ...FEHLER! TEXTMARKE NICHT DEFINIERT.
-
Page 4: Introduction
- pass this manual on to every further owner or user of the product - include every supplementay update with the original manual INTRODUCTION Thank you for having chosen a FUTURELIGHT DJ-SCAN 250. You will see you have acquired a powerful and versatile device. Unpack your DJ-SCAN 250. -
Page 5: Health Hazard
If the device has been exposed to drastic temperature fluctuation (e.g. after transportation), do not switch it on immediately. The arising condensation water might damage your device. Leave the device switched off until it has reached room temperature. This device falls under protection-class I. The power plug must only be plugged into a protection class I outlet. -
Page 6: Description Of The Device
DESCRIPTION OF THE DEVICE Features Innovative DJ-scanner with rotating gobos 7 different, dichroic colour-filtres and white • Rainbow-effect with adjustable speed in both directions • Gobo- wheel with 7 rotating gobos, open and blackout • Strobe-effect with adjustable speed (1-10 flashes/sec.) via shutter •... -
Page 7: Overview
Overview (1) Mounting bracket (2) Fixation screw (3) Safety eyelet (4) Objective-lens/Focus (5) Mirror (6) Housing cover (7) Housing screws (8) DMX-Out socket (9) DMX-In socket (10) Power supply (11) Fuseholder (12) Blackout-socket (13) Control Board (14) Venting slots (15) Control LED (16) Microphone (17) Mode-button (18) Down-button... -
Page 8: Installation
INSTALLATION Installing/Replacing the lamp For the installation, you need one MSD/HSD 200 GY-9.5, MSD/HSD 250 GY-9.5 or MSD 250/2 GY-9.5 lamp. The lamp must only be changed when wearing appropriate protective clothing (protection glasses, protection gloves, helmet with sight, leather apron). The lamp life given by the manufacturer must never be exceeded. -
Page 9: Lamp Adjustment
Lamp adjustment Overhead rigging Please consider the DIN 15560 and the respective national norms during the installation! The installation must only be carried out by an authorized dealer! The installation of the device has to be built and constructed in a way that it can hold 10 times the weight for 1 hour without any harming deformation. -
Page 10: Danger Of Fire
The master/slave-operation enables that several devices can be synchronized and controlled by one master- device. On the rear panel of the DJ-SCAN 250 you can find an XLR-jack (DMX Out) and an XLR-plug (DMX In), which can be used for connecting several devices. -
Page 11: Dmx-512 Connection / Connection Between Fixtures
Occupation mono 1/4“ jack-plug: Sleeve In Phase (+) Ground DMX-512 connection / connection between fixtures The wires must not come into contact with each other, otherwise the fixtures will not work at all, or will not work properly. Only use a stereo shielded cable and 3-pin XLR-plugs and connectors in order to connect the controller with the fixture or one fixture with another. -
Page 12: Operation
DJ-SCAN 250 will respond to the controller. If you set, for example, the address to channel 7, the DJ-SCAN 250 will use the channel 7 to 14 for control. Please, be sure that you don’t have any overlapping channels in order to control each DJ-SCAN 250 correctly and independently from any other fixture on the DMX data link. -
Page 13: Dmx-Protocol
Note: After switching on, the DJ-SCAN 250 will automatically detect whether DMX 512 data is received or not. If the data is received, the control LED flashes. If there is no data received at the DMX-input, the control LED lights up permanently. -
Page 14: Cleaning And Maintenance
Control channel 5 - Gobo rotation DMX-value Feature 0-15 No rotation 16-135 Forwards gobo rotation with decreasing speed 136-255 Backwards gobo rotation with increasing speed Control channel 6 - Shutter, strobe DMX-value Feature Shutter closed 6-128 Dimmer control 129-131 Reset (after 3-5 seconds) 132-139 No function (Shutter open) 140-199... -
Page 15: Replacing The Fuse
quantity of oil must not be excessive in order to avoid that oil runs out when the gobo-wheel rotates. There are no serviceable parts inside the device. Maintenance and service operations are only to be carried out by authorized dealers. Please refer to the instructions under "Installing/Replacing the lamp".
Need help?
Do you have a question about the DJ-SCAN 250 and is the answer not in the manual?
Questions and answers