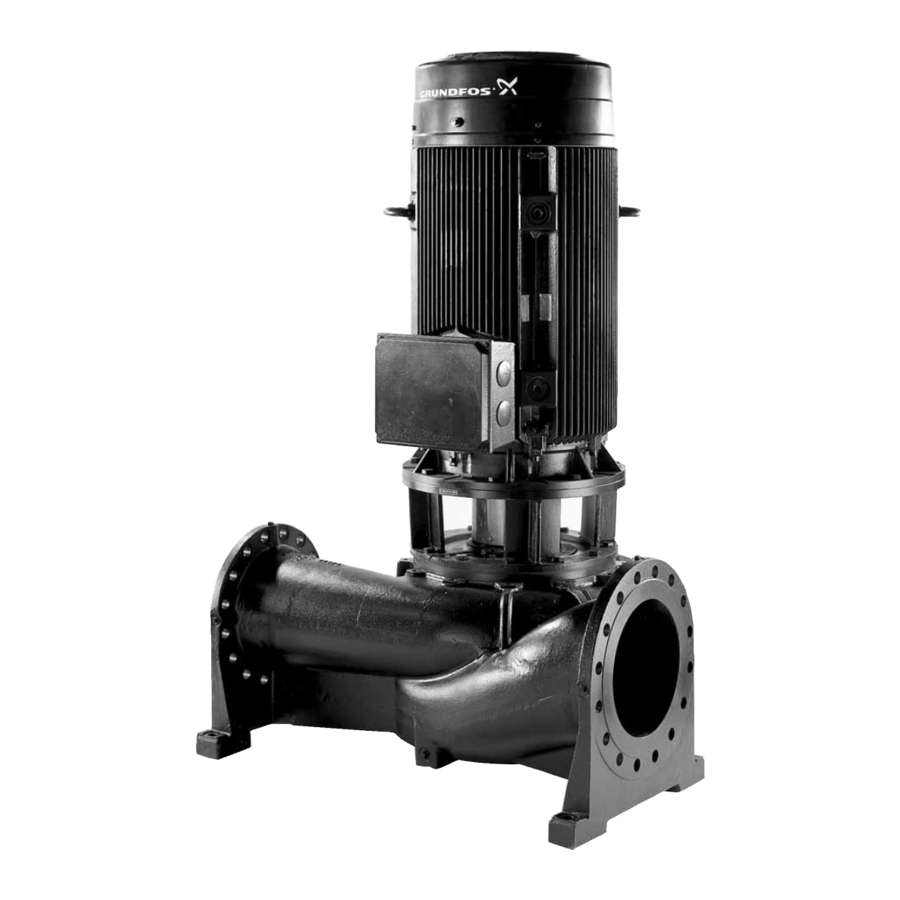
Grundfos TP 400 Series TP 400 Manual
- Service instructions manual (16 pages)
Advertisement
- 1 Symbols used in this document
- 2 Type identification
- 3 Lifting the pump
- 4 Torques and lubricants
- 5 Service tools
- 6 Dismantling and assembly
-
7
TP 65 to TP 300
- 7.1 Removing the pump housing and impeller
- 7.2 Removing the shaft seal (10 bar)
- 7.3 Removing the shaft seal (25 bar)
- 7.4 Removing the pump head with shaft seal housing
- 7.5 Removing the motor stool, pump shaft and coupling
- 7.6 Removing the stationary shaft seal part
- 7.7 Fitting the shaft seal retainer
- 7.8 Fitting the coupling, pump shaft and motor stool
- 7.9 Fitting the pump head with shaft seal housing
- 7.10 Fitting the shaft seal (10 bar)
- 7.11 Fitting the shaft seal (25 bar)
- 7.12 Fitting the impeller and pump housing
-
8
TP 400
- 8.1 8.1 Removing the pump housing and impeller
- 8.2 Removing the motor stool
- 8.3 Removing the shaft seal
- 8.4 Removing the motor stool, pump shaft and coupling
- 8.5 Fitting the coupling, pump shaft and motor stool
- 8.6 Fitting the shaft seal
- 8.7 Fitting the pump head
- 8.8 Adjusting the shaft seal
- 8.9 Fitting the impeller and pump housing
- 9 Drawings
- 10 Documents / Resources

Prior to service work, read these service instructions carefully. Installation and service work must comply with local regulations and accepted codes of good practice. Observe the safety instructions in the installation and operating instructions for the product.
Symbols used in this document
If these safety instructions are not observed, it may result in personal injury.
 Note Notes or instructions that make the job easier and ensure safe operation.
Type identification
Nameplate, TP Series 400

Fig. 1 Nameplate for TP pump with ∅150 discharge flange
| Pos. | Designation |
| 1 | Type designation |
| 2 | Model |
| 3 | Product number |
| 4 | Place of production |
| 5 | Production year and week |
| 6 | Serial number |
| 7 | Maximum pressure and temperature |
| 8 | Rated flow rate |
| 9 | Head at rated flow rate |
| 10 | Speed |
| 11 | Country of production |
Type key

Shaft seal
The following variants are available as standard:
| Variant code | Maximum pressure |
| BBDE | 10 bar |
| DBUE | 25 bar |
Codes for shaft seal
The positions 1 to 4 cover four pieces of information about the shaft seal:

The following table explains the positions 1, 2, 3 and 4.
| Position | Type | Short description of seal |
| 1 | B | Rubber bellows seal |
| D | O-ring seal, balanced | |
| Position | Type | Material |
| 2 and 3 | Synthetic carbon: | |
| B | Carbon, resin-impregnated | |
| Metal: | ||
| D | Steel | |
| Carbide: | ||
| U | Tungsten carbide | |
| Position | Type | Material |
| 4 | E | EPDM |
Lifting the pump
Lift the pump by means of nylon straps and shackles.

The lifting eyes of the motor must only be used for lifting the motor.
The lifting eyes not be used for lifting the entire pump.
Torques and lubricants

Loctite 243: product No V7137215.
Rocol 22: product No RM2924.
Service tools

Special tools
| Pos. | Designation | For pos. | Further information | Product number |
| A | ∅48 | 70007172 | ||
| Punch for shaft seal | 105 | ∅55 | 70007173 | |
| ∅60 | 70007174 | |||
| B | Strap wrench | 49 | 48" | SV0853 |
Standard tools

Torque tools
| Pos. | Designation | For pos. | Further information | Product number |
| I | Torque wrench | G, H | 4-20 Nm | SV0292 |
| 20-100 Nm | SV0269 | |||
| 30-300 Nm | SV0500 | |||
| J | Ring insert tool | I | M6 - 10 mm | SV0310 |
| M8 - 13 mm | SV0294 | |||
| M10 - 17 mm | SV0270 | |||
| M12 - 19 mm | SV0271 | |||
| M16 - 24 mm | SV0524 |
Dismantling and assembly
General information
Position numbers of parts (digits) refer to drawings and parts lists, and position numbers of tools (letters) refer to section Service tools.
Before dismantling
- Switch off the power supply and make sure that it cannot be accidentally switched on.
- Close the isolating valves, if fitted, and make sure that they cannot be accidentally opened.
- Allow the product and pumped liquid to cool down before starting work on the product.
- Note the centre of gravity of the pump to prevent it from overturning. This is especially important in the case of long pumps.
Before assembly
- Clean and check all parts.
- Replace defective parts by new parts.
- Order the necessary service kits.
- Always replace gaskets and O-rings.
During assembly
- Lubricate and tighten screws and nuts to the torque stated in section Torques and lubricants.
Shaft seal
It is not unusual for the shaft seal to be leaking a little during the first operating hours, but then it will run-in and be tight. In case of large variations of the liquid temperature or during standstill, minor short-term leakages may occur. Mechanical shaft seals are never completely tight. In order to ensure the lubrication of the sliding faces, a small amount of liquid seeps through. The liquid will usually evaporate immediately. If the pump is insulated, the evaporated liquid must be led away without condensating in the insulating material.
Wear rings
Wear ring (pos. 45 and 45b) must be replaced if the difference of diameter between ring and impeller skirt is maximum 1.3 mm. At delivery, the internal diameter of the wear ring is 0.3 to 0.6 mm larger than the diameter of the impeller skirt. When this gap is increased due to wear, the pump efficiency is reduced.
Start-up
Before starting the pump, check that the pump housing and suction pipe are filled with liquid. The pump must not be started before it has been vented; not even briefly to check the direction of rotation or to ensure lubrication of bearings during standstill, as the shaft seal cannot stand running without liquid lubrication.
TP 65 to TP 300
Removing the pump housing and impeller
- Loosen screws (pos. 7a) and remove coupling guards (pos. 7).
- Mark motor stool (pos. 2), pump head (pos. 77) and pump housing (pos. 6) so that they can be placed in the same position at assembly.
- Remove screws (pos. 26) in motor stool (pos. 2).
- Fit and tighten the screws in the extractor holes of the pump head.
- Lift the motor with pump head and impeller off the pump housing.
- Lay down the motor with the terminal box upwards and make sure that it cannot move during service.
- Remove O-ring (pos. 72a).
- Remove screw (pos. 68) and washer (pos. 66).
- Remove impeller (pos. 49) and key for impeller (pos. 11).
Removing the shaft seal (10 bar)
- Check the shaft for damage and remove any burrs with a fine emery cloth. Lubricate the shaft with soapy water.
- Remove spacer (pos. 61) for shaft seal (pos. 105).
- Remove the spring for shaft seal.
- Pull out the rotating shaft seal part using two screwdrivers or a special tool.
Removing the shaft seal (25 bar)
- Check the shaft for damage and remove any burrs with a fine emery cloth. Lubricate the shaft with soapy water.
- Remove spacer (pos. 61) including rotating shaft seal part (pos. 105).
Removing the pump head with shaft seal housing
- Remove the pipe for shaft seal cooling, if fitted.
- Remove screws (pos. 25) holding pump head (pos. 77) and motor stool (pos. 2) together.
- Remove the pump head including the shaft seal housing.
- Remove O-ring (pos. 109).
Removing the motor stool, pump shaft and coupling
- Mark motor stool (pos. 2) and the motor so that they can be placed in the same position at assembly.
- Remove screws (pos. 29).
- Remove motor stool (pos. 2).
- Mark the flange of pump shaft (pos. 51) and coupling (pos. 8a) so that they can be placed in the same position at assembly.
- Remove screws (pos. 23).
- Remove screw (pos. 13) and washer (pos. 14) at the end of the motor shaft.
- Loosen screws (pos. 9) in the coupling and pull the coupling off using a puller.
Removing the stationary shaft seal part
- Remove screws (pos. 58a) and fit two screws in the extractor holes in shaft seal retainer (pos. 58).
- Loosen shaft seal retainer (pos. 58) and remove it including the stationary shaft seal part.
- Carefully remove the stationary shaft seal part using a screwdriver.
Fitting the shaft seal retainer
- Mark the inside of the stationary shaft seal part where the hole for the pin in the shaft seal retainer is.
- Fit shaft seal retainer (pos. 58) on pump head (pos. 77).
- Fit and tighten screws (pos. 58a).
Fitting the coupling, pump shaft and motor stool
- Press the coupling on the motor shaft.
- Fit washer (pos. 14) and screw (pos. 13), and tighten the screw so that the coupling is pressed home.
- Tighten screws (pos. 9).
- Place pump shaft (pos. 51) on the coupling with the marks aligned.
- Fit and slightly tighten screws (pos. 23).
- Align the pump shaft using a measuring gauge. The shaft must run untrue by maximum 4/100 mm.
![]()
Fig. 3 Aligning the pump shaft - Tighten screws (pos. 23).
- Check the shaft using the measuring gauge.
- Fit the motor stool on the motor with the marks aligned.
- Fit and tighten screws (pos. 29).

Fitting the pump head with shaft seal housing
- Fit O-ring (pos. 109).
- Fit pump head (pos. 77) on motor stool (pos. 2) with the marks aligned.
- Fit and tighten screws (pos. 29).
Fitting the shaft seal (10 bar)
- Fit the stationary shaft seal part with the mark facing the hole.
- Fit rotating shaft seal part (pos. 105) and the spring for shaft seal.
- Fit spacer (pos. 61).
Fitting the shaft seal (25 bar)
- Fit the stationary shaft seal part with the mark facing the hole.
- Fit spacer (pos. 61) including rotating shaft seal part (pos. 105).
Fitting the impeller and pump housing
- Fit key for impeller (pos. 11) and impeller (pos. 49).
- Fit washer (pos. 66) and screw (pos. 68) and tighten the screw.
Note The screw must always be replaced if it has been removed, as it is factory-lubricated with lock liquid.
- Fit O-ring (pos. 72a).
- Lift the motor including motor stool, pump head and impeller, and fit it on pump housing (pos. 6) with the marks aligned.
- Fit screws (pos. 26) and tighten two of them.
- Check that the shaft and impeller run freely.
- Tighten the other screws.
- Fit coupling guards (pos. 7) and screws (pos. 7a).
TP 400
8.1 Removing the pump housing and impeller
- Loosen screws (pos. 7a) and remove coupling guards (pos. 7).
- Mark motor stool (pos. 2), pump head (pos. 77) and pump housing (pos. 6) so that they can be placed in the same position at assembly. If you install a new pump head, only mark the motor stool (pos. 2) and pump housing (pos. 6).
- Remove screws (pos. 26) in motor stool (pos. 2).
- Fit and tighten the screws in the extractor holes of the pump head.
- Lift the motor with pump head and impeller off the pump housing.
- Lay down the motor with the terminal box upwards and make sure that it cannot move during service.
- Remove O-rings (pos. 72a).
- Remove screw (pos. 68) and washer (pos. 66).
- Remove impeller (pos. 49) and key for impeller (pos. 11).
Removing the motor stool
- Remove pipe for shaft seal cooling (pos. 32).
- Remove screws (pos. 58a).
- Remove screws (pos. 25) holding pump head (pos. 77) and motor stool (pos. 2) together.
- Fit two screws (pos. 58a) in the extractor holes of shaft seal retainer (pos. 58) and tighten them.
- Remove the pump head excluding shaft seal retainer (pos. 58).
- Remove O-ring (pos. 109).
Removing the shaft seal
- Check the shaft for damage and remove any burrs with a fine emery cloth. Lubricate the shaft with soapy water.
- Loosen screws (pos. 103).
- Remove spacer for shaft seal (pos. 61) including shaft seal (pos. 105) and shaft seal retainer (pos. 58).
- Remove driver (pos. 104).
- Remove shaft seal retainer (pos. 58) from the spacer and shaft seal.
- Carefully remove the stationary shaft seal part in retainer (pos. 58) using a screwdriver.
Removing the motor stool, pump shaft and coupling
- Mark motor stool (pos. 2) and the motor so that they can be placed in the same position at assembly.
- Remove screws (pos. 29).
- Remove motor stool (pos. 2).
- Mark the flange of pump shaft (pos. 51) and coupling (pos. 8a) so that they can be placed in the same position at assembly.
- Remove screws (pos. 23).
- Remove screw (pos. 13) and washer (pos. 14) at the end of the motor shaft.
- Loosen screws (pos. 9) in the coupling and pull the coupling off using a puller.
Fitting the coupling, pump shaft and motor stool
- Press the coupling on the motor shaft.
- Fit washer (pos. 14) and screw (pos. 13), and tighten the screw so that the coupling is pressed home.
- Tighten screws (pos. 9).
- Place pump shaft (pos. 51) on the coupling with the marks aligned.
- Fit and slightly tighten screws (pos. 23).
- Align the pump shaft using a measuring gauge. The shaft must run untrue by maximum 4/100 mm.
![]()
Fig. 4 Aligning the pump shaft - Tighten screws (pos. 23).
- Check the shaft using the measuring gauge. Fit motor stool (pos. 2) on the motor with the marks aligned.
- Fit and tighten screws (pos. 29).

Fitting the shaft seal
- Push driver (pos. 104) on pump shaft (pos. 51).
- Fit the stationary shaft seal part in shaft seal retainer (pos. 58).
- Fit the rotating shaft seal part and spacer for shaft seal (pos. 61) in shaft seal retainer (pos. 58).
- Push shaft seal retainer (pos. 58) on pump shaft (pos. 51).
Fitting the pump head
- Fit O-ring (pos. 109).
- Fit pump head (pos. 77) on motor stool (pos. 2) with the marks aligned.
When you fit a new pump head, the drain hole in the pump housing (pos. 6) must be aligned with the drain hole in the pump head (pos. 77). See fig. 5.

Fig. 5 Drain hole in pump housing and pump head
- Fit and tighten screws (pos. 25).
Adjusting the shaft seal
- Push shaft seal retainer (pos. 58) into pump head (pos. 77).
- Fit and tighten screws (pos. 58a).
- Fit an 11 mm distance piece between retainer (pos. 58) and driver (pos. 104).
- Push the driver against the retainer and tighten screws (pos. 103). The line on the shaft seal must be flush with the steel washer.
- Remove the distance piece.
Fitting the impeller and pump housing
- Fit key for impeller (pos. 11) and impeller (pos. 49).
- Fit washer (pos. 66) and screw (pos. 68) and tighten the screw.
Note The screw must always be replaced if it has been removed, as it is factory-lubricated with lock liquid.
- Fit O-rings (pos. 72a).
- Lift the motor including motor stool, pump head and impeller, and fit it on pump housing (pos. 6) with the marks aligned.
- Fit screws (pos. 26) and tighten two of them.
- Check that the shaft and impeller run freely.
- Tighten the other screws.
- Fit pipe for shaft seal cooling (pos. 32).
- Fit coupling guards (pos. 7) and screws (pos. 7a).
Drawings
TP 100 - TP2 00, 10 bar

TP 250, 10 bar

TP 65 - TP 300, 25 bar

TP 400, 25 bar

Documents / ResourcesDownload manual
Here you can download full pdf version of manual, it may contain additional safety instructions, warranty information, FCC rules, etc.
Advertisement


Need help?
Do you have a question about the TP 400 Series and is the answer not in the manual?
Questions and answers