Advertisement
Quick Links
Advertisement

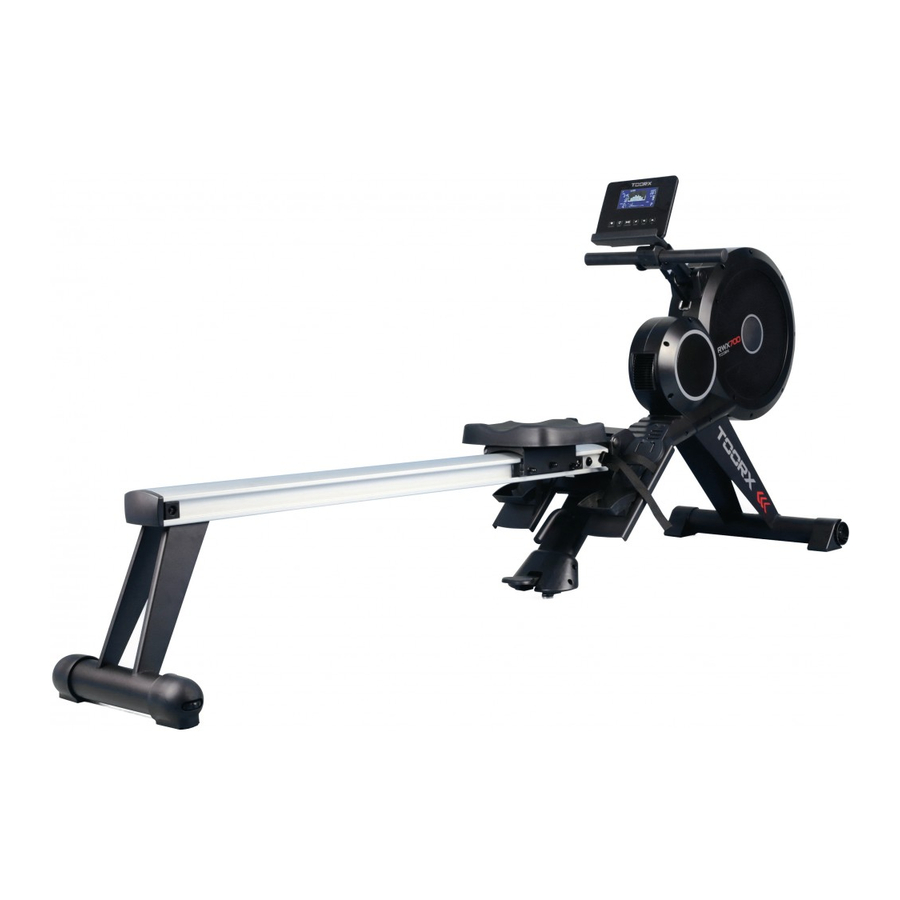
Related Manuals for TOORX RWX700


Summary of Contents for TOORX RWX700
- Page 1 INSTRUCTION...
-
Page 2: Exploded Drawing
Exploded drawing 19 16 93 95 45 46 23 24 22 21 20 71 72... -
Page 3: Part List
Part List Part No Description Part No Description Main frame Right cover for foot Handlebar post Buffer D25*D4.5*8T Front stabilizer Pulling strap Rear stabilizer Wheel for pulling rope Fixing bracket for Bracket for pedal volute spring Supporting bracket for Pedal strap seat Sliding beam Flywheel... - Page 4 Left cover for foot Ladder bolt D8*M6*10 Part No Description Part No Description Connecting rod Screw ST4.2x1.4x10L Allen bolt M8*1.25*25L Flat washer D12*D4.3*1.0T Nylon nut M8*1.25*8T Flat washer D15*D5.2*3.0T Allen screw M8*1.25*80L Upper computer cable Screw M5x0.8x10L Sensor Sensor (1) Buffer 35*35*5T Fixing bracket for Round cap...
- Page 5 CHECKLIST (CONTENTS OF PACKAGE)
- Page 6 STEP 1 1 Assemble the left cover for foot(38L)and right cover for foot (38R) to the main frame (1) by using screws(86). 2 Assemble the front stabilizer (3)to the main frame(1)as shown on fig a. 3 Fixing the front stabilizer (3) to the main frame (1) by using Allen bolts (20) , spring washers (21)...
- Page 7 STEP 2 M8*1.25*20 D15.4*D8.2*2T D16*D8.5*1.2T D25*D8.5*2T M8*1.25*100L 20 21 23 28&26 26 27 step-2 1 Assemble the seat (13) on the sliding beam(8) then assemble the pre-assembled buffer (28&26) and buffer (26) to the sliding beam(8) by using Allen bolt (27) as shown on fig b. 2 Assemble rear stabilizer (4) to the sliding beam (8) by using Allen bolts (20) and spring washer s(21) and flat washers (22) as shown on fig a.
- Page 8 STEP 3 Assemble the bracket for pedal (5) to main frame(1) by using Allen bolts (20), spring washers (21) and flat washers (22).
- Page 9 STEP 4 step-4 Tread onto footboard (9) to fold the sliding beam (8) or unfold sliding beam as shown on figure.
- Page 10 STEP 5 M5*0.8*15L step-5 1. Connect upper computer cable(101),sensor(102),sensor 1(103) to the computer(10) 2. Assemble the computer(10)to fixing bracket for computer by using bolts(76)as shown on enlarged view. 3. Adjust the handlebar post (2) to the suitable position as show on the enlarged view. 4.
- Page 11 Adjust pedal position downward: pull out the clips on the fixing plates for pedal(15),at the same time, pull the pedals down as shown on above picture. Adjust pedal position upward: No need to pull out the clips, directly pull the pedals up as shown on above picture, the sizes become smaller.
- Page 12 COMPUTER INSTRUCTIONAL MANUAL LCD full Display: DISPLAY FUNCTIONS ITEM DESCRIPTION ‧ WATTS Display range 0~999 ‧ Burned calories during rowing. CALORIES ‧ Display range 0~9999;Setting range 0~9990 Cal ‧ Displaying user rowing distance DISTANCE ‧ Display range0~99999; Each increment/decrement is ±100. ‧...
-
Page 13: Key Function
KEY FUNCTION ITEM DESCRIPTION ‧ Increase function value or setting selection. ‧ Down Decrease function value or setting selection. ‧ ENTER Confirm setting or selection. ‧ Hold on pressing for 2 seconds, computer will reboot. ‧ Reset Clear setting value. ‧... - Page 14 Picture2 Picture3 5. Program Mode 5.1 Press UP or DOWN to select Program mode and press ENTER to confirm. 5.2 Press UP or DOWN to select profile (P1~P12, Picture 4) and press ENTER to confirm. 5.3 Press UP or DOWN to preset TIME ( Picture 5) and press ENTER to confirm. 5.4 Press START/STOP key to start rowing.
- Page 15 Picture6 Picture7 Picture8 Picture9 7. Race Mode 7.1 Press UP or DOWN to select Race mode (Picture 10) and press ENTER to confirm. 7.2 Press UP or DOWN to set SPM (preset=10) and DISTANCE (preset=500) (Picture 11). Press ENTER to confirm. (Total level =15, L1=1:00 TIME/500M, L15=8:00 TIME/500M, Increments default: 0:30 TIME/500M).
- Page 16 8.USER Mode 8.1 Press UP or DOWN to select USER mode and press ENTER to confirm. 8.2 Press UP or DOWN to set resistance level of each column (Picture 15). Press ENTER to next one. Hold on pressing MODE for 2s to finish or quit setting. 8.3 Press UP or DOWN to preset TIME (Picture 16), and press ENTER to confirm.
- Page 17 Remark: 1. If console display E-2, pls check if cables were well connected or damaged. 2. After 4 minutes without rowing or pulse input, console will enter into SLEEPING mode. Program profile: P01~P12...
- Page 18 GARLANDO SPA Via Regione Piemonte, 32 - Zona Industriale D1 15068 - Pozzolo Formigaro (AL) - Italy www.toorx.it - info@toorx.it...
Need help?
Do you have a question about the RWX700 and is the answer not in the manual?
Questions and answers