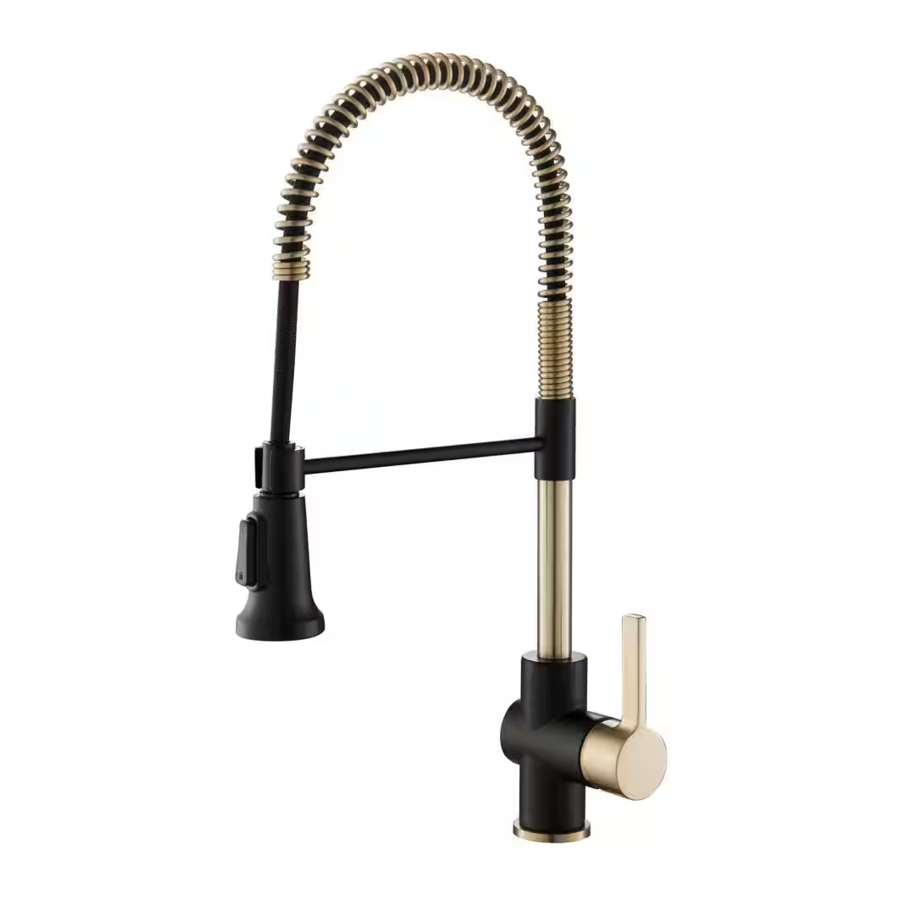
Kraus Britt KPF-1690 Manual
- Installation manual (16 pages) ,
- Installation manual (14 pages) ,
- Installation manual (16 pages)
Advertisement
- 1 Prior to Installation
- 2 Diagram and Parts List
- 3 Faucet Dimensions
-
4
Installation Steps
- 4.1 Step 1. Remove mounting hardware
- 4.2 Step 2. Install the faucet assembly (without deckplate)
- 4.3 Step 3. Install the escutcheon
- 4.4 Step 4. Install the faucet assembly (with deckplate)
- 4.5 Step 5. Secure the faucet assembly
- 4.6 Step 6. Connect the waterlines
- 4.7 Step 7. Flush and check for leaks
- 4.8 Replacement Parts
- 5 Troubleshooting
- 6 Care & Maintenance
- 7 Customer Service
- 8 Documents / Resources
Prior to Installation
- Make sure you have all necessary parts by checking the diagram and parts list. If any part is missing or damaged, please contact Kraus Customer Service at 800-775-0703 for a replacement.
- Turn off the hot and cold water supply at the angle stops and turn on the old faucet to release any built up pressure. Remove existing faucet. Clean sink or countertop to remove any debris, plumber's putty, or silicone.
- Place bucket under angle stops. Turn on angle stops to flush any debris prior to installing new plumbing. Shut off angle stops.
- Max countertop thickness: 3"
- Pre-drilled hole size requirement: 1 3/8"
- 1 or 3 hole installation
For technical assistance or replacement parts, please contact Kraus Customer Service and one of our representatives will be happy to help:
Toll-Free: 800-775-0703
or customerservice@kraususa.com
Tools you will need:

Diagram and Parts List

- Spray Head
- Faucet Body
- Mounting Hardware
C1. Rubber & Metal Washer
C2. Mounting Nut
C3. Mounting Screw - Flange & Washer
- Escutcheon
- Base Plate
- Escutcheon Mounting Hardware
G1. Bolt
G2. Plastic Nut - 2.5 mm Hex Wrench
Faucet Dimensions

Installation Steps
Step 1. Remove mounting hardware
Shut off the water supply. Remove the old faucet. Clean the mounting surface. Remove mounting hardware (C) from faucet body (B).

Step 2. Install the faucet assembly (without deckplate)
Before installation, ensure that the flange (D) is placed on the bottom of the new faucet assembly (B). Insert the faucet body through the hole in the sink.

 NOTE: Skip this step and move on to Step 3 if installing with deckplate.
Step 3. Install the escutcheon
Before installation, remove the flange (D). Screw the bolts (G1) into the escutcheon (E) and ensure that the base plate (F) is pressed onto the escutcheon (E) before the escutcheon (E) is installed over the three holes on the sink. From underneath the sink, hand tighten the mounting nuts (G2).
Do not overtighten.

NOTE: Skip this step if installing without deckplate.
Step 4. Install the faucet assembly (with deckplate)
Insert the faucet assembly (B) through the hole in the escutcheon (E).

NOTE: Skip this step if installing without deckplate.
Step 5. Secure the faucet assembly
Install the plastic washer and metal washer (C1) onto the threaded mounting shank. Thread the nut (C2) onto the mounting shank. Lock the nut (C2) into position by tightening the screws (C3). Do not overtighten.

Step 6. Connect the waterlines
Thread the nut (1) on the supply line onto the outlet of the water supply valve (2) and tighten with wrench.
Do not overtighten.

Step 7. Flush and check for leaks
Pull hose assembly out of spout and remove spray head by unscrewing from hose in a counterclockwise direction. Hold the end of the hose down into the sink and turn the faucet on to the warm position. Flush water lines for one minute to flush away any debris. Check for leaks.
Re-tighten any connections if needed. Do not overtighten. Reinstall spray head by hand tightening it back onto the spray hose. After installation is completed, turn on the hot and cold water supplies to check for leaks.

Replacement Parts

*Denotes faucet component color options:
SFS - Spot Free Stainless Steel
MB - Matte Black
BG - Brushed Gold
SFACB - Spot Free Antique Champagne Bronze
SFSB - Spot Free Black Stainless
AB - Antique Brass
BL - Black
GR - Gray
| Replacement Parts List | Finish/Color | Part # |
| 1. Spray Head | SFS,BG,SFACB,SFSB,MB,AB* | KP27195 |
| 2. 1.8 GPM Washer | KP27196 | |
| 3. Sprayer Hose | BLAB,BLBG,BLSFSB BLMB,BLSFACB,SFS* | KP27025 |
| 4. Inverter | GR,BL* | KP27026 |
| 5. Spring | SFS,BG,SFACB,SFSB,AB* | KP27027 |
| 6. Inverter | GR,BL* | KP27080 |
| 7. O-ring | KP27029 | |
| 8. Block | KP27030 | |
| 9. Washer | GR,BL* | KP27031 |
| 10. Spray Support Assembly | SFS,AB,BG,SFSBMB SFACBMB,BGMB* | KP27032 |
| 11. Set Screw | KP27033 | |
| 12. Cartridge | KP27035 | |
| 13. Bonnet Nut | KP27036 | |
| 14. Cap | SFS,BG,SFACB,SFSB,AB* | KP27037 |
| 15. Handle | SFS,BG,SFACB,SFSB,AB* | KP27038 |
| 16. Set Screw | KP27001 | |
| 17. Cover Button | GR,BL* | KP27002 |
| 18. Rubber & Metal Washer | KP27028 | |
| 19. Nut & Screw | KP27079 | |
| 20. Flange | SFS,BG,SFACB,SFSB,AB* | KP27041 |
| 21. Escutcheon | SFS,BG,SFACB,SFSB,AB* | KP27184 |
| 22. Escutcheon Mounting Hardware | KP27185 | |
| 23. Filter Washer | KP27167 |
Troubleshooting
If you have followed the instructions carefully and your faucet still does not work properly, take the following corrective steps:
| PROBLEM | CAUSE | ACTION |
| Leakage under faucet handle | The bonnet nut (14) has come loose and the ring on the cartridge is dirty or damaged | Tighten the bonnet nut. Clean or replace the cartridge |
| Leaking between spray head and the hose | Spray head (1) may be loose or washer (3) is not seated correctly in the hose connection. | Tighten spray head (1) by hand until snug. Make sure washer (3) is seated correctly |
| The water pressure is low | Waterlines may be clogged | Turn off the water supply at water valve and unscrew the hose connectors from water supply lines. Clean the screen in the water lines with hot water, removing any debris or calcium build up. |
Care & Maintenance
To keep the product clean & shining, follow the steps below:
- Rinse with clean water & dry with a soft cloth
- Do not clean with soaps, acid, polish, abrasives or harsh cleaners
- Do not use cloth with a coarse surface
- Unscrew the aerator and clean when necessary
Download the Kraus Care & Maintenance Guide at: http://www.kraususa.com/maintenance
This installation manual is subject to change without further notice.
Customer Service
DO NOT RETURN TO STORE!
Please contact our Customer Service Team 1-800-775-0703 / customerservice@kraususa.com
Have the model number available and retain a copy of your receipt with purchase date for reference.
If for any reason this product does not meet your expectations, please be sure to repack this product in the original box and packaging material to avoid damage during transit.
Documents / Resources
References
Download manual
Here you can download full pdf version of manual, it may contain additional safety instructions, warranty information, FCC rules, etc.
Advertisement


Need help?
Do you have a question about the Britt KPF-1690 and is the answer not in the manual?
Questions and answers