Table of Contents
Advertisement
Quick Links
Advertisement
Table of Contents

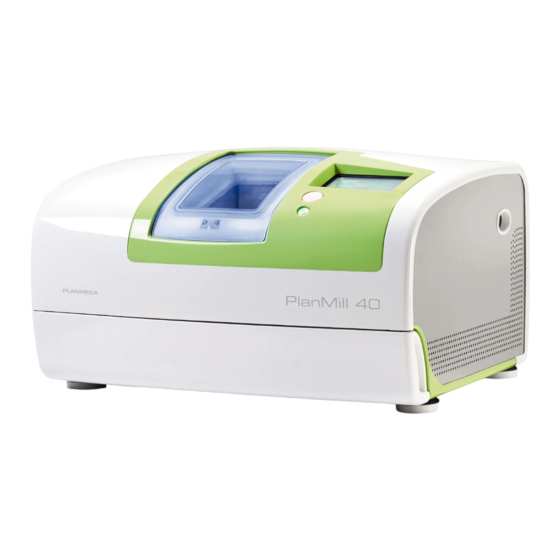
Summary of Contents for Planmeca PlanMill 40
- Page 1 Quick Reference Guide...
-
Page 2: Table Of Contents
Table of Contents Block Orientation Note: The position of the labels may change from one lot of Defoamer - Composite Blocks ......1 blocks to the next. Zirlux FC2 ............... 1 Milling a Restoration .......... 2 Vertical Orientation - Notch points to the bottom right Tool Gauges and Warnings ...... -
Page 3: Defoamer - Composite Blocks
Customer Support: 800.537.6070 Defoamer - Composite Blocks Zirlux FC2 A Composite Block Defoaming Solution is used with composite See the manufacturer’s Instructions for Use provided with the Zirlux FC2 and nano-ceramic blocks such as MZ100. Due to the nature of the blocks for processing instructions. -
Page 4: Milling A Restoration
Milling a Restoration Remember to use the defoamer when milling MZ100 blocks. Touch the desired restoration in The mill opens the lid and prompts Use the mandrel t-handle to Pending Restorations. you to insert the block that matches tighten the cam then close the lid. the material selected in PlanCAD . -
Page 5: Tool Gauges And Warnings
Customer Support: 800.537.6070 Tool Gauges and Warnings Minutes Used Indicator Bars Tool Type Tool Strip Side of Mill in Milling Color 0-39 3 Greens Ellipsoidal Yellow Left 40-79 2 Greens Tapered White Right 80-119 1 Green Conical Blue Left 120-139 2 Yellows 140-159 1 Yellow... -
Page 6: Automatic Tool Changer
Automatic Tool Changer When the automatic tool changer has extra tools, the mill can exchange a broken tool or change tool shapes without user intervention. In the Control Panel Home screen, touch Maintenance. Highlight the shape of the new tool or touch empty to remove the tool without a replacement. -
Page 7: Maintenance Reminders
Customer Support: 800.537.6070 Maintenance Reminders Daily Maintenance Weekly Maintenance The following should be done at the end of each day. The following should be done once a week. High volume offi ces may be required to empty, clean, and refi ll the •... -
Page 8: Clean/Refi Ll Milling Fluid Tank
Clean/Refi ll Milling Fluid Tank Clean Milling Fluid Tank Refi ll Fluid Tank The Clean Milling Fluid icon turns red when the tank is scheduled to be cleaned. Touch the icon at any time to see how many milling hours are The water level icon shows when the estimated before the next scheduled cleaning. -
Page 9: Collet And Spindle Cap Cleaning
Customer Support: 800.537.6070 Collet and Spindle Cap Cleaning Over time, residue from the milling process may build up in the spindle caps and/or on the collet. This inhibits coolant delivery and/or reduces the spindle’s tool holding capability. Clean the collets and spindle caps when the icon turns red or the tools “walk” (do not stay fl ush with the spindle) during milling. - Page 10 Collet and Spindle Cap Cleaning (continued) Remove the collet using the shorter side of the collet tool. If the spindle is turning instead of the collet, use the curved Rinse the collet and use the small wire brush to clean the collet wrench to hold the spindle in place while you loosen inside, running it through a couple of times.
- Page 11 Customer Support: 800.537.6070 Insert the nozzle cleaning brush in the small holes on the spindle cap at an angle. This will push any ceramic buildup out of the hole. The alignment grooves on the spindle cap and spindle housing and the pointed extension on the spindle cap. You will use these for proper alignment.
-
Page 12: Contact Customer Support
Visit our website www.e4d.com for these additional resources: • The Learning Tools page on our website (www.e4d.com/learning_tools) includes: • Documentation available for download. Printed copies are available for $25 each and can be ordered by emailing educationonline@e4d.com. • Training Videos •...


Need help?
Do you have a question about the PlanMill 40 and is the answer not in the manual?
Questions and answers