Table of Contents
Advertisement
Advertisement
Table of Contents

Related Manuals for Planmeca ProSensor


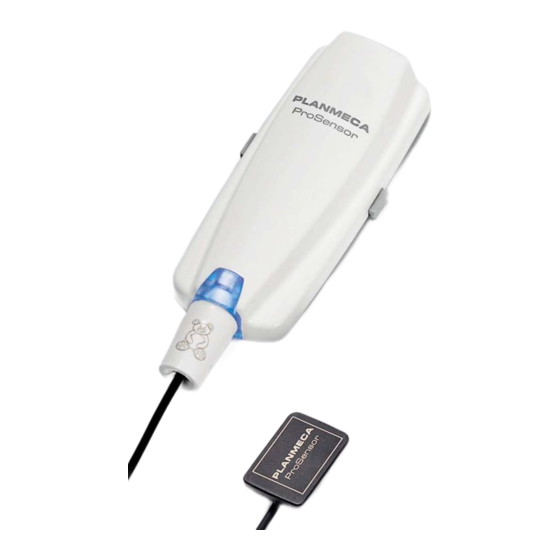
Summary of Contents for Planmeca ProSensor
- Page 1 Digital Radiography System user's manual...
-
Page 3: Table Of Contents
11.3 Sensor holders ......................16 11.4 Planmeca ProSensor ControlBox ................16 DISPOSAL OF PLANMECA PROSENSOR ..........17 TECHNICAL SPECIFICATIONS ..............18 APPENDIX A: EXPOSURE VALUES FOR PLANMECA PROX ....20 A.1 Default exposure values ....................20 A.2 Preprogrammed settings values .................. 21 Planmeca ProSensor 1... - Page 4 IEC 60364 - equipment is used according to the operating instructions Planmeca pursues a policy of continual product development. Although every effort is made to produce up-to-date product documentation this publication should not be regarded as an infallible guide to current specifications. We reserve the right to make changes without prior notice.
-
Page 5: Introduction
INTRODUCTION INTRODUCTION This manual describes how to use and install the Planmeca ProSensor sensor that is intended to be used for capturing digital intraoral x-ray images from patient’s jaw, teeth, gums, roots and root canals by trained dental care professionals. -
Page 6: Symbols
IEC60601 and/or IEC60601-1-1 harmonized national standard. ETL CLASSIFIED Planmeca ProSensor is ETL classified and conforms to ANSI/AAMI ES60601-1 and is certified to CAN/CSA C22.2 No. 60601.1:08. 3143029... -
Page 7: Safety Precautions
CAUTION Do not let the sensor cable run along the floor. Protect the cable from rolling over it with a chair or walking over it. CAUTION Do not store or use the Planmeca Sensor near (3m or 10 ft) an electrosurgical knife. CAUTION Do not unnecessarily touch the connector pins to keep them clean. -
Page 8: System Requirements
NOTE Make sure that the system is protected with fire wall and up-to-date anti-virus software. If possible, isolate the system from office network. NOTE For latest up-to-date system requirements see also Planmeca website > Software > System requirements Table 1. Planmeca Romexis system requirements Planmeca Romexis Planmeca Romexis... -
Page 9: Planmeca Prosensor Controlbox Indicator Light
Flashing violet ControlBox startup with back-up software NOTE The exposure can only be taken when the Planmeca ProSensor ControlBox indicator light is green and steady, not when the indicator light is flashing. -
Page 10: Before Exposure
BEFORE EXPOSURE BEFORE EXPOSURE NOTE Detailed instructions for using Planmeca ProX X-ray unit and Planmeca Romexis software are given in their User’s manual, which should be used in conjunction with this manual. NOTE It is recommended to use a sensor holder. Select the... - Page 11 NOTE Never clamp the sensor package or cable with a hemostat or an unmodified “Snap-a-ray” holder. Make sure the Planmeca ProSensor system is ready for the exposure and communicates with Romexis (refer to section 6 “PLANMECA PROSENSOR CONTROLBOX INDICATOR LIGHT”...
-
Page 12: Selecting Exposure Values
Select the digital imaging mode of the unit or adjust the exposure time according to the table. NOTE In the digital imaging mode the highest time value that can be selected is 0.80 seconds. Table 3. Exposure values for Planmeca ProSensor sensors with 20 cm (8”) cones TIME maxilla child... - Page 13 BEFORE EXPOSURE Table 4. Exposure values for Planmeca ProSensor sensors with 30 cm (12”) cones TIME maxilla child mandible maxilla child mandible maxilla child mandible maxilla child mandible maxilla child mandible maxilla child mandible maxilla child mandible maxilla child mandible...
-
Page 14: Capturing Intraoral Images
Ready appears on top of the window. 4. Prepare the patient for exposure, select exposure parameters and position Planmeca ProX as required, for more information refer to Planmeca ProX user’s manual. NOTE Inform the patient that the sensor may feel warm in the mouth. - Page 15 CAPTURING INTRAORAL IMAGES When the Planmeca ProSensor system is ready for exposure the message Waiting for Exposure appears on top of the window. 5. Take an exposure as usual. After the exposure a message stating Saving the image appears on the display and the image is automatically stored into the database.
-
Page 16: Capturing Images Into A Study Template
2. Follow the tooth numbering and sensor orientation as shown on the image and predefined in the template. 3. Prepare the patient for exposure, select exposure parameters and position Planmeca ProX as required, for more information refer to Planmeca ProX user’s manual. 12 Planmeca ProSensor... - Page 17 NOTE Inform the patient that the sensor may feel warm in the mouth. When the Planmeca ProSensor system is ready for exposure the message Waiting for Exposure appears on top of the window. You can now expose the X-ray as usual.
-
Page 18: Image Quality Control
It is recommended to regularly monitor the image quality using the same phantom according to the requirements of local authorities. See also the Constancy test manual for Planmeca Digital Intraoral X-ray System (publication number 10009324) Before performing phantom exposures verify that the brightness and contrast settings of the monitor are accurate by using a SMPTE test pattern or similar. -
Page 19: Cleaning
CLEANING CLEANING NOTE Before cleaning the system, always check that the X- ray unit and the Planmeca ProSensor system are off (Planmeca ProSensor ControlBox indicator light is off). 11.1 Surfaces The surfaces can be cleaned with a soft cloth damped in a mild cleaning solution. -
Page 20: Sensor Holders
For cleaning the sensor holders refer to the manual supplied with the sensor holder package. 11.4 Planmeca ProSensor ControlBox The ControlBox can be cleaned with a soft cloth damped in a mild cleaning solution. CAUTION Switch off the unit before cleaning. -
Page 21: Disposal Of Planmeca Prosensor
DISPOSAL OF PLANMECA PROSENSOR DISPOSAL OF PLANMECA PROSENSOR In order to reduce the environmental load over the product’s entire lifecycle, PLANMECA’s products are designed to be as safe as possible to manufacture, use and dispose of. Parts which can be recycled should always be taken to the appropriate processing centres, after hazardous waste has been removed. -
Page 22: Technical Specifications
Windows 2008 Server (32 or 64) Windows 8 Pro (32 or 64) Windows Vista Pro (32 or 64) Mac OS X (Intel)* Windows 7 Pro (32 or 64) Windows 8 Pro (32 or 64) Mac OS X (Intel) 18 Planmeca ProSensor User’s Manual... - Page 23 Input power 2 W Operating environment Planmeca ProSensor is for indoor use only. The equipment is installed on the wall or on/under the table. The user moves the sensor into the operation position by hand. The room and operation must comply with the x-ray safety shielding requirements according to radiation safety regulation in the country.
-
Page 24: Appendix A: Exposure Values For Planmeca Prox
Short cone exposure values PATIENT time Adult 0.125 Child 0.080 Long cone exposure values PATIENT time Adult 0.250 Child 0.200 For programming these values see the Planmeca ProX User’s manual section 16.1 “Programming default exposure values” 20 Planmeca ProSensor User’s Manual... -
Page 25: Preprogrammed Settings Values
TECHNICAL SPECIFICATIONS Preprogrammed settings values For programming these values see the Planmeca ProX User’s manual, section 16.3 “Programming preprogrammed settings”. NOTE Two sets of exposure values (time/kV/mA) have been programmed for each exposure region: one for adult mode and one for child mode. - Page 26 TECHNICAL SPECIFICATIONS When using the 30 cm long cone program see Planmeca ProX User’s manual section 17 “EXPOSURE VALUE TABLES” or select three steps darker density (longer exposure time). PREMOLARS AND INCISORS MOLARS CANINES time time time Maxilla 0.200 0.200 0.250...
- Page 28 Planmeca Oy | Asentajankatu 6 | 00880 Helsinki | Finland tel. +358 20 7795 500 | fax +358 20 7795 555 | sales@planmeca.com | www.planmeca.com...
Need help?
Do you have a question about the ProSensor and is the answer not in the manual?
Questions and answers