Advertisement
Quick Links
Advertisement

Related Manuals for caron 7000-33


Summary of Contents for caron 7000-33
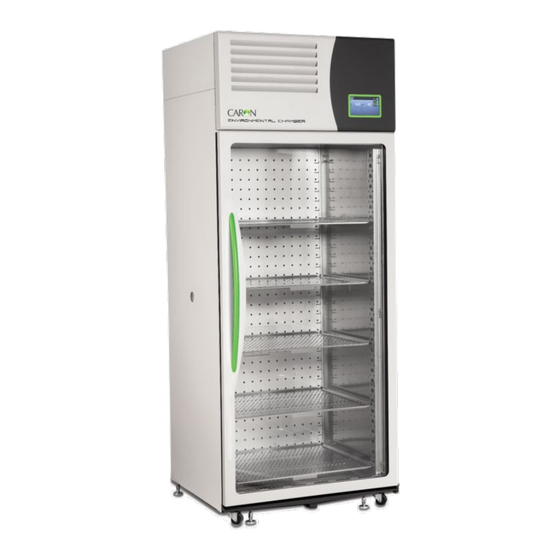
- Page 1 MODEL 7000-33 INST-PM-7000-33...
-
Page 2: Revision Log
Revision Log Revisions Description Letter Date 10-11-2016 Initial release. New cover. 04-03-2018 Replaced NOZ-105 with NOZ-110, Added new air 02-20-2020 filter instructions for template, new parts pics. 08-24-2020 Added new air filter instructions for tab design. Updated instructions for door heater cord on 05-12-2021 chamber. - Page 3 MODEL 7000-33 Parts Required: (1) Air Filter, (2) Atomizers Tools Required: Ladder, Flatblade Screwdriver (may be required), Phillips Screwdriver, (2) 8″ Crescent Wrenches Parts included in Preventative Maintenance Kit for Model 7000-33 are shown below. (1) Air Filter (2) Atomizers Note: If chamber control panel bezel has air filter cover as shown below continue to REPLACING AIR FILTER –...
- Page 4 Remove air filter cover by turning screw no more than ¼ turn. Air Filter Cover 2. Remove old air filter as shown below and follow instructions for Trimming Air Filter included with PM Kit to prepare new air filter for installation. Air Filter INST-PM-7000-33 Rev E 05/12/2021 Page 4...
- Page 5 Note: If door heater cord is located on control panel bezel as shown below continue with instructions below otherwise continue to OPEN CONTROL PANEL BEZEL on page 6. Door Heater Cord on Control Panel Bezel INST-PM-7000-33 Rev E 05/12/2021 Page 5...
- Page 6 3. Remove door heater cord from control panel bezel as shown below. Door Heater Cord OPEN CONTROL PANEL BEZEL 1. Open chamber door and remove (2) screws under control panel bezel using Phillips screwdriver bit as shown below. Note: Retain screws. Control Panel Bezel Screws INST-PM-7000-33 Rev E 05/12/2021 Page 6...
- Page 7 Filter included with PM Kit to prepare new air filter for installation. Air Filter 4. Install new air filter with cardboard side towards chamber. Note: Rectangular foam filled spaces should be vertical as shown below. Vertical Rectangular Foam Filled Spaces INST-PM-7000-33 Rev E 05/12/2021 Page 7...
- Page 8 2. Remove shelves from chamber. 3. Remove shelf channels located near top of chamber if necessary. 4. Remove false floor from chamber by pulling access port upwards while bending edges downward as shown below. False Floor Access Port INST-PM-7000-33 Rev E 05/12/2021 Page 8...
- Page 9 Intake Diffuser Mounting Screws (as viewed from inside chamber under intake diffuser) 6. Remove intake diffuser by pulling towards front of chamber. 7. Remove (2) screws securing drip pan using Phillips screwdriver bit as shown below. Note: Retain screws. Drip Pan Mounting Screws Drip Pan INST-PM-7000-33 Rev E 05/12/2021 Page 9...
- Page 10 13. Align tabs on intake diffuser with drip pan. 14. Secure intake diffuser with retained (4) screws using Phillips screwdriver bit. 15. Reinstall false floor. 16. Reinstall shelf channels. 17. Reinstall shelves. 18. Plug in power cord and turn on chamber. INST-PM-7000-33 Rev E 05/12/2021 Page 10...
- Page 11 19. Reset air filter and atomizer alerts by pressing Settings button on right side of Home screen as shown below. Settings Button 20. Press Maint. button as shown below. Maint. Button 21. Press Reset buttons for Replace air filter and Replace atomizers as shown below. Reset Button INST-PM-7000-33 Rev E 05/12/2021 Page 11...
- Page 12 22. Press Home button as shown below. Home Button 23. Continue to instructions for replacing additional accessory preventative maintenance items if applicable. INST-PM-7000-33 Rev E 05/12/2021 Page 12...
Need help?
Do you have a question about the 7000-33 and is the answer not in the manual?
Questions and answers