Advertisement
Quick Links
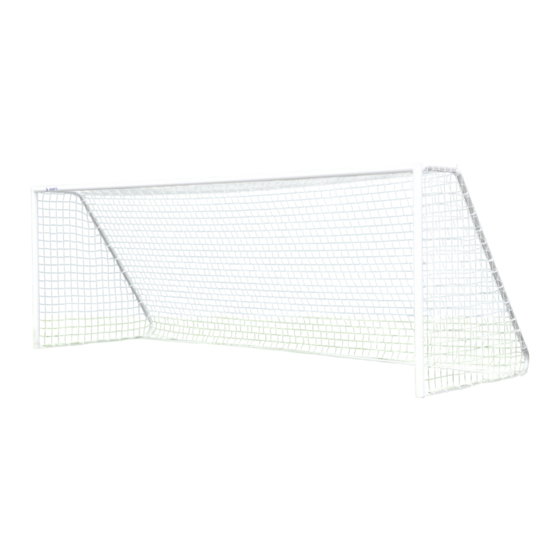
-- CLASSIC CLUB GOALS --
(3" O.D. ROUND GOAL FACE)
Installation Instructions
MODEL #:
CC6S, CC9S, CC12S, CC18S, CC21S, CC24S
Call Jaypro Sports Equipment at 1-800-243-0533
during regular business hours for technical support.
www.jaypro.com
Rev-B
7/18
Page 1 of 13
Advertisement

Subscribe to Our Youtube Channel
Related Manuals for Jaypro Sports Classic Club CC6S


Summary of Contents for Jaypro Sports Classic Club CC6S
- Page 1 -- CLASSIC CLUB GOALS -- (3" O.D. ROUND GOAL FACE) Installation Instructions MODEL #: CC6S, CC9S, CC12S, CC18S, CC21S, CC24S Call Jaypro Sports Equipment at 1-800-243-0533 during regular business hours for technical support. www.jaypro.com Rev-B 7/18 Page 1 of 13...
- Page 2 JAYPRO SPORTS CLASSIC SOCCER CLUB GOALS CC6S CC9S CC12S CC18S CC21S CC24S 43” LONG 49” LONG 73” LONG 73” LONG 79” LONG 91” LONG UPRIGHT (P/N:SG-090) (P/N:SG-084) (P/N:SG-094) (P/N:SG-094) (P/N:SG-083) (P/N:SG-082) 70” LONG 106” LONG 142” LONG 220” LONG 250” LONG 286”...
- Page 3 Model: Model: Model: ITEM IMAGE DESCRIPTION CC6S CC12S CC21S CC9S CC18S CC24S BACKSTAY CONNECTOR PIPE (P/N: CC21-1D or CC24-1D) REAR CROSSBAR (P/N: CC12-1E, CC18-1E, CC21-1E or CC24-1E) PIPE CLAMP (P/N: SR5418) 3/8”-16 x 2 ½” CARRIAGE BOLT (P/N: HB50638) 3/8”-16 x 3” HEX HEAD CAP SCREW, ZP (P/N: HS292) 3/8"-16 x 3/4"...
-
Page 4: Important Notice
2. Before each use, check to make sure all Safety/Warning labels are present and legible (see label placement drawing). If any are missing, contact your dealer or Jaypro Sports for replacement Safety / Warning labels. 3. Before each use, thoroughly inspect each goal to ensure it is properly anchored, and all hardware is secured. - Page 5 Lay uprights and crossbar face down in a clear area. Note the orientation of any labels on the crossbar so as not to place upside down. Slide each upright into the end of the crossbar and secure in place using 3/8” hardware as shown below. 3/8"-16 x 3/4"...
- Page 6 ASSEMBLY INSTRUCTIONS Model: CC6S & CC9S (No Rear Crossbar) (1) 3" SOCCER CROSSBAR (2) CLASSIC RIGHT UPRIGHT (5) ONE PIECE BACKSTAY DETAIL B Model: CC6S & CC9S DETAIL B Model: CC12S & CC18S (1) 3" SOCCER CROSSBAR (2) CLASSIC RIGHT UPRIGHT (5) ONE PIECE BACKSTAY (8) REAR CROSSBAR (9) PIPE CLAMP...
- Page 7 DETAIL B 3/8"-16 x 3" HEX HEAD CAP SCREW, ZP 3/8" FLAT WASHER, SS 3/8"-16 THIN NYLON LOCK NUT, ZP TYPICAL HUB CONNECTION Carefully assemble one backstay into both hubs of each upright. Refer to page 5 for details on each model goal. Secure n place using 3/8”...
- Page 8 DETAIL C 3/8"-16 x 2 1/2" CARRIAGE BOLT 3/8” SAE FLAT WASHER, SS 3/8"-16 THIN NYLON LOCK NUT, ZP Attach the rear crossbar to the backstays using 3/8” hardware shown. Note if using goal on turf field have the heads of carriage bolts touch the turf to avoid damaging turf field. Important note: CC6S &...
- Page 9 10. Always inspect goals before each use to ensure that all labels are in place and legible. Contact your dealer or Jaypro Sports for replacement labels. Label Placement Instructions: See page 10 to identify the correct product label.
- Page 10 Rev-B 7/18 Page 10 of 13...
- Page 11 Final Adjustments: Checks to make sure the soccer goal frame is properly aligned and square. Double check that all hardware is tightened down. Move the goal into the final playing position. Anchor soccer goal frame (see section on Anchoring). IMPORTANT NOTICE The United States consumer product safety commission has adopted and published “Guidelines For Movable Soccer Goal Safety”.
- Page 12 Portable Soccer Goal Required Counter Weights Model # Counter Weight Label # CC24S 140 lbs SL0051 CC21S 160 lbs SL0052 CC18S or CC12S 240 lbs SL0053 Rev-B 7/18 Page 12 of 13...
- Page 13 OPTIONAL WHEEL KIT FOR PORTABLE SOCCER GOALS (P/N: CSGWK) NOTE: Kit includes four wheel assemblies. Wheel assemblies may be used in pairs, (i.e. two per goal) which would require lifting one end of goal to move. Alternately, four wheel assemblies may be installed on a soccer goal to avoid the need to lift. At least two people are required to properly move a soccer goal, to prevent personal injury or damage to the goal.
Need help?
Do you have a question about the Classic Club CC6S and is the answer not in the manual?
Questions and answers