Advertisement
Quick Links
Rehearsal Resource Center Assembly Instructions 121B021.
Make sure anyone assembling, installing or
using this product has read and understands
these instructions.
Contents
Required Tools 2
Supplied Hardware 2
Visit the Rehearsal Resource Center web page at wengercorp.com for more information.
Note: Please read and understand these instructions before proceeding
Note: If you need additional information, contact Wenger Corporation using the information below
©Wenger Corporation 2024
Wenger Corporation, 555 Park Drive, P O Box 448, Owatonna, Minnesota 55060-0448
Questions? Call USA: (800) 4WENGER (493-6437) • Worldwide: +1-507-455-4100 • wengercorp com
Basic Instructions only!
For more detailed product information, refer to the
CAUTION
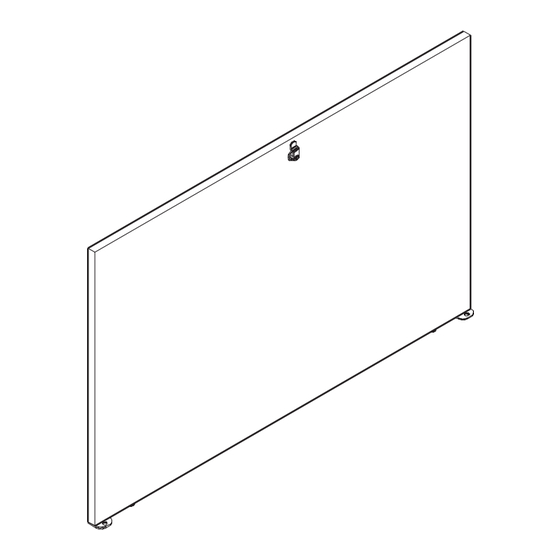
Lower Lock Door Option
for Rehearsal Resource Center
Failure to comply with Warnings and Cautions in
this document or on the equipment can result in
damage to property or injury.
Parts List 2
Assembly 2
Printed in USA 2024-10
Assembly Instructions
CAUTION
Part #121B111-03
Advertisement

Subscribe to Our Youtube Channel
Related Manuals for Wenger Lower Lock Door Option


Summary of Contents for Wenger Lower Lock Door Option
- Page 1 Visit the Rehearsal Resource Center web page at wengercorp.com for more information. Note: Please read and understand these instructions before proceeding Note: If you need additional information, contact Wenger Corporation using the information below ©Wenger Corporation 2024 Printed in USA 2024-10...
-
Page 2: Required Tools
Off-Set Cam Lock Retaining Ring Assembly Before assembling the lower lock door option, do the following 1 Read and understand this assembly instruction 2 Remove all items from the shipping cartons and make sure that all parts are present Item numbers refer to the parts list on above... - Page 3 Assembly (continued) 1 Assemble two clevis pins (2) to the unit assembly as follows a Insert a clevis pin (2) into the lower surface of a 1/4" (6 mm) clearance hole on the bottom panel of the unit assembly b Support the head of the clevis pin (2) from the bottom with a piece of wood or something similar and press a retaining ring (6) onto the pin NOTICE Do not press retaining ring (6) onto the clevis pin (2) before inserting the pin into the clearance hole.
- Page 4 Assembly (continued) 2 Using a phillips screwdriver, attach the lock bracket (7) with two pan head screws (8) to the pair of pilot holes as shown in the illustration below The lock bracket position can be adjusted so that the chamber lock offset cam can engage the bracket.
- Page 5 Assembly (continued) 3 Attach two lower lock door plates (5) to the lower lock door (4) a Insert the barbed nut inserts (1) through the lower lock door plates (5) and into the clearance holes on the outside surface of the lower lock door (4) The inserts (1) must be tapped into the door clearance holes with a mallet b Screw two hex socket machine screws (9) into the two nut inserts (1) and tighten using a 5/32"...
- Page 6 Assembly (continued) 4 Assemble the lock assembly (3) to the lower lock door (4) a. Position the lock housing so that the flat sides are parallel with the sides of the lower lock door (4). b Insert the lock housing into the outside of the lower lock door hole (4) c On the inside surface of the door, slide the locking thrust washer over the end of the lock housing d Fasten the hex nut to the lock housing Do not allow the lock housing to rotate e Hold the threaded end of the lock with a 5/8"...
- Page 7 Assembly (continued) 6 Place the lower lock door (22) into position a Insert the key into the lock assembly (13) and turn counterclockwise (unlock position) b Place the two clearance holes of the two lower lock door plates onto the two clevis pins (8) as shown below c Push the door forward until it is against the mid-shelf and then turn the key clockwise (locking the lock –...
- Page 8 This page is intentionally blank...
Need help?
Do you have a question about the Lower Lock Door Option and is the answer not in the manual?
Questions and answers