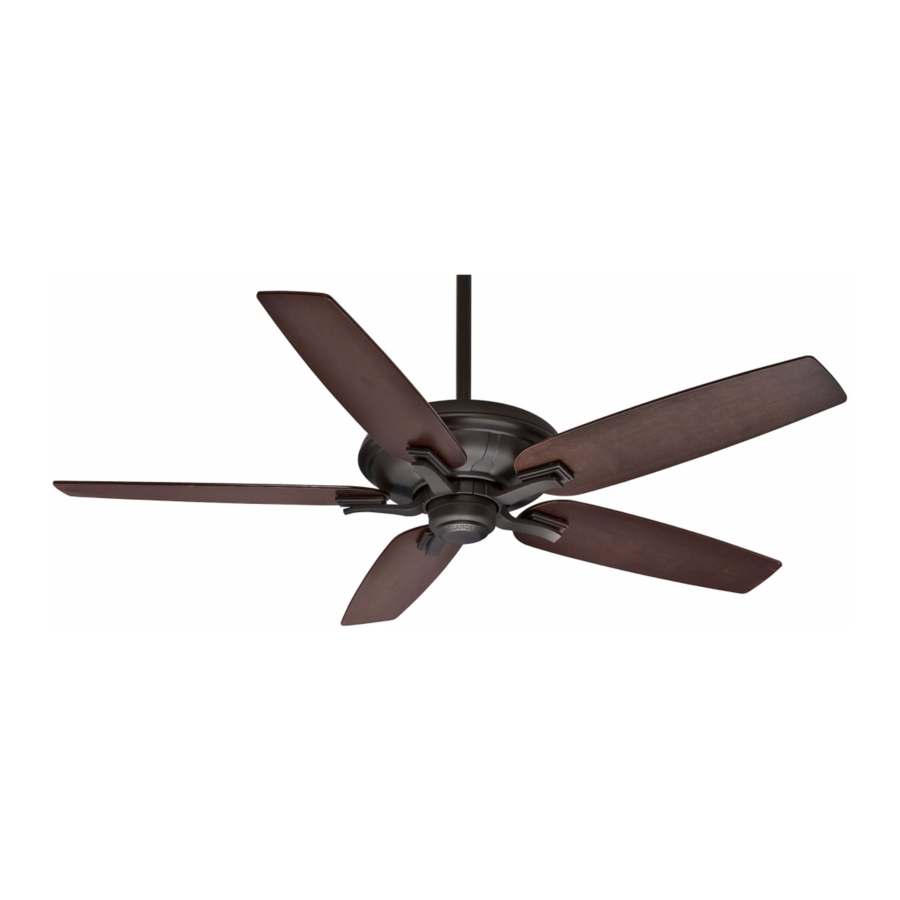
Casablanca Brescia Owner's Manual
Casablanca brescia ceiling fans: owners manual
Hide thumbs
Also See for Brescia:
- Owner's manual (23 pages) ,
- Instructions manual (24 pages) ,
- Owner's manual and installation manual (2 pages)
Table of Contents
Advertisement
Advertisement
Table of Contents

Summary of Contents for Casablanca Brescia
-
Page 2: Safety First
3-SPEED OPERATION & TROUBLESHOOTING ........ -
Page 3: Mounting Recommendations
• Do not locate the fan in a doorway or above a swinging door. • In any installation, the tips of the blades must be at least 18 from the wall in order to provide sufficient clearance for the blades. -
Page 4: Preparation Instructions
RESCIA PREPARATION INSTRUCTIONS Unpacking: Before assembling and installing your ceiling fan, remove all parts from the shipping cartons and check them against the parts listed here. Before discarding packaging material, be certain that all parts have been removed. PERMA • LOCK™ HARDWARE ALLEN SET SCREW DOWNROD &... -
Page 5: Crossbar Mounting Bracket Installation
Proceed with installation as follows: CEILING FAN APPROVED Step 1. Route the wires from the ceiling outlet box through OUTLET BOX the crossbar mounting bracket center hole. Attach the bracket, with ground wire and ridges down, to the ceiling fixture out- let box with the mounting hardware included with the outlet box. -
Page 6: Hanging The Fan
CANOPY ELECTRICAL CONNECTIONS Step 4a. Attach the fan wires to the ceiling fixture outlet box wiring by placing the bare ends of the wires side by side WIRE NUT and then securing with a wire nut. Test that the connection is secure by pulling on the wire nut. -
Page 7: Blade Installation
” screws secur- ing the dummy switch housing and remove. Set the two (2) screws aside for the mo- ment, they will be used in Step 13 to install the switch housing after the blades are in- stalled. The dummy switch housing is used only when shipping the fan. -
Page 8: Remove Shipping Blocks
RESCIA REMOVE SHIPPING BLOCKS Step 10. On the flywheel remove the four SHIPPING shipping blocks by unscrewing the screws. BLOCKS Discard the shipping blocks and shipping block screws. BLADE/BLADE HOLDER INSTALLATION Step 11. Using the screws from the pack, attach each blade/blade holder assembly to the motor. - Page 9 Tighten securely by hand only. CAP SCREW 8-32 X FAN CONTROLS Step 17. You may now proceed to the fan control system for your fan. For 3-Speed models (with pull chain), please see the directions on Page 9. For Inteli•Touch (wall control) operation, please see the instructions on Page 10.
-
Page 10: Speed Operation
Replace reverse switch assembly; replace PCB assembly; or replace motor unit. FAN WILL NOT OPERATE AT PROPER SPEEDS OR WILL NOT OPERATE AT ANY SPEED: Defective three-speed pull-chain switch assembly; or defective capacitor: Replace three-speed pull-chain switch assembly; or replace PCB assembly. - Page 11 INTELI•TOUCH© INSTALLING THE W-32 WALL CONTROL The wall control installs in the same manner as an ordinary light switch, using an existing junction box and wiring. This controller is designed to signal the fan microcomputer as well as perform normal switching operations. For this reason the following precautions must be observed: 1.
-
Page 12: Automatic Demonstration Program
It is also used to exit or enter additional programs. POWER must be left on to retain a previously set fan speed or light level. INTELI•TOUCH OPERATION SPEED CONTROL There are six individual speed settings for the fan;... - Page 13 3. Immediately operate the buttons in the following sequence: 4. The fan controller will respond with three descending tones. A timer is now initiated and the fan will reduce one speed for each two-hour interval. The fan will not, however, descend below the second lowest speed.
- Page 14 OPERATION OF THE W-11 AND W-12 WALL CONTROLS: Normal operation. WHEN AC POWER IS TURNED ON FOR THE FIRST TIME, THE LIGHTS OPERATE NORMALLY, BUT W-32 WALL CONTROL OPERATION IS REVERSED: FAN BUTTON OPERATES THE LIGHTS; LIGHT BUTTON OPERATES THE FAN: Reverse the 2 black and white striped wire connections.
- Page 15 761 C • P , CA 91768 ORPORATE ENTER RIVE OMONA : 888-CASA-1ST (227-2178) www.CasablancaFanCo.com ©C 2001 C • U.S. P OPYRIGHT ASABLANCA OMPANY ATENT ENDING RINTED IN...


Need help?
Do you have a question about the Brescia and is the answer not in the manual?
Questions and answers