
Related Manuals for Vivo MOUNT-VC90-5


Summary of Contents for Vivo MOUNT-VC90-5
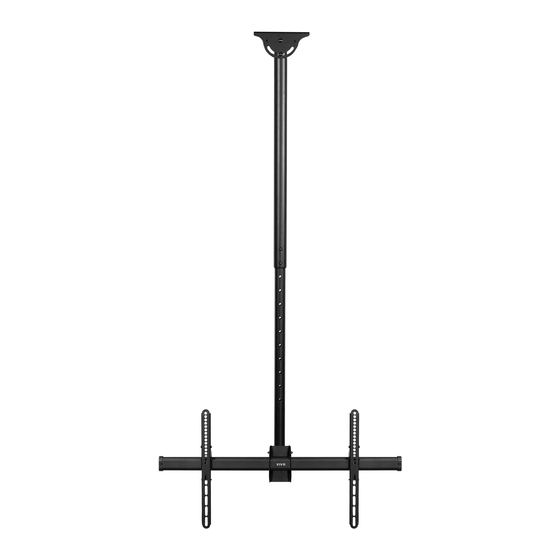
- Page 1 Large TV Ceiling Mount with 5ft Pole SKU: MOUNT-VC90-5 Instruction Manual Assembly Video & Product Info www.vivo-us.com/products/mount-vc90-5...
- Page 2 If you do not understand these directions, or if you have any doubts about the safety of the installation, please contact our product support team at 309-278-5303 or help@vivo-us.com for further assistance. Check carefully to make sure there are no missing or defective parts. Improper installation may cause damage or serious injury. Do not use this product for any purpose that is not explicitly specified in this manual.
-
Page 3: Package Contents
Package Contents A (x1) B (x1) C (x2) Mounting Pole Lower Pole VESA Brackets D (x1) E (x1) F (x1) VESA Support Mounting Template Adapter Included Hardware & Tools S-A (x2) S-B (x2) M-A (x4) M-B (x4) M-C (x4) M8x55mm M8 Nut M6x14mm M8x16mm... -
Page 4: Assembly Steps
ASSEMBLY STEPS STEP 1a Option A | Wood Joist Installation Use a stud finder to locate your desired mount position, then hold Mounting Template (F) against ceiling and mark the hole positions using a pencil . Note: When mounting to a flat ceiling, it is recommended the 3/16”... - Page 5 [STEP 1a - Cont’d ] Adjust the angle of Pole (A) so that it is vertical, then tighten the nuts and bolts on Mounting Plate the Mounting Plate using the 5mm Allen Wrench (T-B) and Wrench (T-A). STEP 1b Option B | Concrete Installation Hold Mounting Template (F) up to your desired mounting location and mark hole positions using a marker.
- Page 6 [STEP 1b - Cont’d ] Remove the Washers and Nust from Concrete Anchors (W-B). Insert Concrete Anchors into the pre-drilled holes. Then secure Mounting Pole (A) to the ceiling using the previously removed Washers and Nuts. Tighten the nuts on Concrete Anchors (W-B) using a torque wrench with a 14mm socket set to 40ft-lbs (54 N-m).
- Page 7 STEP 2 Slide Mounting Adapter (E) onto Lower Pole (B) and rest at the bottom of the Pole. Route cables through both Poles (A,B), then slide Lower Pole into Mounting Pole at your desired height. Secure using M8x55mm Screws (S-A), M8 Nuts (S-B), and 5mm Allen Wrench (T-B). S-A (x2) S-B (x2)
- Page 8 STEP 3 Use Wrench (T-A) to remove the single Lower Nut from VESA Support (D) Lower Slide VESA Support (D) onto the front of Mounting Adapter (E) and reinstall the previously removed Lower Nut using Wrench (T-A). Remove the Collar Screws on VESA Brackets (C) using a Phillips screwdriver and set aside. Collar Screws...
- Page 9 STEP 4 Install the VESA Brackets (C) onto the back of your screen using appropriate combination of Screws (M-A through M-D), M8 Washers (M-E), and Spacers (M-F, M-G) for your VESA pattern. Tighten screws using a Phillips screwdriver. Example combinations are shown below.
- Page 10 STEP 5 Hang your TV with VESA Brackets (C) onto the VESA Support Bar (D).
- Page 11 STEP 6 Secure VESA Brackets (C) in place using the previously removed Collar Screws and a Phillips screwdriver. Make tilt and angle adjustment as desired, then tighten the nuts on the side of Mounting Adapter (E). Lock the rotation in place by tightening the preinstalled screw on the back of Mounting Adapter using a 5mm Allen Wrench (T-B).
-
Page 12: Last Updated
LAST UPDATED: 10/23/23 REV1 v1.0 Need Help? Get In Touch Monday-Friday from 7:00am-7:00pm CST help@vivo-us.com www.vivo-us.com 309-278-5303 Chat live with an agent! FOR MORE GREAT VIVO PRODUCTS, CHECK OUT OUR WEBSITE AT: WWW.VIVO-US.COM VIVO-us @vivo_us...
Need help?
Do you have a question about the MOUNT-VC90-5 and is the answer not in the manual?
Questions and answers