Advertisement
Quick Links
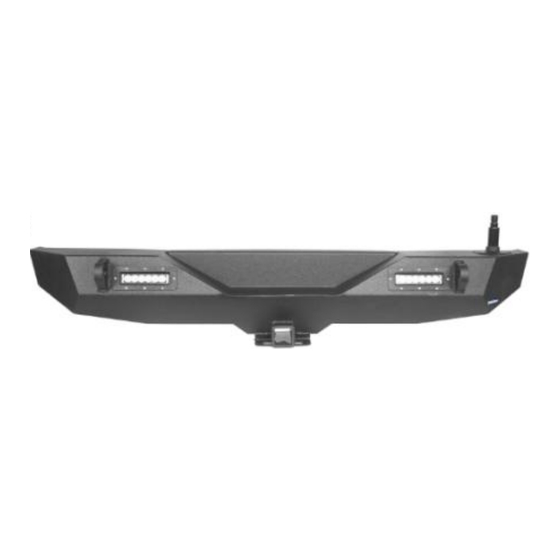
BXG.3023
Rear Bumper
(1)Contents:
1x Rear Bumper;
Installation Hardware;
(2)Tools required:
a. 19mm Socket Wrench;
b. 21mm Socket Wrench;
c. 13mm Socket Wrench;
d.5mm HEX Socket Wrench;
e.19mm Wrench;
f.5mm Allen Wrench;
g.8mm Allen Wrench;
h.Adjustable Wrench;
Advertisement

Related Manuals for HOOKE ROAD BXG.3023


Summary of Contents for HOOKE ROAD BXG.3023
- Page 1 BXG.3023 Rear Bumper (1)Contents: 1x Rear Bumper; Installation Hardware; (2)Tools required: a. 19mm Socket Wrench; b. 21mm Socket Wrench; c. 13mm Socket Wrench; d.5mm HEX Socket Wrench; e.19mm Wrench; f.5mm Allen Wrench; g.8mm Allen Wrench; h.Adjustable Wrench;...
-
Page 2: Installation Instruction
(3)Installation time: About 2.5 hours, 2-3 persons needed. Installation time is different according to individual person ( ) Please read all instructions thoroughly before starting installation (4)Installation instruction: Step 1: Remove the original rear bumper & tire carrier, then ready to install the new rear Bumper. - Page 3 Step 3: Install the rear bumper(PART”B”) on the jeep. Step 4: After “step 3”,then tighten the bolt holes with 2*PART “K”,and 2*Original bolts on driver side.(PART”K” use the 19mm socket wrench.The original one use 21mm socket wrench.)
- Page 4 The bolts is the same,so is up to you which one install which bolt hole. (1)Install the 2 side bolt holes first. (2)Install the 2 bottom bolt holes.
- Page 5 Step 5: Repeat “Step 4” on another side. Step 6: Install the D-rings. Step 7: Install the PART”F” with PART”J”,PART”L”,PART”M” & PART”N”. As shown below.
- Page 6 Step 8: Remove the two plate in the tailgate and install the PART “G” and PART “J”.
- Page 7 Step 9: Ready to install the PART”A” on the PART”B”. Install the PART”E1” & PART”E2” on the PART”A”.
- Page 8 Step 10: Install the PART”R” ,PART”H” & PART”Q”.As shown below.
- Page 9 Attention: Highly recommend you maintain the BEARINGS with some lubricating oil about 3 to 6 months to keep it work fine. Step 11: Connect PART “A” with PART “J”. Place the tire carrier onto PART “J” tightly then tighten the bolts .
- Page 10 Adjust the black screw to align holes position assemble them with screws. Then tighten up all the screws. Step 12: Install the PART”D1” & PART”D2”.As shown below.
- Page 12 Step 13: Installation completed. Attention: 1.The product parts in this instruction may differ slightly from the actual product contents but generally does not affect the installation of the product. 2.Please feel free to contact us if you have any kind of question about your purchase.
Need help?
Do you have a question about the BXG.3023 and is the answer not in the manual?
Questions and answers