Advertisement
Quick Links
Advertisement

Related Manuals for HOOKE ROAD BXG.3053


Summary of Contents for HOOKE ROAD BXG.3053
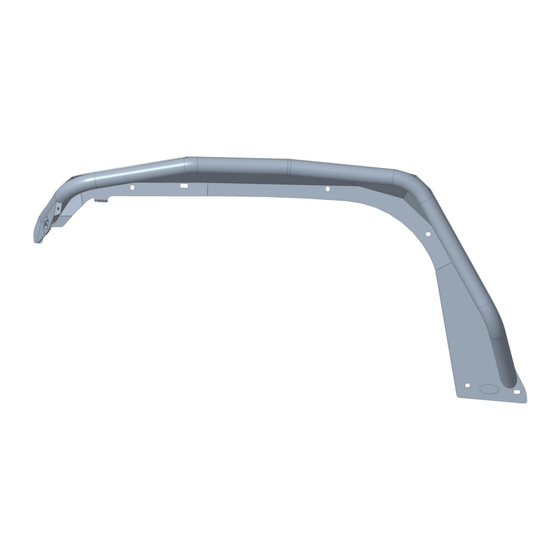
- Page 1 BXG.3053 Fender Flares (1) Contents:...
- Page 2 Front Part Name Size(mm) Picture Button Head Socket Cap Bolts Screws M8*20 Button Head Socket Cap Bolts Screws M6*20 Split Lock Washer Flat Washer M8*16*1 Flat Washer M6*16*1 Flange Hex Lock Nuts Flange Hex Lock Nuts Rivet Nut Rear Button Head Socket Cap Bolts Screws M6*35 Split Lock Washer Flat Washer...
- Page 3 About 1.5 hours, 2-3 people may be needed. Installation time may differ according to your mechanical skill level. (PLEASE VERIFY ALL PARTS ARE PRESENT AND READ INSTRUCTIONS CAREFULLY BEFORE STARTING INSTALLATION!) To view the electronic version (BXG.3053), please scan the QR code.
- Page 4 (4) Installation instruction: Passenger Side Front Fender Flare Installation: Step 1: Before installation, please remove the factory fender liners in preparation for installing our product. Step 2: Due to the inability to install nuts in the side screw holes, you need to manually insert a rivet using a hand riveting tool at the side mounting location.
- Page 5 Notes: The image on the upper right only shows how the rivet nut tool is used. Step 3: Next, it is recommended to begin by installing the side holes. Lift the fender flare to align it with the side holes, then secure it in place directly using M6*20 hex socket screws and nuts.
- Page 6 Step 4: Before installing the front holes, please differentiate between the left and right brackets. It is recommended to compare all four brackets together. The brackets are symmetrical, and the direction of brackets 1 and 2 is opposite. Bracket 1 faces the left side, while bracket 2 faces the right side. Step 5: Once you've confirmed the bracket positions, proceed to install the front four holes.
- Page 7 Passenger Side Rear Fender Flare Installation: Step 6: Before installation, please remove the factory fender liners in preparation for installing our product. Step 7: Please verify the side installation holes based on the labels in the image. All of these holes require rivet installation, so you will need to perform the same riveting procedure as described in step 2 for the four holes.
- Page 8 Step 8: After installing the rivets, you can proceed to install our rear fender flare. Secure it in place using M6*35 screws for all holes. There's no need for nuts in the holes where rivets have been used on the side.
- Page 9 Step 9: After completing the passenger side installation, follow the same installation method on the driver side. Lighting Wiring Installation: fender flares light have functions of the Turn lamp.
- Page 10 Turn Lamp (Red Wire)-Factory White Yellow Wire Notes: Different models may have different wiring harness colors, but the above wiring methods are the same. Step 10: The installation is complete. We hope you enjoy a wonderful off-road life with this quality Hooke Road product...
- Page 11 Attention: 1.The product parts in this instruction may differ slightly from the actual product contents but generally does not affect the installation of the product. 2.Please feel free to contact your distributor if you have any kind of question about your purchase.
Need help?
Do you have a question about the BXG.3053 and is the answer not in the manual?
Questions and answers