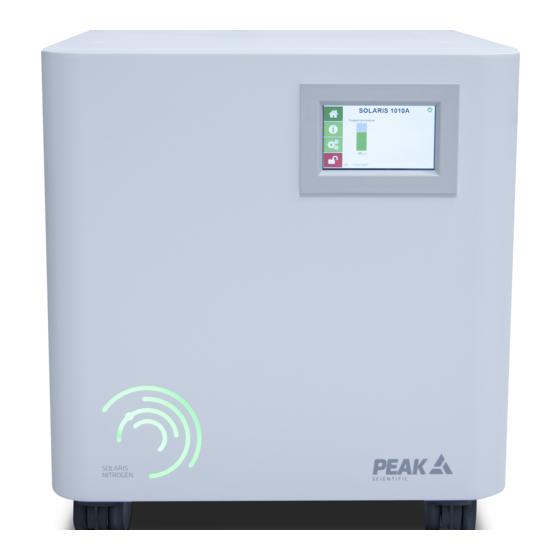
Summary of Contents for Peak Scientific Solaris 1010A
- Page 1 Solaris 1010A Installation Guide Solaris 1010A Installation Guide Rev 1 RSID 5186 EN 13/06/24...
- Page 2 Not all warranties are alike and Peak Scientific stand out against other gas suppliers as we offer a comprehensive, quick response, on-site warranty. This means that in the very...
-
Page 3: Change History
User Manual for your gas generator. Thank you for selecting Peak Scientific to meet your Gas Generation needs, and should you require any further assistance or support please do not hesitate to contact Peak Scientific or Peak Partner from which you purchased your Generator. -
Page 4: Safety Notices
If the user employs an operating procedure, item of equipment or a method of working which is not specifically recommended by Peak Scientific, the user must ensure that the equipment will not be damaged or become hazardous to persons or property. -
Page 5: Fittings Kit
Fittings Kit 1/4” Teflon Tubing 00-1266 US Mains Cable C13 6-15 04-1029 US Mains Cable C13 5-15 04-1039 6mm PE Tubing 00-1292 2.5mm Hex Key 00-5483 UK Mains Cable C13 04-1028 EU Mains Cable C13 04-1038 1/4” x 1/4” Compression Fitting 02-4421 Page 5... - Page 6 Fittings Kit Adaptor ¼”M BSPP x6mm PUSH FIT 02-4600 Tube insert OD 6mm ID 4mm 3300704 Page 6...
- Page 7 WARNING the weight of the unit constitutes a two man lift. Safe lifting practices are advised. Remove the fascia from the Solaris 1010A, by first pulling towards you. Carefully remove the HMI wire from the screen and the LED wire connector before removing the fascia panel fully.
- Page 8 Next pull the fascia upwards and away from the generator. CAUTION 00-5483 00-5483 Now take the left side panel off, by removing the two screws shown in the image above, using the hex key (00-5483) provided. Carefully remove the earth wire tab from the door before removing the panel fully. Page 8...
- Page 9 The side panel can now be removed by pulling the panel towards you. With the side panel removed you now have access to the transit bracket. This is located under the compressor and is marked with a sticker reading Remove Before Use. To remove the transit bracket, first remove the 4 screws from the bracket as shown.
- Page 10 The bracket can now be slid out from underneath the compressor tray. Re-attach the side panel and replace the screws. Remember to reconnect the earth wire onto the earth tab of the door. Page 10...
- Page 11 Remember to reconnect the HMI wires to the HMI screen and the LED wire connectors together. 02-4421 02-4421 Connect the supplied ¼” compression fittings (02-4421) to the Nitrogen Output and Drain ports. Attach some of the supplied ¼” Teflon Tubing (00-1266) to the Nitrogen Output port and connect the other end to the instrument.
- Page 12 04-1028/04-1029/04-1038/04-1039 04-1028/04-1029/04-1038/04-1039 Select the appropriate mains cable from the fittings kit and plug the IEC 60320/C13 cable into the mains input at the rear of the generator. Please note both 110V and 220-240V US cables have been supplied, select the correct mains cable for your supply voltage.
- Page 13 Press the POWER switch located at the rear of the Solaris 1010A. CONGRATULATIONS Your Peak Scientific gas generator is now fully installed, operational and ready to supply gas on demand to your instrument. Page 13...
-
Page 14: General Notes
General Notes * Electrical requirements are 120 or 220-240VAC nominal +/- 10% depending on chosen model. However, running continuously at voltages outside this is not recommended. Extended periods at extremes can have a detrimental effect on the operation and life of the generator. - Page 15 Page 15...
- Page 16 User Manual for your gas generator. Peak Scientific has highly trained, fully certified Field Service Engineers located in over 20 countries across every continent around the world. This allows us to provide an industry-leading rapid response service to our customers.


Need help?
Do you have a question about the Solaris 1010A and is the answer not in the manual?
Questions and answers