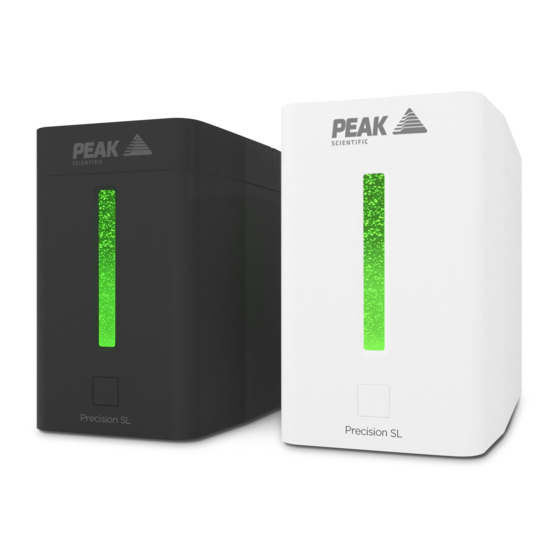
Summary of Contents for Peak Scientific Precision SL Series
- Page 1 Precision SL (All Models) Installation Guide Precision Hydrogen SL Installation Guide Rev 3 RSID 3515 EN 10/03/21...
-
Page 2: Change History
We recommend that you read and understand the full user manual prior to following the instructions in this installation guide. Thank you for selecting Peak Scientific to meet your Gas Generation needs, and should you require any further assistance or support please do not hesitate to contact Peak Scientific or the Peak Partner from which you purchased your Generator. -
Page 3: Safety Notices
If the user employs an operating procedure, item of equipment or a method of working which is not specifically recommended by Peak Scientific, the user must ensure that the equipment will not be damaged or become hazardous to persons or property. -
Page 4: Fittings Kit
Fittings Kit *Tygon Tubing 05-3131 US Mains Cable C13 6-15 04-1029 DI Capsule 3302581 US Mains Cable C13 5-15 04-1039 *Barbed Fitting 05-7029 UK Mains Cable C13 04-1028 ****4L Water Bottle 10-9016 EU Mains Cable C13 04-1038 ***Desiccant Cartridge 3302583 JIS Cable C13 100V 04-1006 **In-Line Water Filter 3302936 Page 4... - Page 5 Unpack the generator from the shipping crate, as per the instructions on the box and position on a flat surface, in desired area. 7.5 cm 7.5 cm 7.5 cm Ensure that there is at least 7.5 cm of space, to the sides and rear of the generator, to allow sufficient air flow and ventilation Page 5...
- Page 6 To fit the Desiccant Cartridge 3302583, first open the top panel by lifting gently. Loosen and remove the cap of the desiccant dryer by turning counter-clockwise. Page 6...
- Page 7 Fit the Desiccant Cartridge 3302583. Replace the cap and hand-tighten by turning clockwise. Page 7...
- Page 8 Fit the DI capsule 3302581 into the recess and rotate 90° clockwise to lock in position. Close the top panel. Page 8...
- Page 9 ASTM type II Fill deionized water into water tank (Manual fill units) or connect deionized water supply (auto fill / pressure fill options) following step below. 3302936 3302936 05-3131 05-3131 05-7029 05-7029 For Precision H2 SL equipped with auto-water fill or pressurised water fill, the Tygon Tubing, Barbed Fitting and In-Line Filter supplied in the generator fittings kit should be connected to the Fill port at the rear of the generator.
- Page 10 Copper / Stainless Steel only Connect tubing to the H2 delivery port at the rear of the generator, using the 1/8” swagelok compression fitting provided. Use new laboratory-grade copper or stainless steel tubing only. Connect the other end of the tubing to the Application. Page 10...
- Page 11 Fit appropriate 6mm tubing to H2 Exhaust output. The exhaust port must not be plugged. CAUTION 04-1028 04-1028 04-1029 04-1029 04-1038 04-1038 04-1039 04-1039 04-1006 04-1006 Select the appropriate mains cable from the fittings kit and plug the IEC 60320/C13 cable into the mains input at the rear of the generator.
- Page 12 CAUTION 110V 230V 100-240VAC 50/60Hz 100-240VAC 50/60Hz Plug the mains cable into an appropriate 100-240VAC 50/60Hz single phase power supply. CAUTION ensure the correct cable has been selected for your electrical supply Turn the generator on, using the switch on the back of the unit. Page 12...
- Page 13 The LEDs will brighten and dim in green until diagnostics are complete. Once diagnostics are complete, the green LEDs will be solid. In the unlikely event that diagnostics are unsuccessful, the LEDs will turn orange. See Table on Page 15. Pressing the front button will begin the supply of gas to the application.
- Page 14 20 minutes. CONGRATULATIONS Your PEAK SCIENTIFIC gas generator is now fully installed, operational and ready to supply gas on demand to your instrument. Page 14...
-
Page 15: General Notes
General Notes For Precision SL generators with automatic pumped water fill, ensure the water supply bottle is not located above the height of the generator, and that the supply is not pressurised. Generators with automatic valved water fill may be used with pressurised deionised water supplies between 1-3 bar. - Page 16 LED Indicators The LED indicator on the front of the generator will flash or change colour to indicate the generators current operating state. Please refer to the chart below for information regarding the different states. Pressurizing See Manual Mise sous pression Voir manuel (Green/Vert) (Amber/Ambre)
- Page 17 See our enclosed Peak [Protected] leaflet for further information. Important! You have 1 month to register your Peak Scientific product from the date of installation. Once registered the warranty will be honoured for a period of 12 months. If you wish to defer the installation of your generator, you must notify Peak Scientific immediately by emailing warranty@peakscientific.com.
- Page 18 Page 18...
- Page 19 Page 19...
- Page 20 User Manual for your gas generator. Peak Scientific has highly trained, fully certified Field Service Engineers located in over 20 countries across every continent around the world. This allows us to provide an industry-leading rapid response service to our customers.


Need help?
Do you have a question about the Precision SL Series and is the answer not in the manual?
Questions and answers