Advertisement
Quick Links
Advertisement

Related Manuals for HOOKE ROAD BXG.9808-S


Summary of Contents for HOOKE ROAD BXG.9808-S
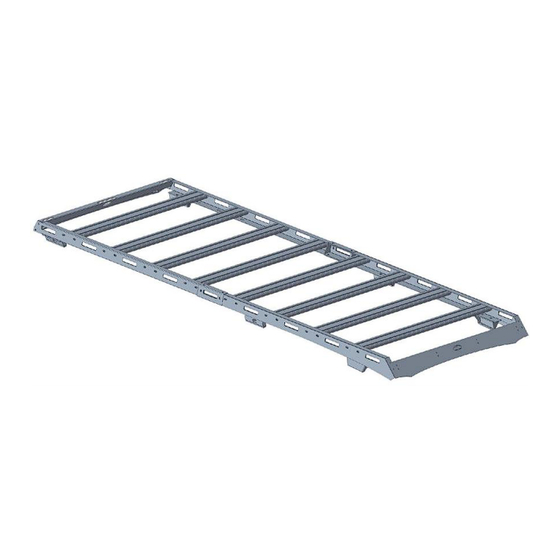
- Page 1 BXG.9808-S Roof Rack (1) Contents:...
- Page 2 Part Name Size(mm) Picture Hex Flange Bolts M8*65 Button Head Socket Cap Bolts Screws M8*16 Button Head Socket Cap Bolts Screws M6*20 Button Head Socket Cap Bolts Screws M6*16 Button Head Socket Cap Bolts Screws M6*10 Flat Washe M8*20*1 Flat Washe M6*12*1 Flat Washe M6*16*1...
-
Page 3: Installation Time
About 2 hours, 2-3 people may be needed. Installation time may differ according to your mechanical skill level. (PLEASE VERIFY ALL PARTS ARE PRESENT AND READ INSTRUCTIONS CAREFULLY BEFORE STARTING INSTALLATION!) To view the electronic version (BXG.9808-S), please scan the QR code. - Page 4 (4) Installation instruction: Step 1: First, you need to remove the factory vehicle roof rack. Use a a easy door panel removal tool to remove the plastic cover, and then unscrew the factory screws. Step 2: Next, the installation holes of the factory vehicle roof rack need to be fitted with the middle roof mount bracket and the rear roof mount bracket.
- Page 5 Step 3: Next, place the middle & rear mount brackets on the factory vehicle installation holes. Before placing them, install the rubber gaskets in the bottom grooves of the mount brackets. Then, insert the mount brackets into the factory vehicle mounting holes. Repeat this process for all four mounting brackets.
- Page 6 Step 4: Due to the need for drilling holes in the roof for the installation of the front roof mount brackets, we will now demonstrate the process using the driver's side as an example. Step 5: First, mount the front roof mount brackets onto the front part side rail, ensuring that the closed bottom part of the bracket is facing inward.
- Page 7 Step 7: Next, screw in the middle roof mount bracket using M8*65 hex flange bolts and tighten them securely. Step 8: Confirm that the front roof mount bracket is securely fitted into the rain gutter of the original vehicle. Use a marker pen to draw line along the bottom edge of the bracket.
- Page 8 Step 9: Remove the front part side rail. Place the provided EVA within the marked lines, mark the center of the holes with a marker pen, and then use a 9mm drill to drill two installation holes. Step 10: Use a 6mm rivet nut tool to rivet into the holes drilled.
- Page 9 Step 11: Repeat the same drilling and riveting steps on the passenger side. Step 12: Next, use M6*16 screws to install the front roof mount brackets onto the vehicle. Put the EVA into the bottom of the bracket. Note: Beneath the washer, add a rubber washer.
- Page 10 Step 14: Next, assemble the front half of the roof rack. Please refer to the diagram for guidance. Step 15: Next, lift the assembled front half of the roof rack. Install the middle roof mount brackets using M8*65 hex flange bolts and the front roof mount brackets using M6*16 screws.
- Page 11 Note: Beneath the washer, add a rubber gasket. Step 16: Next, assemble the rear half of the roof rack. Please refer to the diagram for guidance. Step 17: Next, lift the assembled rear half of the roof rack. Install the rear roof mount brackets using M8*65 hex flange bolts.
- Page 12 Note: Beneath the washer, add a rubber gasket. Step 18: Finally, install the connect brackets (1) & (2) using M6*20 screws.
- Page 13 Step 19: The installation is complete. We hope you enjoy a wonderful off-road life with this quality Hooke Road product! Attention: 1.The product parts in this instruction may differ slightly from the actual product contents but generally does not affect the installation of the product.
Need help?
Do you have a question about the BXG.9808-S and is the answer not in the manual?
Questions and answers