Advertisement
Quick Links
COMPONENTS
PART NO.
DESCRIPTION
A
Floor Bottom
B
C,D,E,F
G
Visible Side Left
H
Visible Side Right
I
J,K
Door Flat Panel
TOOLS REQUIRED
Screw driver
Mallet
Measuring tape
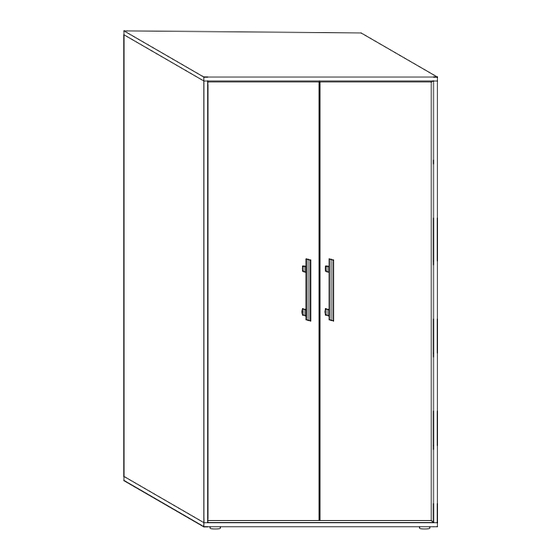
BOFA BOOKCASE WITH DOORS
QTY
Top
1
1
Shelf
4
1
1
Back
1
2
ITEM
Minifix
Dufix
Dowel
Flipper
Euro Dowel
Glides
Inset Hinge
Screws 3.5 x 16MM
Handles
Anti Tip Safety Strap
1
HARDWARE
IMAGE
QTY
8
8
16
16
8
5
6
4
2
2
Advertisement

Related Manuals for PG BISON BOFA BOOKCASE WITH DOORS


Summary of Contents for PG BISON BOFA BOOKCASE WITH DOORS
- Page 1 BOFA BOOKCASE WITH DOORS COMPONENTS HARDWARE PART NO. DESCRIPTION ITEM IMAGE Minifix Floor Bottom Dufix Shelf C,D,E,F Visible Side Left Dowel Visible Side Right Flipper Back Door Flat Panel Euro Dowel TOOLS REQUIRED Glides Screw driver Inset Hinge Mallet Screws 3.5 x 16MM...
-
Page 2: General Instructions
GENERAL INSTRUCTIONS 1. Confirm that all panels (9) are in the package before assembling. 2. Check the white sticker on each panel for the labelling (A,B,C,D,E,F,G,H,I,J&K). 3. Ensure that the panels are laid on a non-abrasive surface when assembling. 4. Note that all panel connections are done using the system described below. PANEL CONNECTION AND FASTENING Insert the minifix (1), Dufix (1) and wooden dowels (2) in the shown positions. - Page 3 ASSEMBLY SHEET - BOFA BOOKCASE WITH DOORS STEP 2 STEP 1 Back A & B joined using Back A tape. Back B A-Top Slide backer along the groove. A-Top G-Visible Side Left G-Visible Side Left STEP 4 STEP 3 Hammer...
- Page 4 ASSEMBLY SHEET - BOFA BOOKCASE WITH DOORS Fix the hinge and hinge STEP 9 STEP 8 plate onto the holes provided using a screw Nail in the glide onto the top holes provided to act as door stopper. driver. A-Top...
- Page 5 ASSEMBLY SHEET - BOFA BOOKCASE WITH DOORS Prevent furniture tip-over accidents Secure it! Furniture must be securely attached to the wall. Use the tip-over restraint provided with the product and the right hardware for your wall type. Follow our wall anchoring guide for help.
Need help?
Do you have a question about the BOFA BOOKCASE WITH DOORS and is the answer not in the manual?
Questions and answers