Advertisement
Quick Links
SSV WORKS, 201 N. Rice Ave Unit A, Oxnard, CA 93030
www.SSVworks.com | Phone: 818-991-1778 | Fax: 866-293-6751
WARRANTY INFORMATION:
All SSV Works enclosures are covered by a limited lifetime warranty against defects in
material or workmanship. All SSV Works Electronics are covered by a limited 1 year warranty
against defects in material or workmanship. All SSV Works Speakers are covered by a
limited 1 year warranty against defects in material or workmanship. Labor for replacement of
defective components is not covered. Contact SSV Works for further warranty information.
TOOLS NEEDED FOR INSTALLATION
- T25, T30, T40 torx driver
PARTS LIST IMAGES
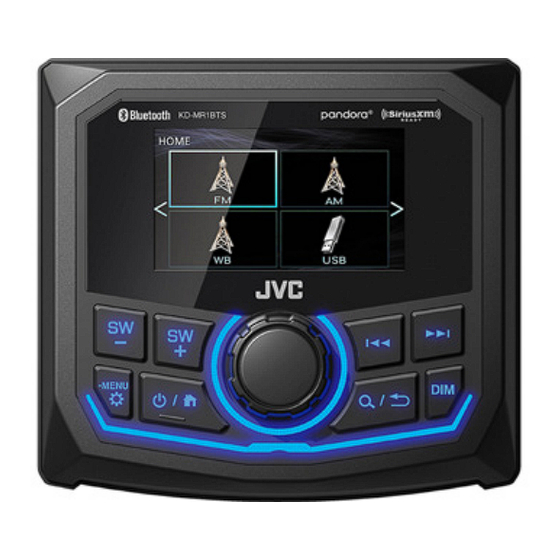
1. JVC MR1 Headunit
5. Base mounting plate x1 &
MR1 dash screws x4
A. Remove all the seats from the vehicle. Compress the release lever located in front of the seat base. With the release lever compressed, tilt the seat
forward and remove from the vehicle.
- #2 phillips screwdriver
2. MR1 Trim Ring
6. M6 x 1.0 Screws & Washers
x4 (T-30 torx)
Polaris RZR XP (without Ride Command)
- air saw and safety equipment
3. Bus Bar Connector x1
7. Low Level Harness x1
A
Dash Kit for JVC MR1
Please read and understand these
!
instructions completely before
installation to avoid possible injury, or
damage to the accessory or vehicle.
- Drill and 9/64" drill bit
4. DMR1 Mounting Bracket x1
(B-H1752)
8. MR1 Power Harness x1
(B-H2375)
RZ5-R1
- Wire cutters/crimpers
(B-H2367)
A
1
Advertisement

Related Manuals for SSV Works RZ5-R1


Summary of Contents for SSV Works RZ5-R1
- Page 1 All SSV Works enclosures are covered by a limited lifetime warranty against defects in instructions completely before material or workmanship. All SSV Works Electronics are covered by a limited 1 year warranty installation to avoid possible injury, or against defects in material or workmanship. All SSV Works Speakers are covered by a damage to the accessory or vehicle.
- Page 2 B. Using a 8mm wrench. Disconnect the negative battery cable from C. Remove the (2) T40 torx screws and set the hood panel aside. the battery. D. Remove the (2) T40 torx screws and (2) push pins with a panel E.
- Page 3 H. Remove the (4) T40 Torx screws that surround the gauge cluster. For I. Use a panel to aid in lifting the fenders to release the top dash panel. ease of access to each screw we recommend adjusting the position of the steering column accordingly.
- Page 4 N. Place the MR1 through the cover panel. O. Place the DMR1 mounting bracket over the back of the MR1, followed by the base mounting plate. P. Place the (4) dash screws through the MR1, cover panel, DMR1 mounting bracket and thread into the base mounting plate. Do not fully tighten the screws.
- Page 5 V. Place the assembled RZ5-DMR1 into the dash cavity. The cover Connect the Low Level Harness RCA inputs to the MR1 “Rear/Sub Line Out” panel will snap into place when fully seated. RCA outputs (U2). © 2020 SSV Works, Oxnard, CA 93030 RZ5-R1 Rev. A 4-1-20...
- Page 6 Y. Fully fasten the (4) dash screws. Center the trim ring on the MR1 and Z. Replace all factory panels. This concludes the installation of the firmly press down until each side and corners click into place. RZ5-DMR1. © 2020 SSV Works, Oxnard, CA 93030 RZ5-R1 Rev. A 4-1-20...
Need help?
Do you have a question about the RZ5-R1 and is the answer not in the manual?
Questions and answers